Customers
Let’s now do some basic CRUD with our Customer form.
Create a New Customer
- Hover over the
Domino-REST-API-NewDBcollection name and click on the ellipsis (three dots). Select Add Request. - Name the request
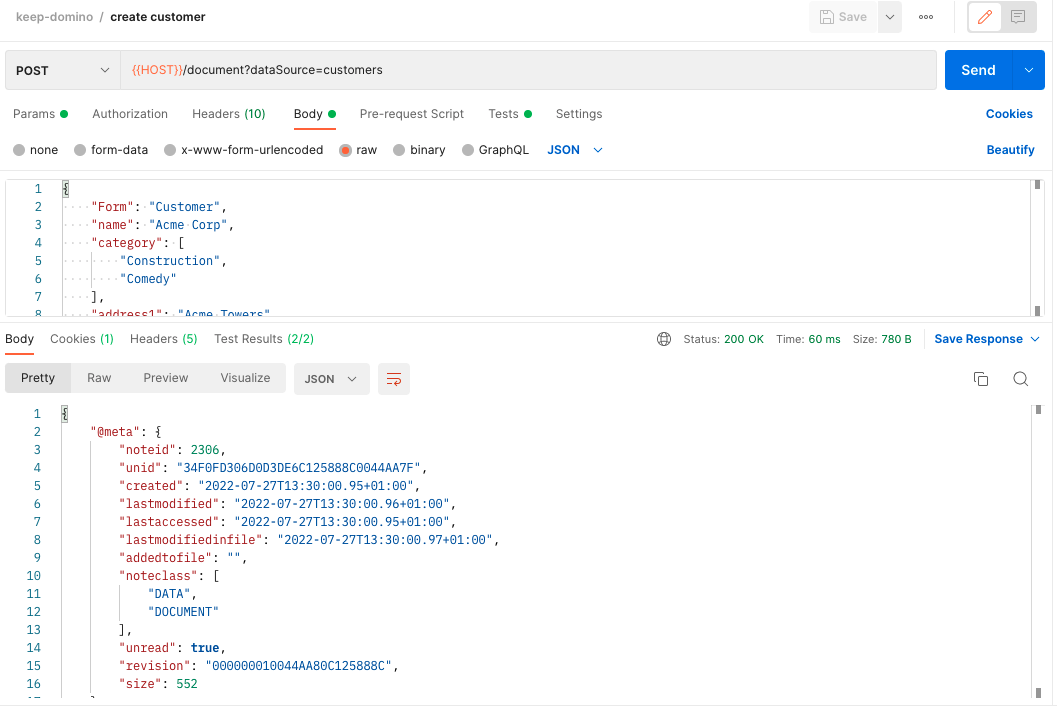
create customerand click Save. - Change the method from GET to POST.
- Set the URL as
{{HOST}}/document?dataSource=customers. - Set the headers for Authorization and Content-Type.
- On the Body tab change the type to
Rawand also change the type fromTexttoJSON. -
Set the request body content to:
{ "Form": "Customer", "name": "Acme Corp", "category": [ "Construction", "Comedy" ], "address1": "Acme Towers", "address2": "", "city": "Toon Town", "state": "California", "zipCode": "", "website": "https://www.acme.com" } -
On the Tests tab enter the following content:
pm.test("Status code is 200", function () { pm.response.to.have.status(200); }); pm.test("Create ToDo", function () { var jsonData = pm.response.json(); pm.expect(jsonData).to.have.property("@meta"); pm.expect(jsonData['@meta']).to.have.property("unid") pm.collectionVariables.set("parentUNID", jsonData["@meta"].unid); }); - Click Send.
- Save and close the request.
The customer will be created and the response will include metadata (@meta), including unid, which is the reference that will be needed to read, update or delete the customer. The code we entered earlier in the Tests automatically stores this in a variable, making it easier to perform some operations on the last created customer.
Get The Customer
- Hover over the
Domino-REST-API-NewDBcollection name and click on the ellipsis (three dots). Select Add Request. - Name the request
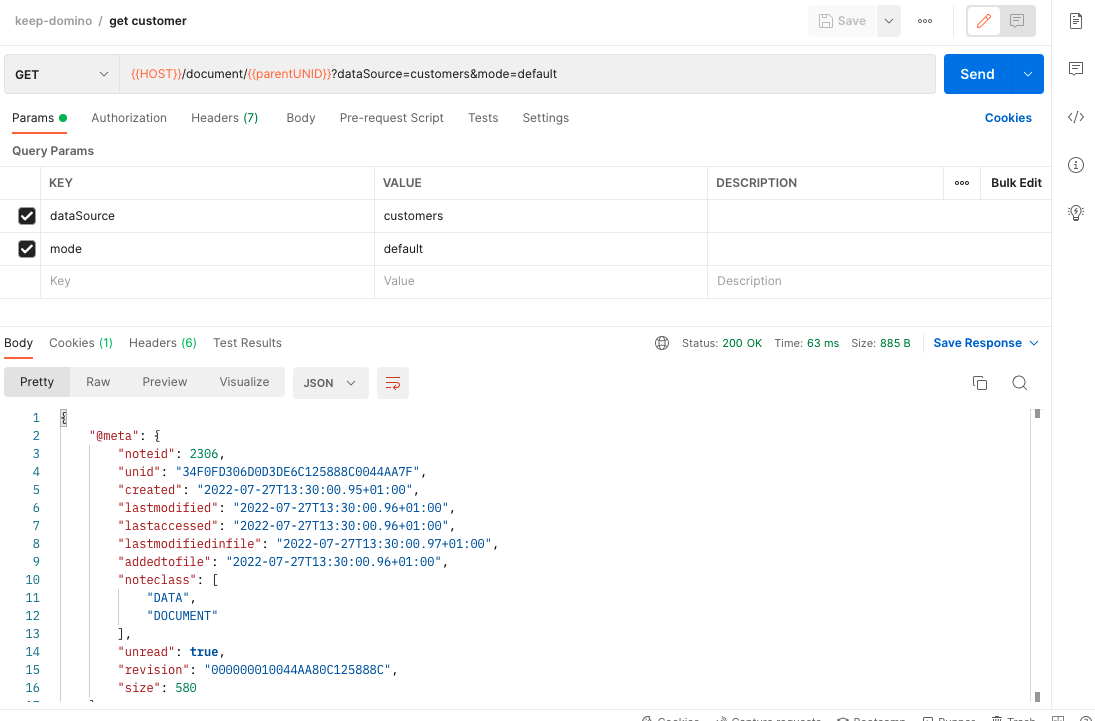
get customerand click Save. - Set the URL as
{{HOST}}/document/{{parentUNID}}?dataSource=customers&mode=default.NOTE
{{parentUNID}}is the UNID This uses the collection variable set from the value forunidyou received when creating the customer. - Set the headers for Authorization.
- Click Send.
- Save and close the request.
Set The Customer Inactive
- Hover over the
Domino-REST-API-NewDBcollection name and click on the ellipsis (three dots). Select Add Request. - Name the request
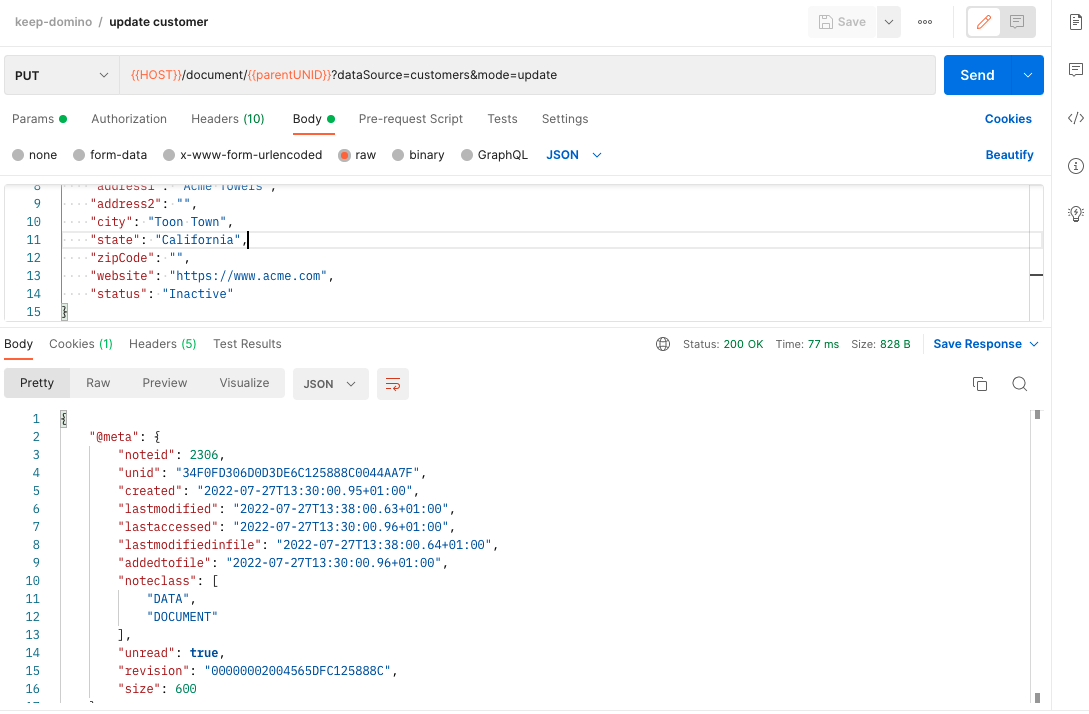
update customerand click Save. - Change the method from GET to PUT.
- Set the URL as
{{HOST}}/document/{{parentUNID}}?dataSource=customers&mode=update. - Set the headers for Authorization and Content-Type.
- On the Body tab change the type to
Rawand also change the type fromTexttoJSON. -
Set the request body content to:
{ "Form": "Customer", "name": "Acme Corp", "category": [ "Construction", "Comedy" ], "address1": "Acme Towers", "address2": "", "city": "Toon Town", "state": "California", "zipCode": "", "website": "https://www.acme.com", "status": "Inactive" } - Click Send.
- Save and close the request.
Delete The Customer
- Hover over the
Domino-REST-API-NewDBcollection name and click on the ellipsis (three dots). Select Add Request. - Name the request
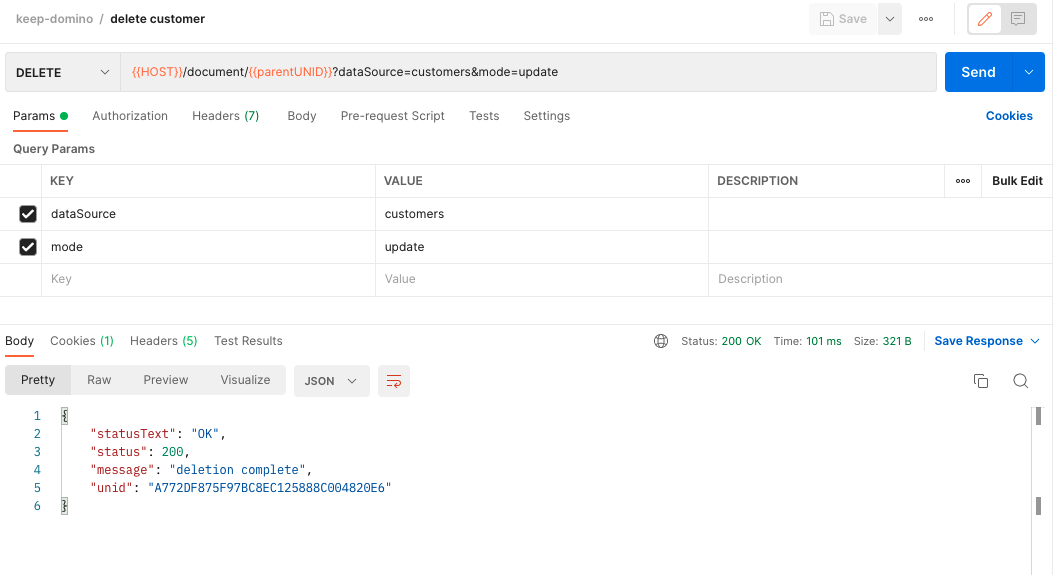
delete customerand click Save. - Change the method from GET to DELETE.
- Set the URL as
{{HOST}}/document/{{parentUNID}}?dataSource=customers&mode=default.NOTE
{{parentUNID}}is the UNID that was saved via the test when the document was created. - Set the headers for Authorization.
- Click Send. You will receive a 403 response because the formula for delete access in the
defaultmode is@False. - Change the mode query parameter to
update. - Click Send. You will now receive a 200 response. It worked because in the
updatemode, the delete access formula isstatus = "Inactive", and since we made sure to set thestatustoInactiveof our customer in the previous step, the formula checks out. Thus, allowing us to successfully delete it. - Save and close the request.
 If you get a 403 response when mode is set to
 update, check the Form Access Mode for default mode had a Formula for Delete Access set to @True.
Test with different information, to create, update and delete additional customers. Test deletion when a Customer is still Active status.