Adding Campaigns
You add a campaign to promote a service. For example, you add Amazon campaign to send festive offers to their customers. You can also save a campaign to send it in the future, or execute the campaign immediately after filling details.
To add a campaign, follow these steps:
-
In the Campaigns screen, click the Add Campaign button.
The Add Campaign screen appears. The Add Campaign screen includes following tabs:
Campaign Information
By default, the Campaign Information tab is set to active.
-
Enter following details in the Campaign Information section:

- Campaign Name: Enter a campaign name of no more than 255 characters. This is a mandatory field.
- Campaign Owner: This field displays the name of the person who creates the campaign. You cannot change the owner details.
-
Campaign Type: Select the appropriate campaign type from the drop-down list.

-
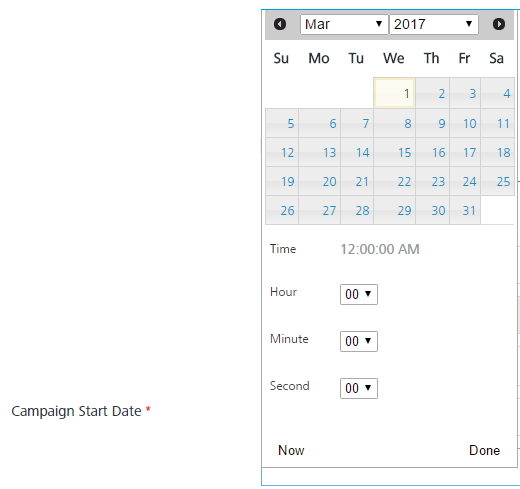
Campaign Start Date: This field is auto-populated with the current date and the current time, when a campaign is created. Based on when the campaign execution must start, you can modify the start date of the campaign.
-
Campaign End Date: To select the campaign end date, click in the text field.
The system displays the standard calendar. This is a mandatory field.
Select the date you want to end the campaign and click Done. The system inserts the date in the Campaign End Date field.
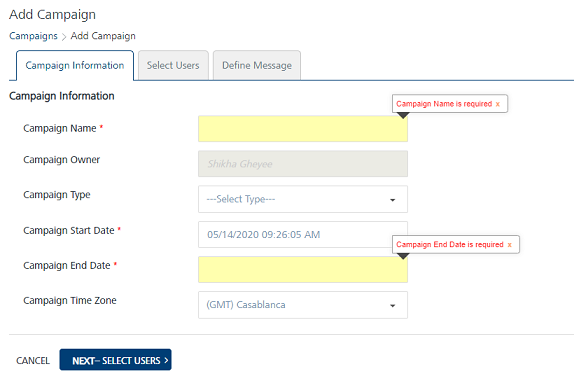
You cannot select a Campaign End Date prior to the Campaign Start Date. The following error will be displayed on the screen.
-
Campaign Time Zone: Select the required time zone to start the campaign from the drop-down list.

- Click Cancel, if you do not wish to add a campaign.
-
Click Next - Select Users to navigate to the Select Users screen.
Note: You cannot move to the Select Users screen without providing the Campaign Name and Campaign End Date. The following error will be displayed on the screen.
Select Users
The Select Users page displays the Select Users list-view with two columns: Segments(s) and Segment Users with default number of segment users. The list-view includes the Delete option to delete segments from the list-view. There is a drop-down list below Segment(s) column to select an already created segment or create a new segment

- Select the following details in the Select Users screen:
-
Select a Segment: Define the segment definition that suits your campaigns. You can add a new segment or select a published segment from the drop-down list. The Engagement services does not allow you to publish a campaign without a segment.
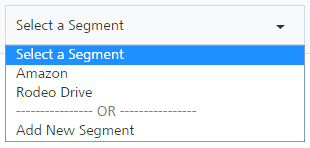
The selected segment appears in the SEGMENT(S) list view with the total number of associated users.

- Click the Delete icon to remove the selected segment from the list-view.
-
To add a new segment, select the Add New Segment option from the drop-down list
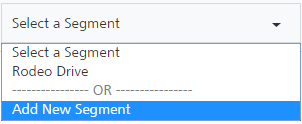
The Add New Segment window appears.
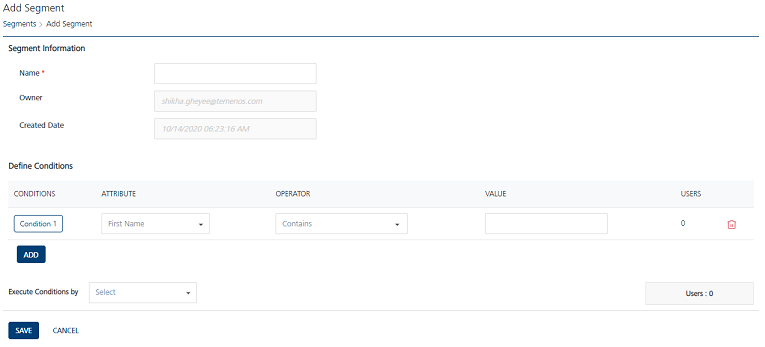
For more information about how to add Segments, see Adding Segments to Campaigns
-
-
Click Next - Define Message to navigate to the Define Message screen.
Note: You cannot move to the Define Message screen without selecting any users for the campaign. Providing a user Segment(s) is mandatory. If you do not provide a Segment the following error will be displayed on the screen.
Define Message
You can create a multi-channel campaign to send users. To send a campaign message, you can choose from the four notification types:
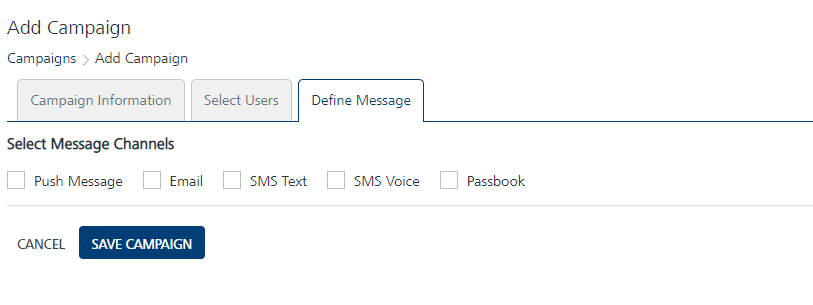
Draft Status
When you do not define any message for the campaign and save it, the campaign status changes to the Draft under the Status column in the list-view.


