Comments in WCM
Starting from CF213, the product contains a new solution that allows users to leave comments for Web Content Manager (WCM). These comments can be used in Intranet scenarios or in controlled settings allowing external comments.
This page describes how to enable, configure, and disable the solution.
Overview
WCM Comments is a feature that allows customers to enhance their presentation template by adding in a plugin for commenting. The actual comments are also stored in WCM and can be managed like regular content. You can choose which library is being used for storing the comments.
Only authorized users can view, edit, and delete the comments in the library where the comments are stored. For more information, see Managing users and groups.
The actions available for a user depend on their role:
- The User role or higher is required to see the comments.
- The Contributor role or higher is required to create comments.
- The Manager role or higher is required to delete comments. In addition to the Manager role, you can configure a specific group solely for deleting comments.
Note that this solution is not related to the existing comments for blogs/wikis ability.
Enabling the comments plugin in WAS Console
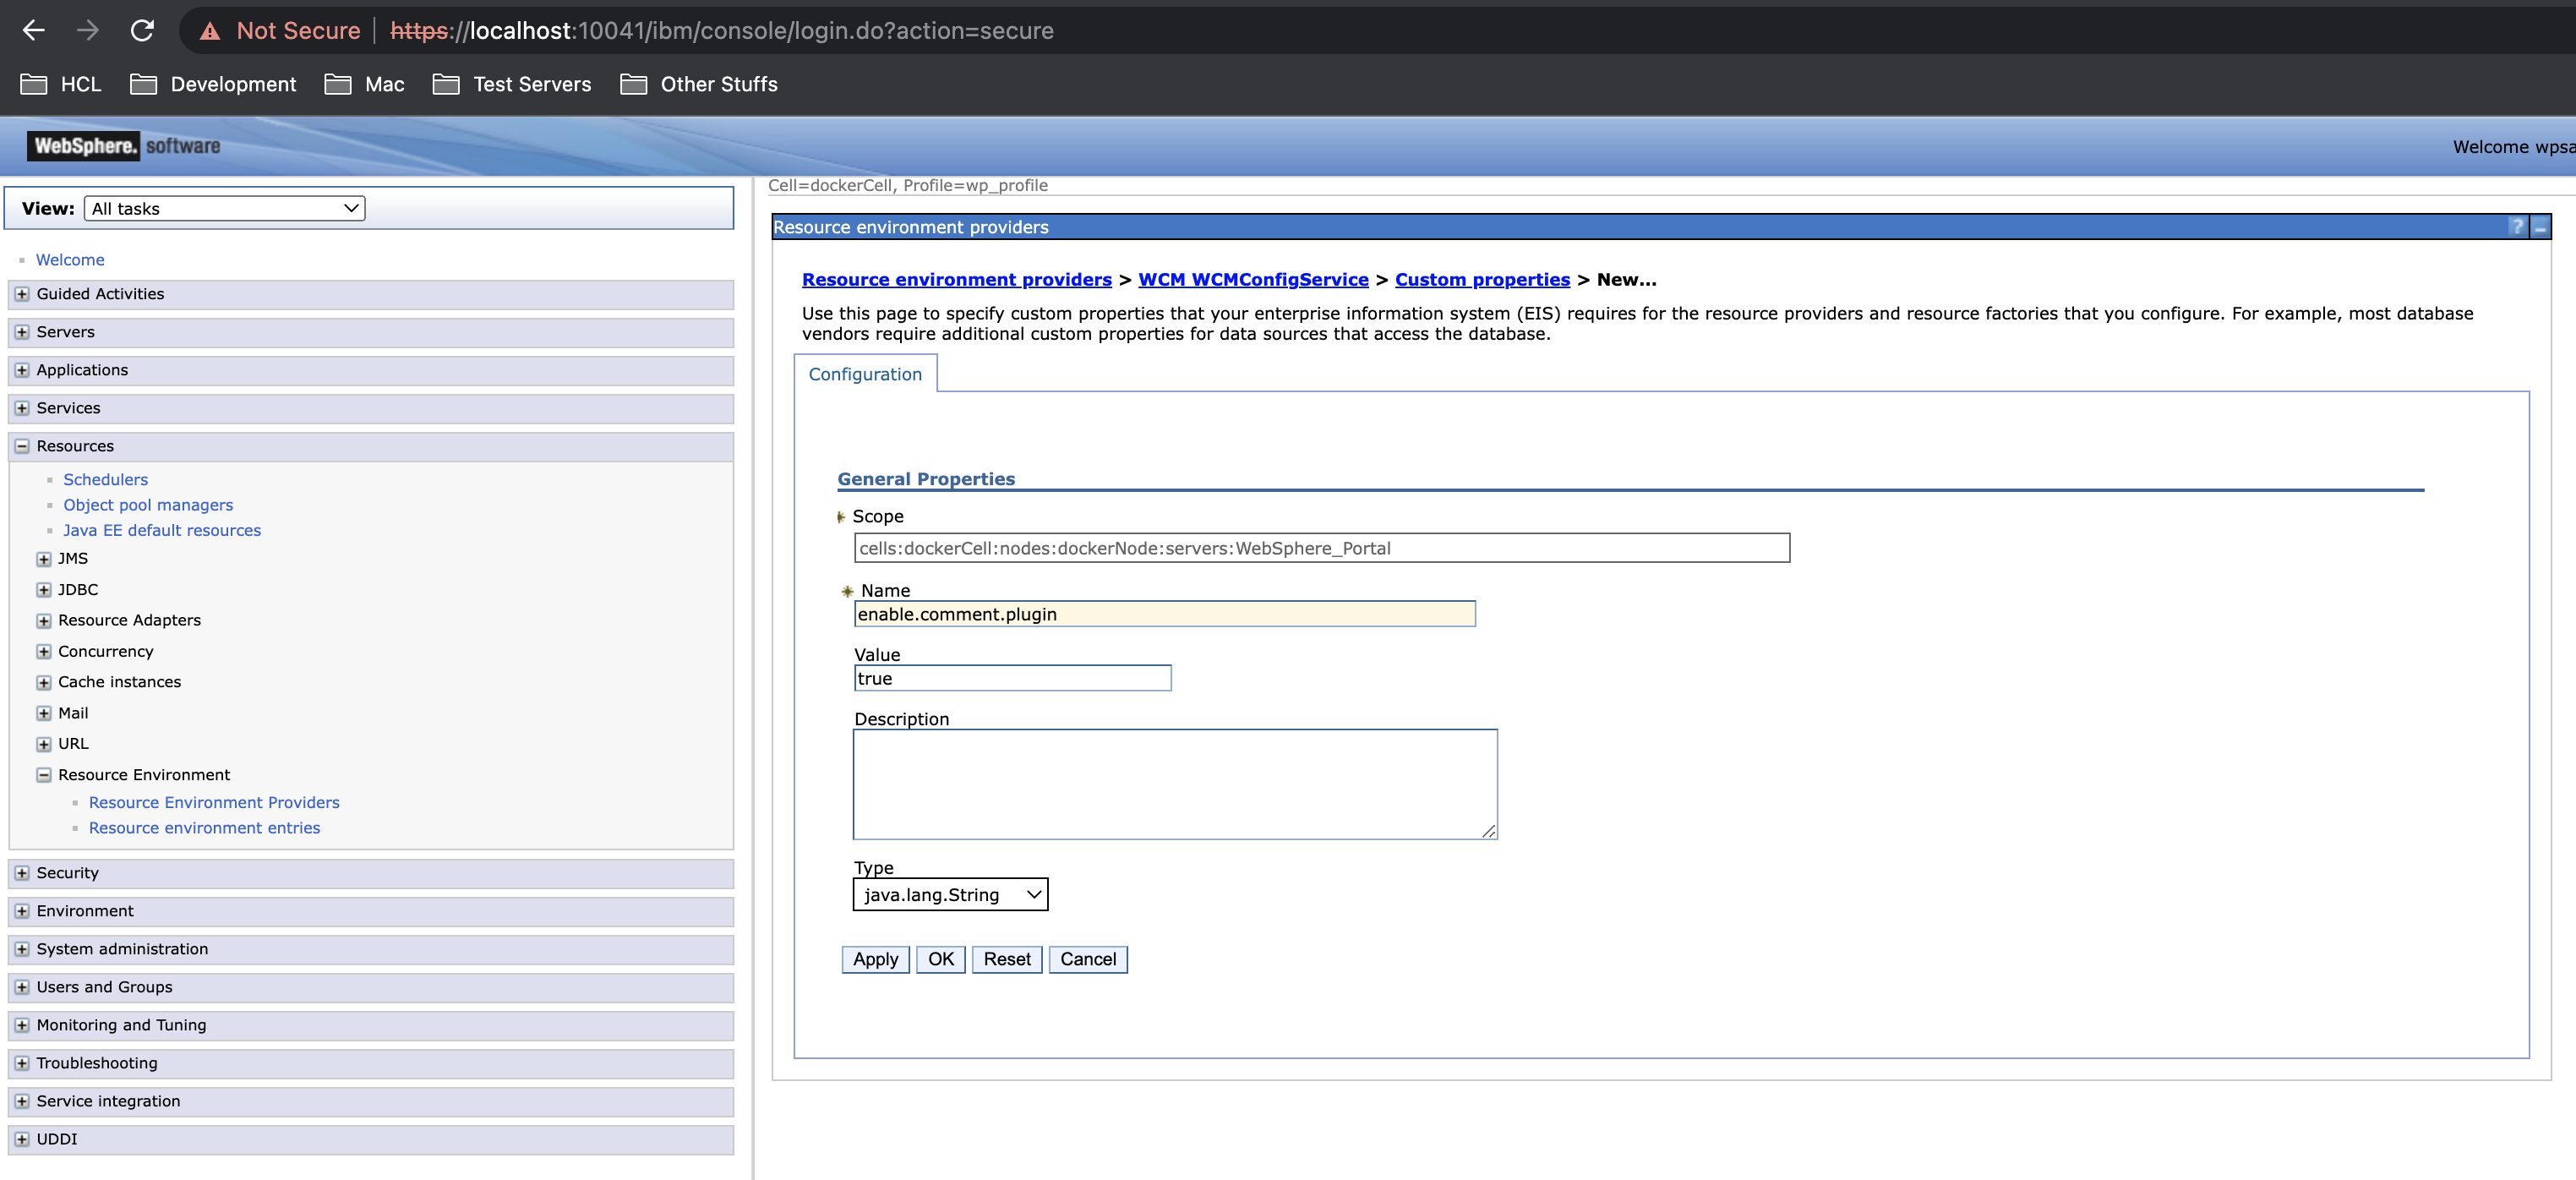
To make the comments plugin visible in the plugin component tag which should be added to presentation template, you must first add the configuraton in WAS Console. In WAS Console, go to Resources > Resources Environment Providers > WCM_WCMConfigService > Custom properties > New Property. Enter the following details:
- Name: enable.comment.plugin
- Value: true
- Type: String
Important
After adding the configuration, a JVM restart is required.
Adding Admin User Group Configuration in WAS Console for User Access Control (Optional)
By default, if the configuration for the admin user group is not present in the console, only users with manager-level access can delete comments.
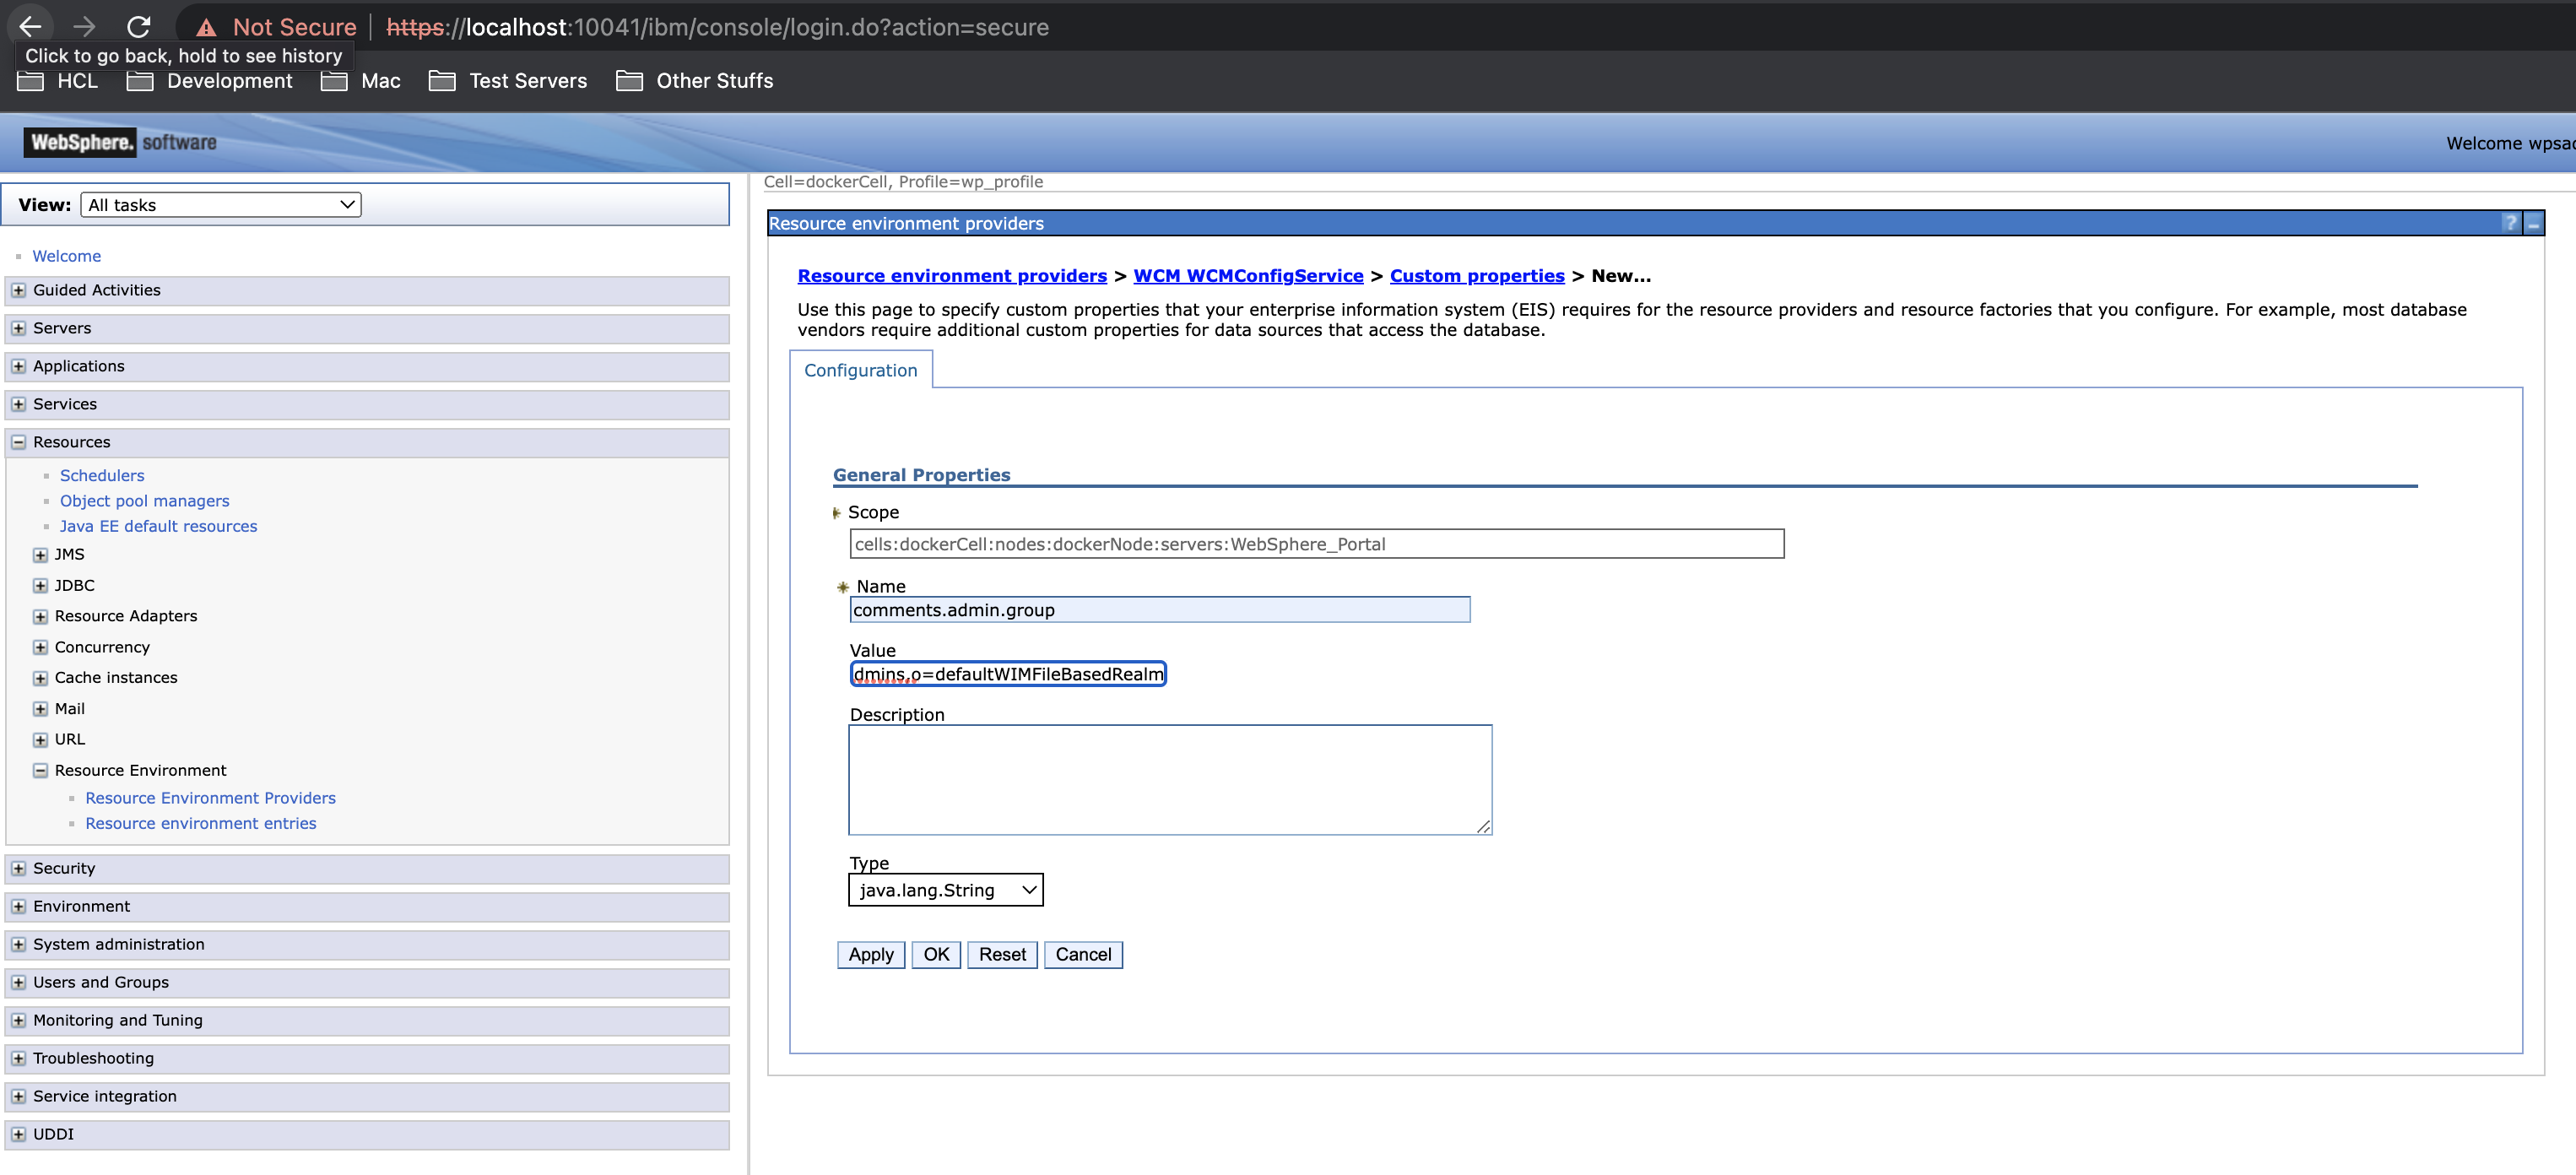
For security purposes, if you need to limit the delete comments option to a specific user group, you must add the following configuration. In WAS Console, go to Resources > Resources Environment Providers > WCM_WCMConfigService > Custom properties > New Property. Enter the details below:
- Name: comments.admin.group
- Value: cn={user-group},o=defaultWIMFileBasedRealm
- Type: String
user-group can be any user group such as managers, admins, editors, etc.
Adding Custom Plugin
- To use the custom plugin, add it to Libraries > Web Content > Presentation Templates > Article Presentation.
- In the Presentation Template Options, click the Insert Tag button to add the custom plugin.
- In the Insert Tag window, select the following values:
- In Select a tag type field, select Plugin Component.
- In Select a plugin type field, select Content.
- In Select plugin to reference field, select NewCommentRenderPlugin.
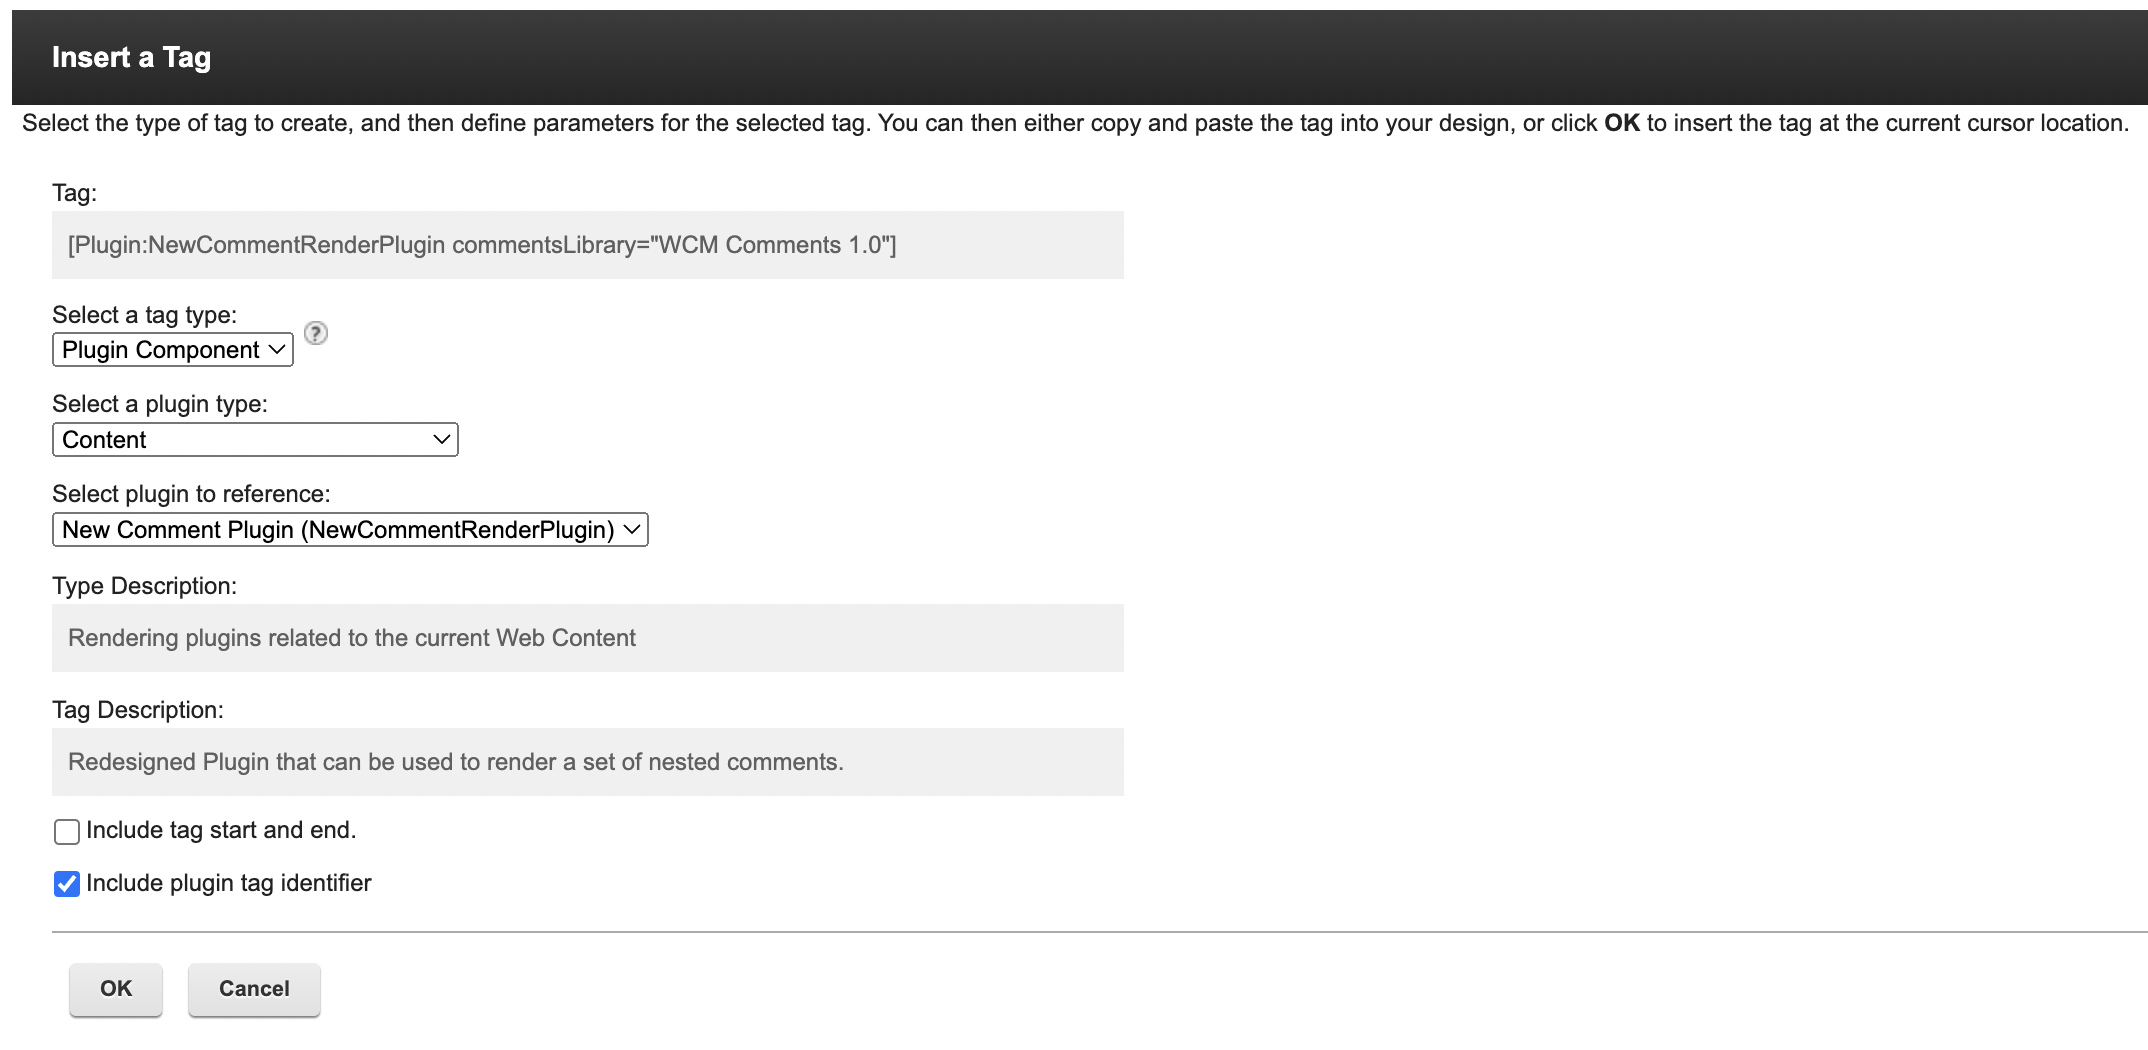
- Click OK after selecting all the values.
- The plugin tag for custom plugin is added on the Article Presentation body. Click Save and Close to save changes.
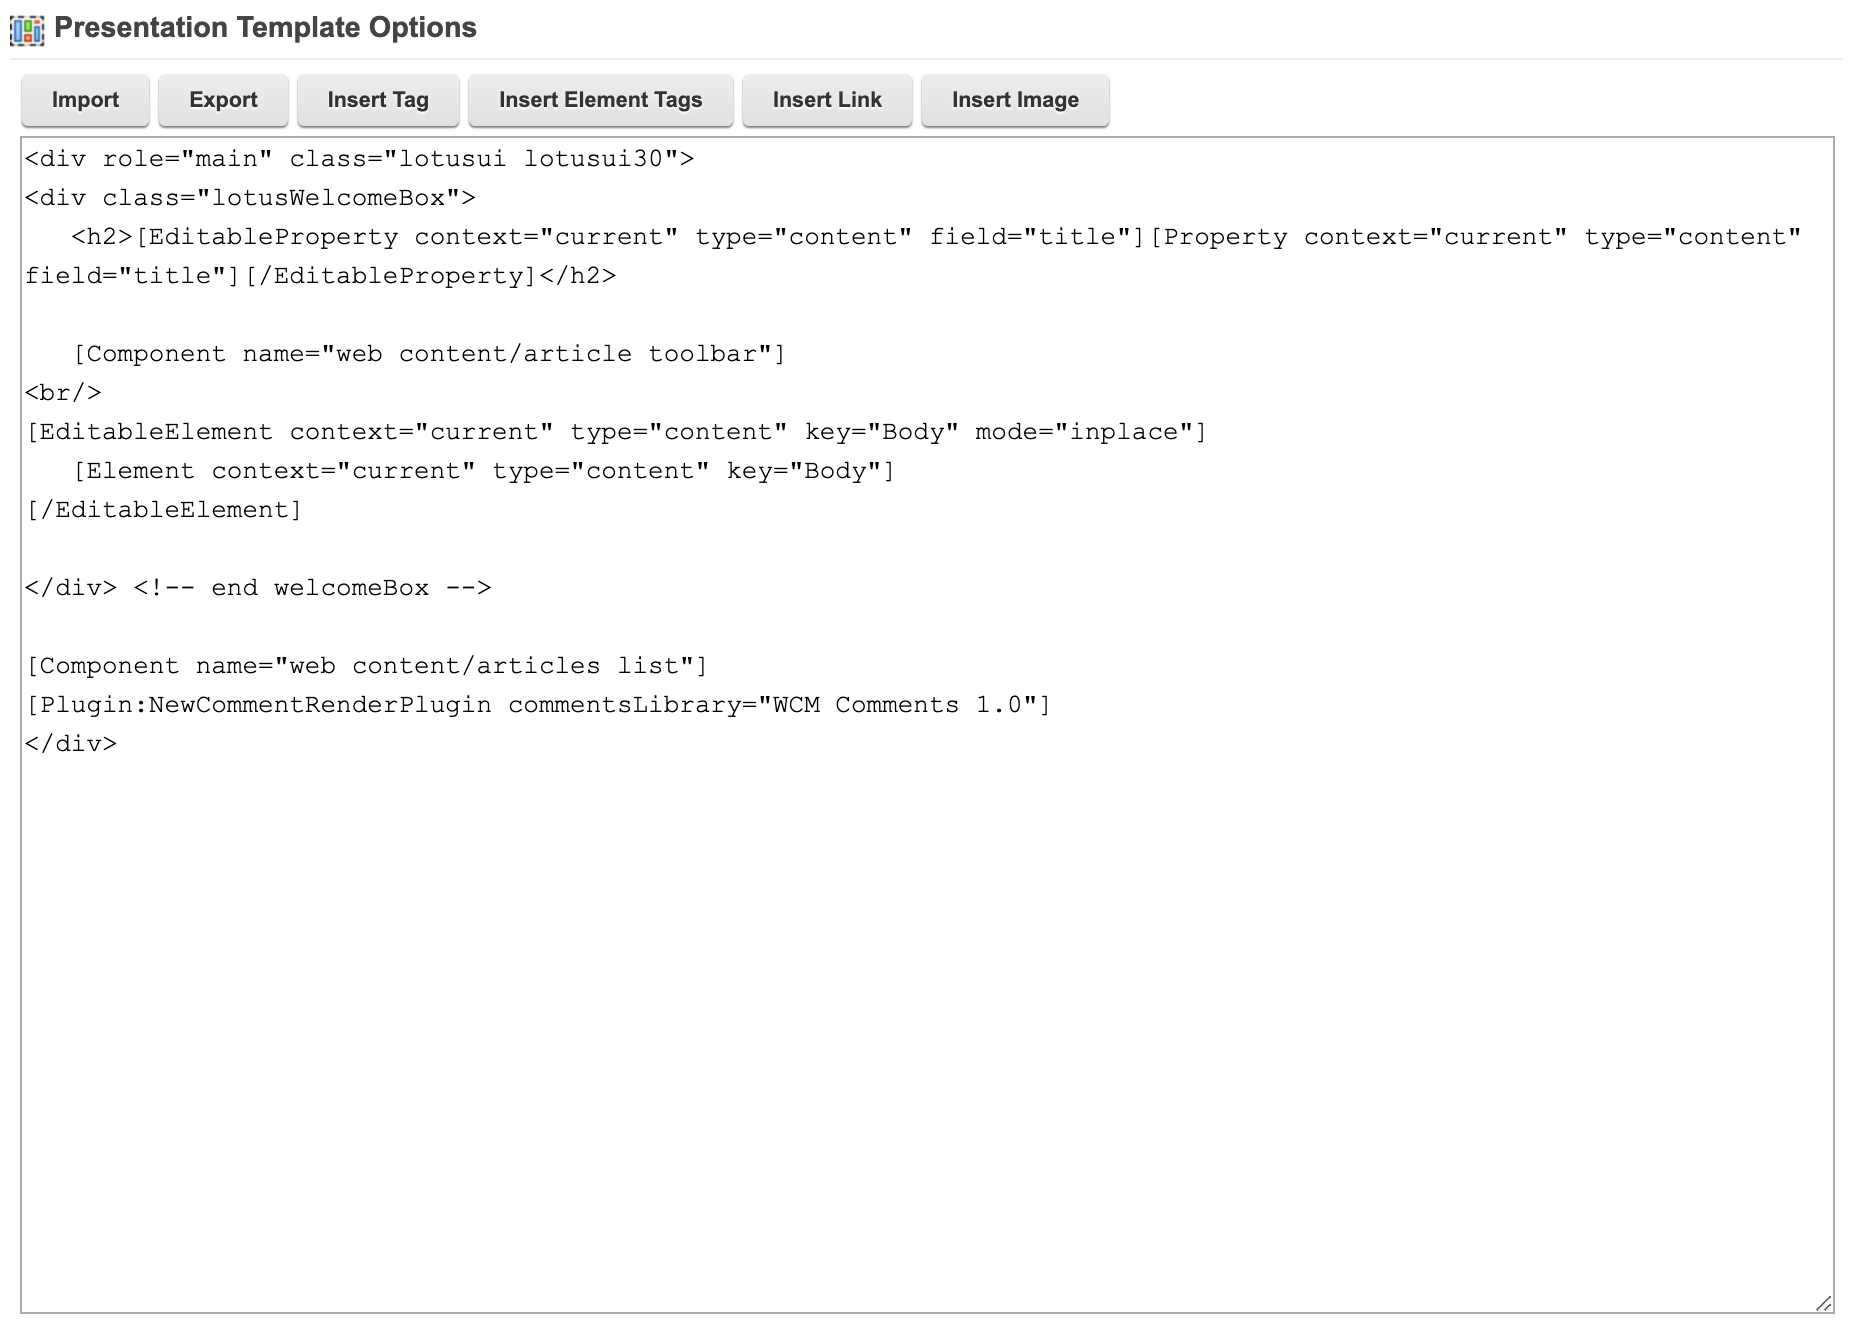
Note
You can specify the library you want to use for storing comments in the commentsLibrary field.
- Set up and view the Comments UI on the page.
- Click Create Page and add the content created in Step 5.
- Using the Web Content Viewer portlet, select the content to render.
- Click OK.
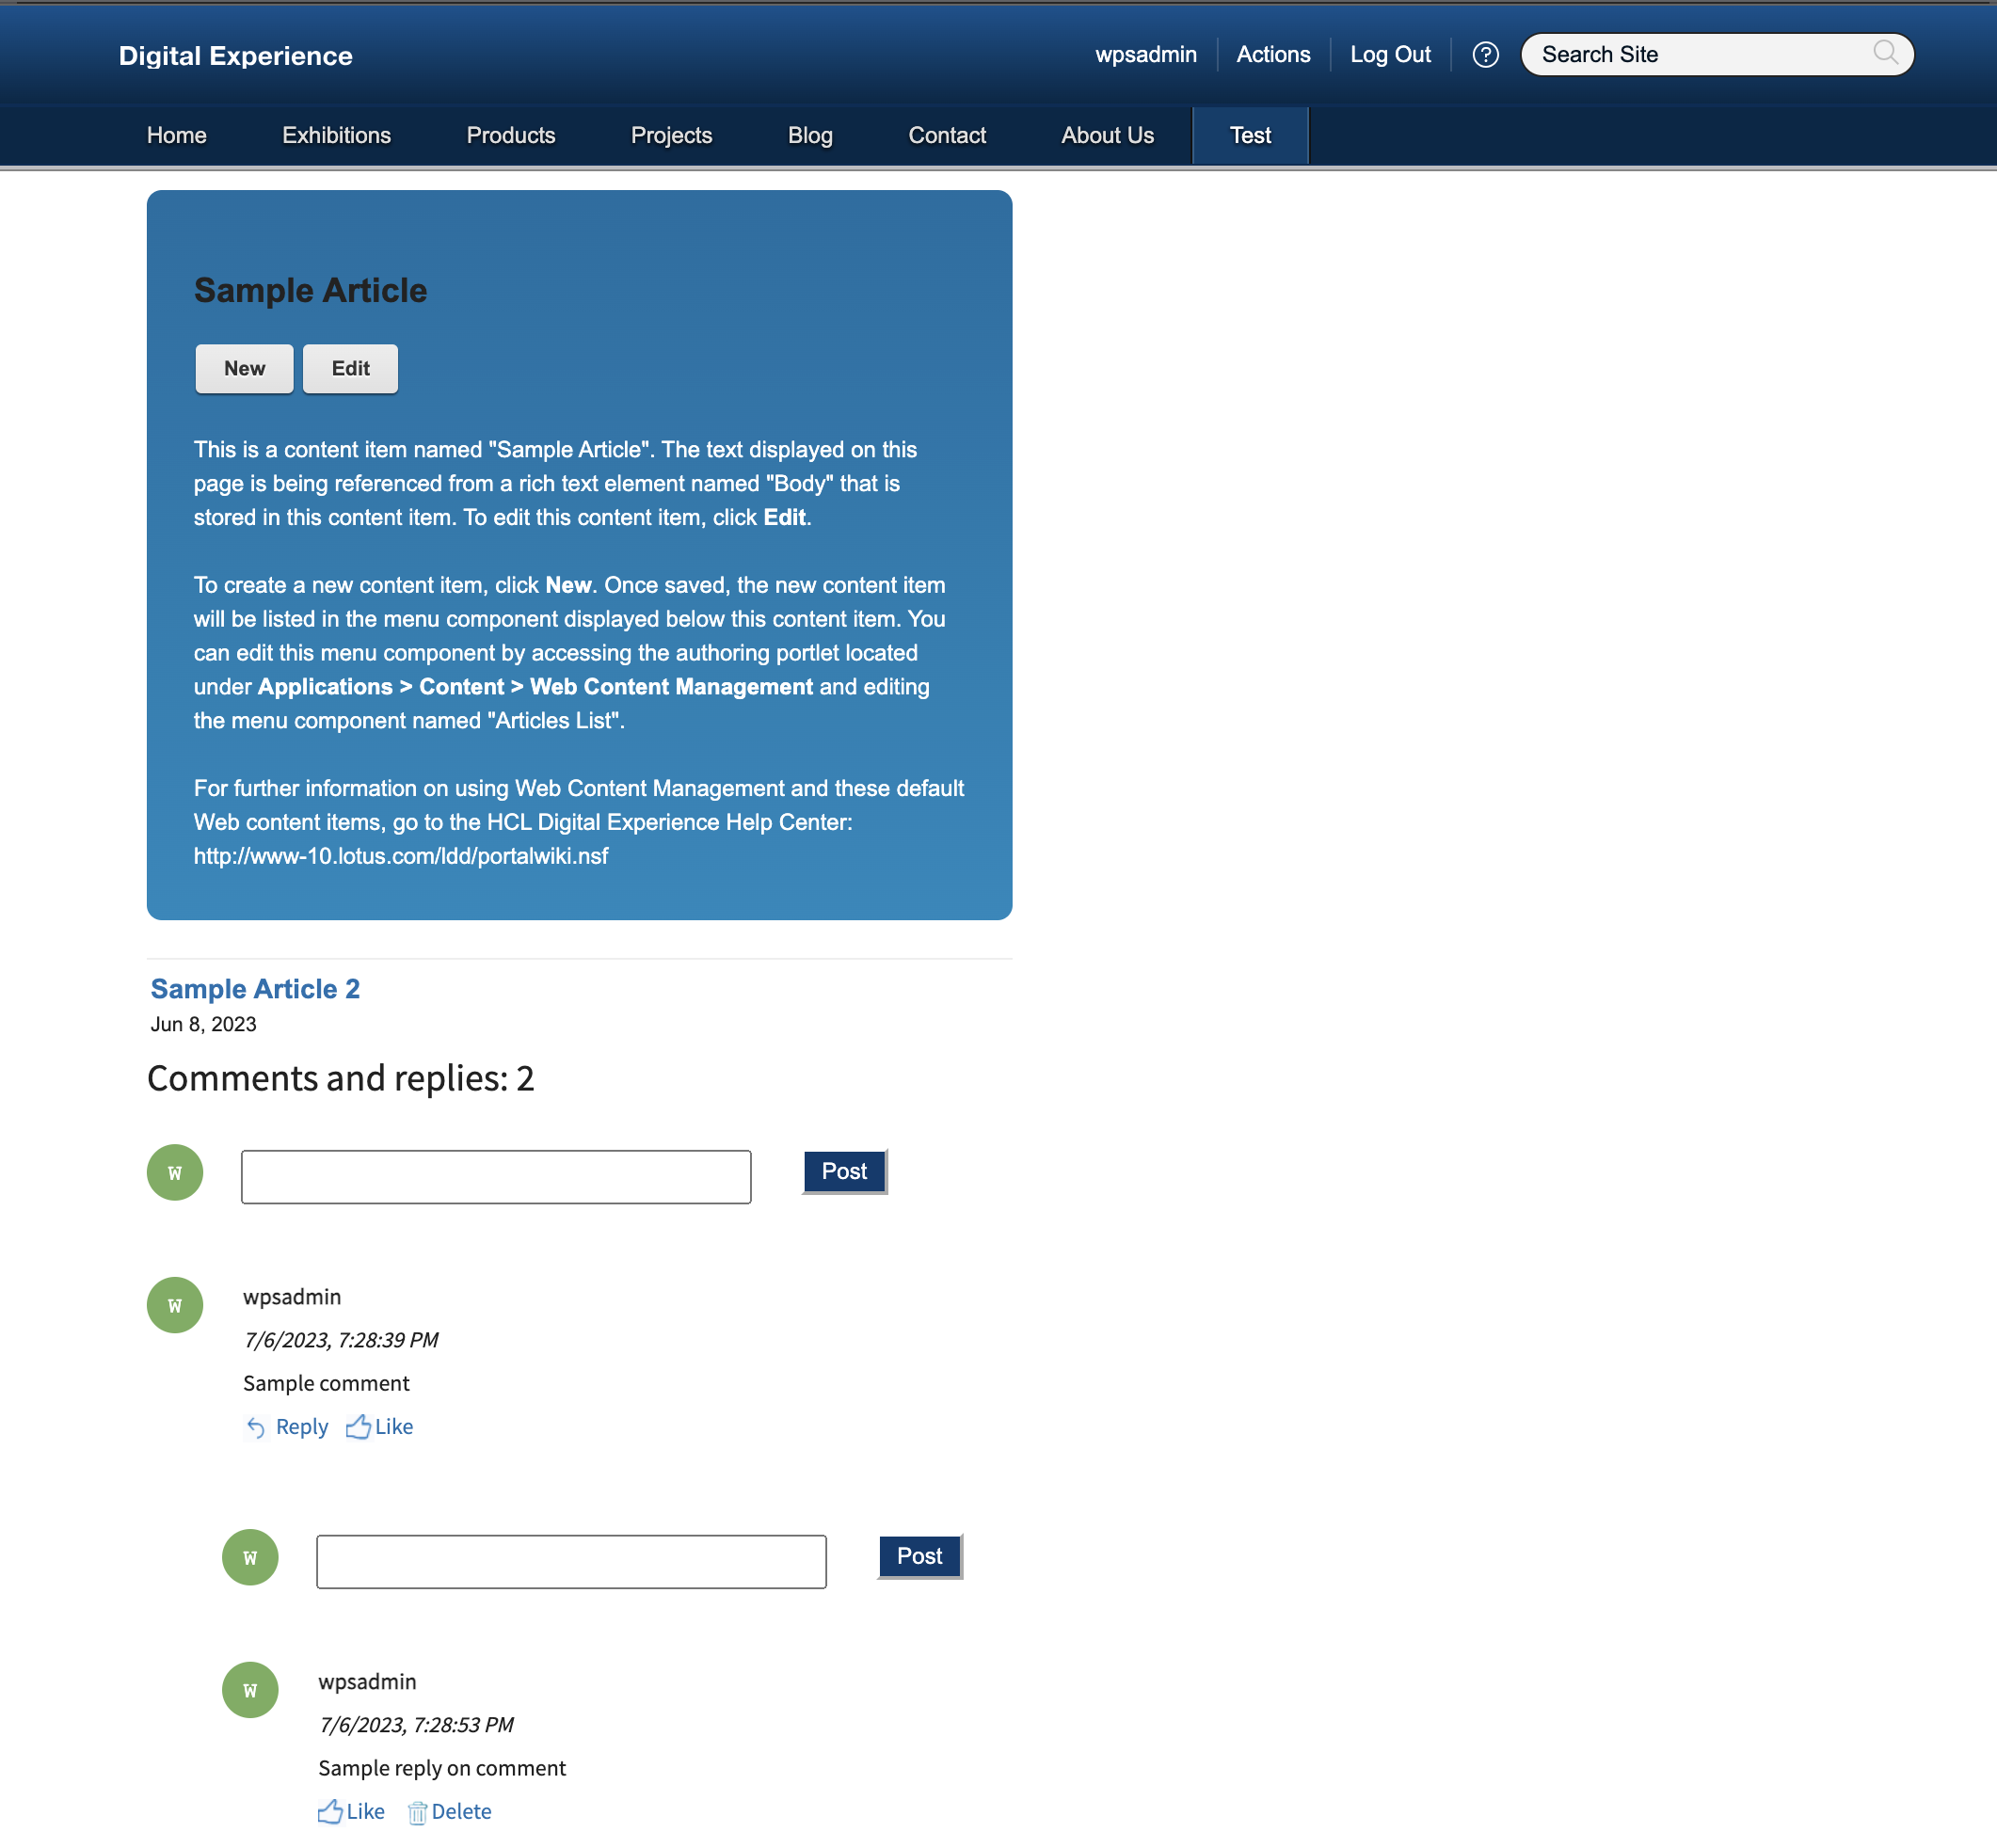
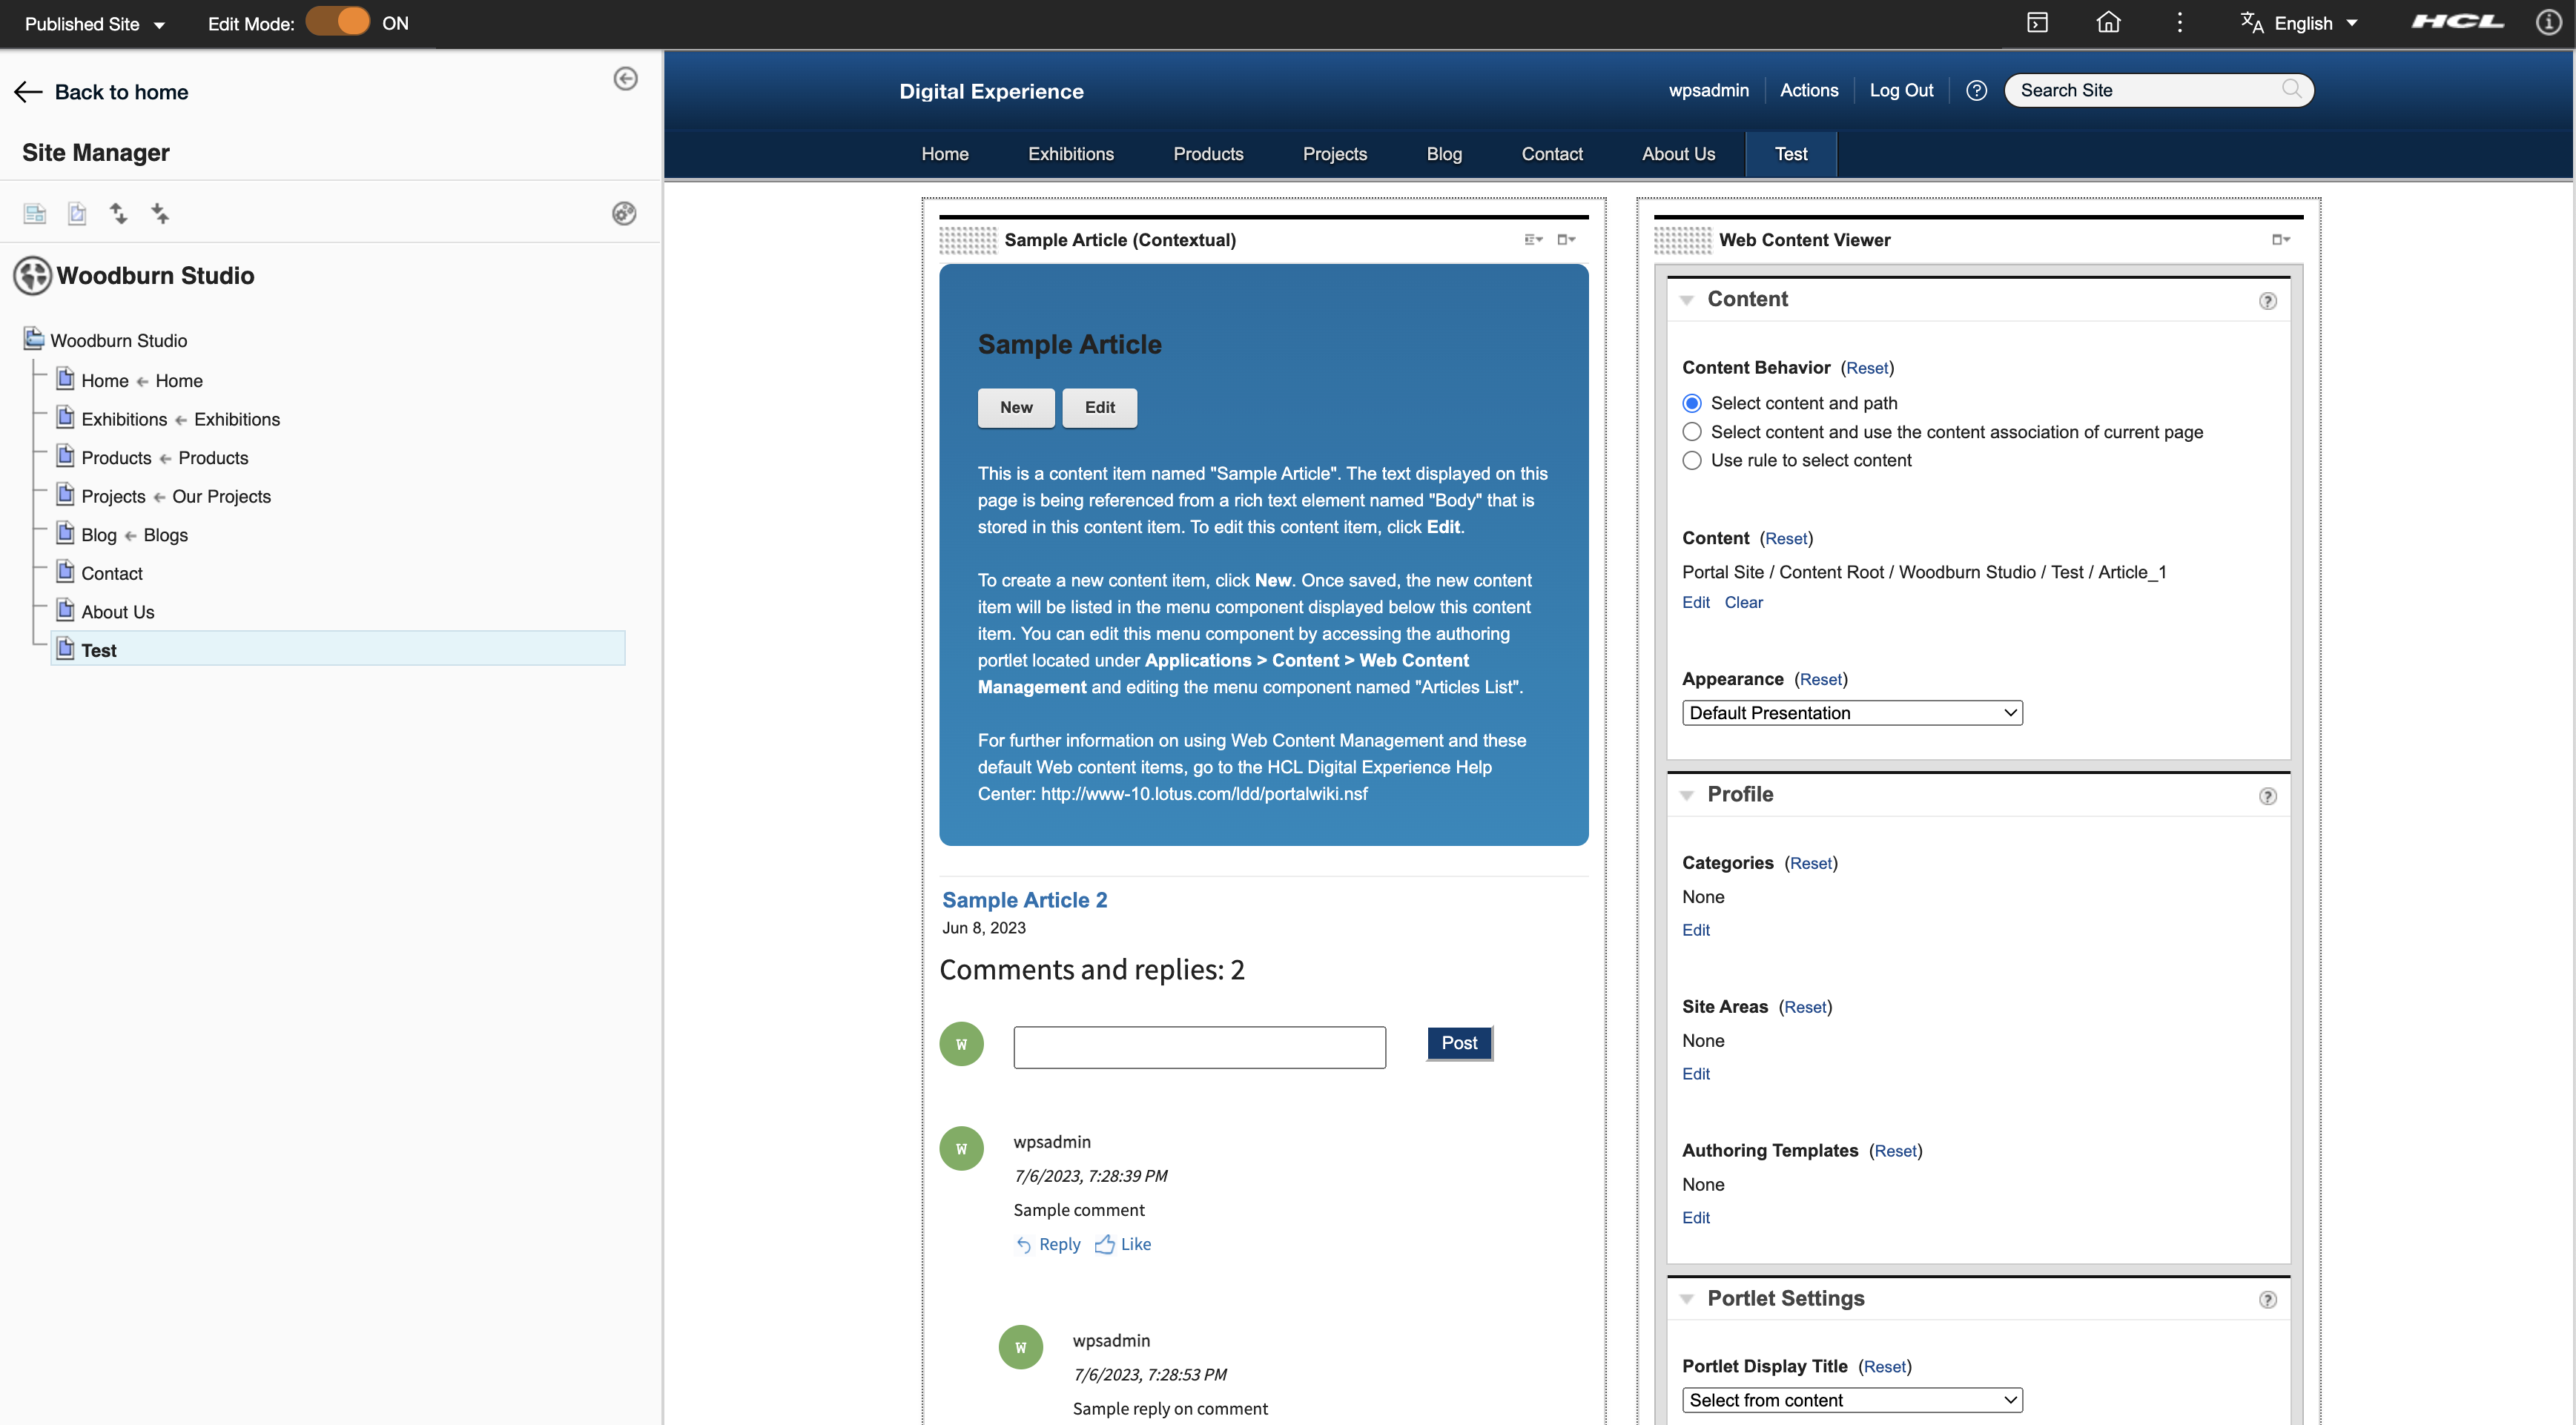 After setting up the comments UI on the page, you can now add, reply, like/unlike, and delete comments. You can also view the total comments count on the content item.
Limitations
- Nested replies to comments are yet supported.
- Posting and replying are limited to 500 characters.
- Rendering Comments outside the WCM rendering process (for example, from REST or a custom Servlet or JSP via the java WCM API) is not yet supported.
Update global "Article" presentation template
If you want to perform a replacement of the OOB components that are shipped, see Adding the sample web content libraries in the authoring portlet.