HCL Domino Notebook Template
An HCL Domino template to create, categorize, and print Notebook entries. Your Notebook application file can be used either in the Notes Client or in a Web browser. However, it is stored locally. To store a copy on the server, see the information below on creating a copy of your Notebook to use offline.
Table of contents
Info
| Property | Value |
|---|---|
| Filename | notebook12_EN.ntf |
| Templatename | Std12Notebook |
| Template version | 12.0.2 |
| Signed by | Open Source Template/Domino Development |
| Optimized for | Notes Client |
Creating a Notebook entry
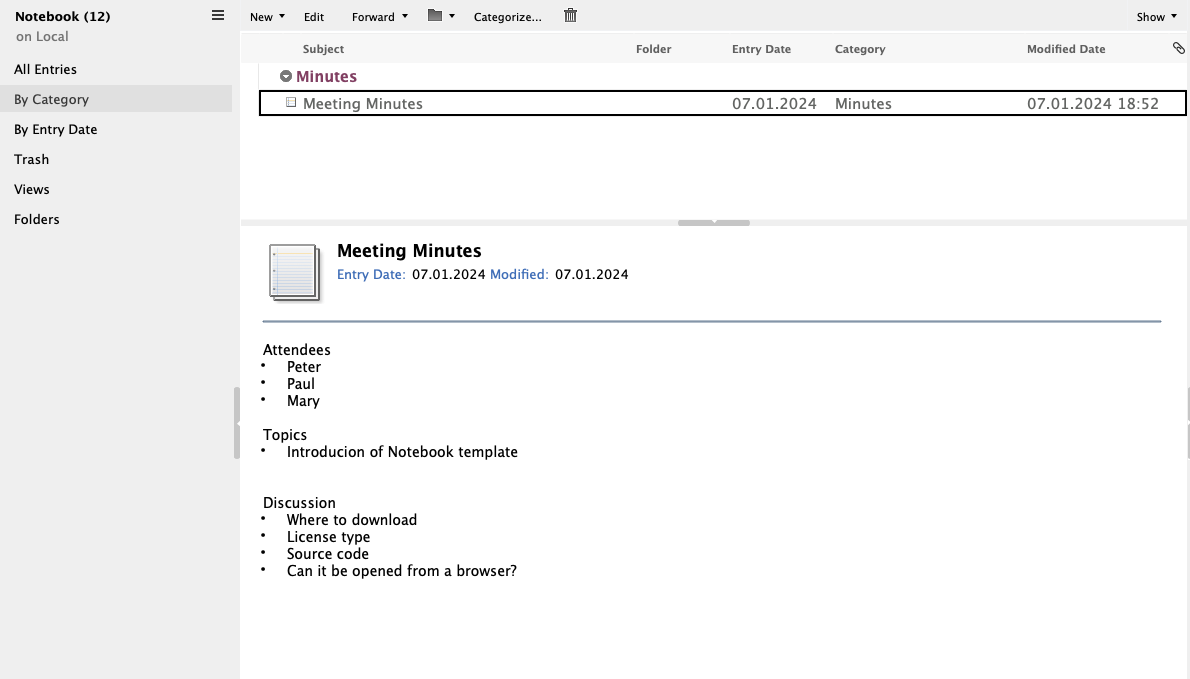
A Notebook entry is the default document in your Notebook application. Click New to create a new Notebook entry.
Printing a Notebook entry
When you create a Notebook entry, you determine what to include as a header using the Display action menu. By default, when you print an entry, the header information is also printed. To print an entry without a header click Print Without Header on the action bar.
Using views and folders
You can view Notebook entries by category or entry date, or view all entries. You can organize your entries into folders that you create. When you delete a Notebook entry, the document is moved to the Trash view, where it remains for a duration you specify (the default is 48 hours).
Creating a copy of your Notebook to use offline
Consider keeping a copy (replica) of your Notebook on a server and replicating frequently to ensure that you always have a back-up copy of your Notebook entries. For extra insurance, on the replication settings for your local copy, check the Send option Do not send deletions to other replicas. By doing this, you minimize the risk of accidental deletions.
Keeping your Notebook secure
To ensure that no one can access your Notebook without your Notes ID, encrypt your local Notebook application.
- Open your Notebook and then click File > Application > Properties.
- Click Encryption Settings.
- Select Locally encrypt this database using, and then select an encryption strength. For more information about encrypting applications and creating replicas, see Notes Help (Help > Help Contents).