Downloading and Configuring the Engagement Services Demo Client Application
The section explains how to download the Engagement demo application from GitHub and configure the app using Iris for Android devices. We assume that Android SDK and Iris IDE are installed.
To download and configure the Engagement demo client application, follow these steps:
-
Connect to the URL https://marketplace.demo-hclvoltmx.com/items/volt-mx-engagement-demo where the application is located.
The VoltMX-Engagement-Service-Demo page appears.
-
On the upper-right corner of the page, click Download and save the zip file on your system.
The list-view displays following files:
- Binaries: Contains the binaries (Android) of the VoltMXMessagingDemo app.
- VoltMXMsgDemo app: Client side VoltMXMessagingDemo application code.
- License.txt: GitHub provides an option to include a software license in your project when you create a new repository.
- README.md: README.md generates the.html summary you see at the bottom of projects.
-
Close the VoltMX-Engagement-Service-Demo-Iris page.
- Open Iris. The Iris dashboard screen appears.
-
Under the File menu, click Import > Local Project.
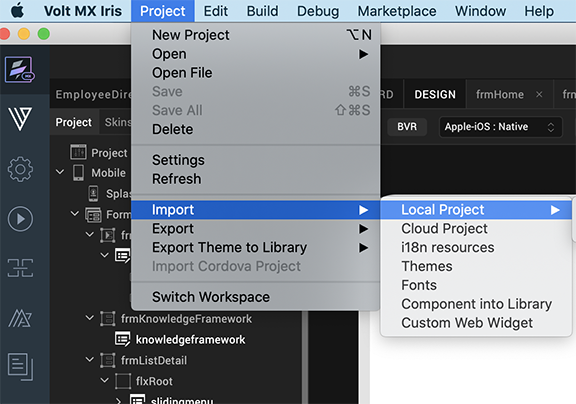
The Import Volt MX Project window appears.

-
Click the Browse button and navigate to the project folder that has the files you want to import.
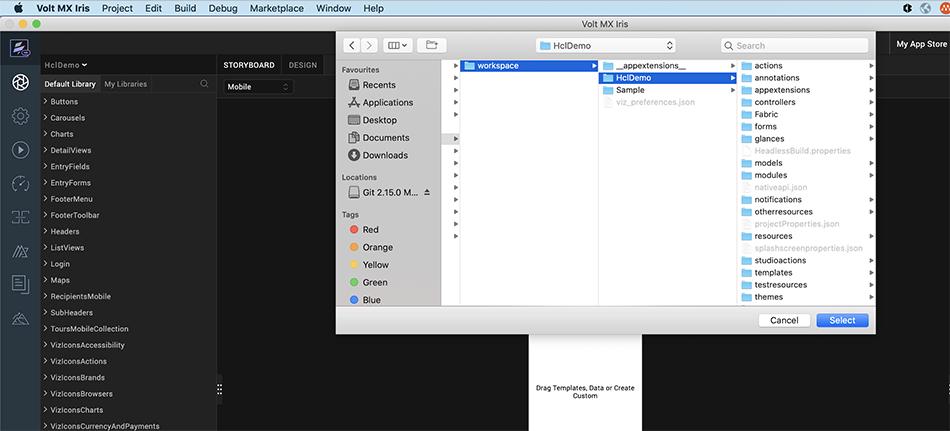
-
Select the VoltMX Engagement Services Demo App and click Finish to complete the importing of project in to Iris.
The Engagement Services Demo App project opens into Iris.

The application is installed on an Android device.
-
Click Project Settings under the Project tab from the left panel to open the Project Settings window.
The Project Settings window appears.
-
In the Project Settings window, Choose Native tab > Android tab.
The Android tab window appears.
-
SDK Versions: Choose Target and Maximum from the drop-down list for which the binary needs to be generated.

