Demo App QuickStart Guide (for Android Devices): Downloading and Configuring the Demo Client Application on an Android Device
Downloading and Configuring Volt MX Foundry Engagement Demo Client Application on an Android Device
The section explains how to download Volt MX Foundry Engagement demo application from location below and configure the demo client application to receive email, push and SMS notifications.
- Click Engagement demo application where the application is located. Log in with your cloud credentials to download and launch the application.
- Launch the Engagement demo app that was installed earlier on the Android device.
-
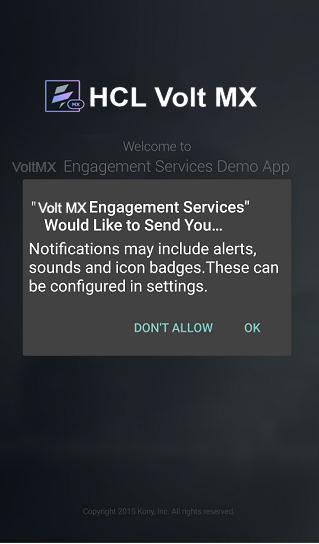
The first screen of the application prompts the user to accept push notifications. Click Ok to receive push notifications.
The VoltMX Engagement Services Would Like to Send You... alert message appears.
-
Click Do not Allow if you do not want to receive the push notifications.
-
Click OK to receive the push notifications.
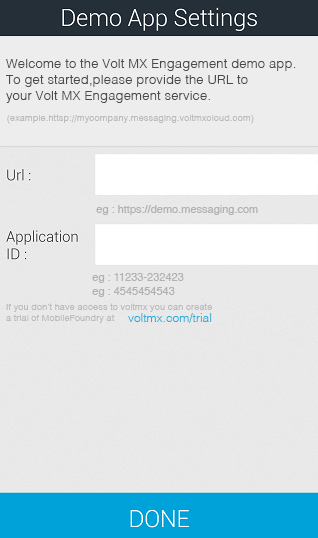
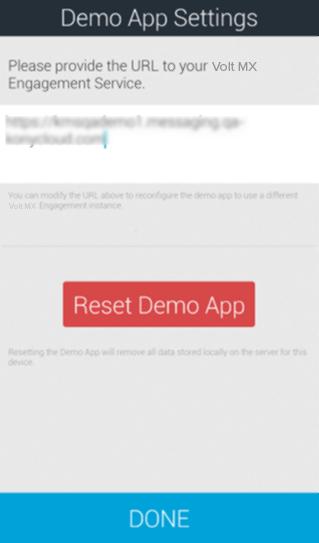
The Demo App Settings screen appears.
-
Enter the following details:
- URL: URL of the Volt MX Foundry Engagement server (cloud) that you will connect to.
- Application ID: Application ID that is configured in the Engagement server console.
- Sender ID: The Sender ID is same as the project ID used to create the GCM key.
-
Click Done.
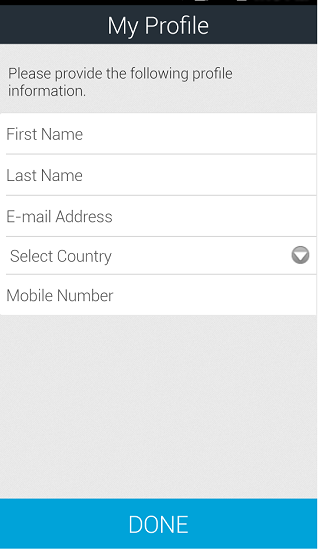
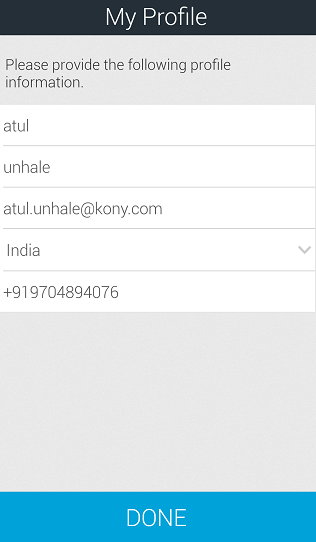
The My Profile screen appears.
-
Next, enter the following details for your profile:
- First Name: Your first name.
- Last Name: Your last name.
- E-mail Address: Your personal email address.
- Select Country: Select the country from the drop-down list.
- Select State: Select the state if (US only).
-
Mobile Number: Your mobile number.
Note: Engagement server Version 7.3.1 onwards: The Mobile Number is mandatory only when it is selected as the reconciliation key, else it is optional.
-
Click Done to continue.
The system displays the confirmation message that details added successfully. The information helps create the user and subscription in the Engagement server.
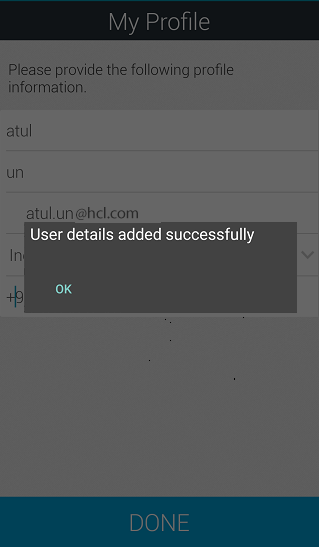
-
Click OK to continue.
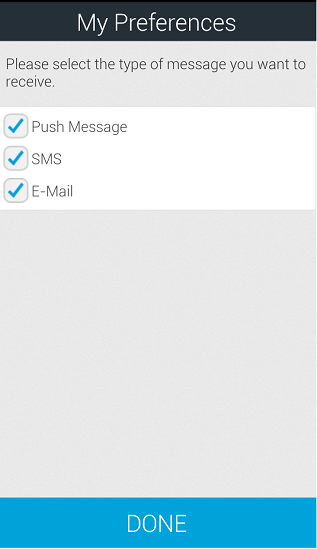
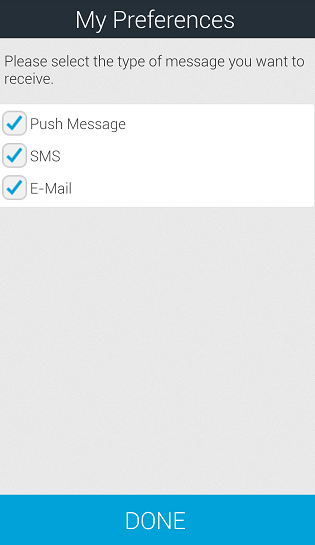
The My Preferences screen appears. The My Preferences screen helps you to subscribe for push, email, and SMS notifications.
-
Based on your requirement, select the type of notifications.
-
Click Done to create a subscription in the Engagement server for all the selected types of notifications.
The system displays the confirmation message that details are added successfully.
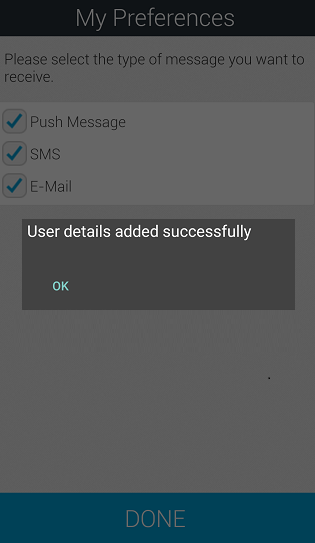
-
Click OK to continue.
The VoltMX Engagement Service Demo app is installed on your mobile device. The app displays the start screen with the My Profile icon, My Preference icon, and Trigger Event icon.

-
Click My Profile to view your profile. Edit any information as needed, and click Done to update the profile information.
-
Click My Preferences to see the existing subscriptions and to update the required subscriptions.
-
Based on your requirement, update the existing subscriptions. Click Done to update the information.
-
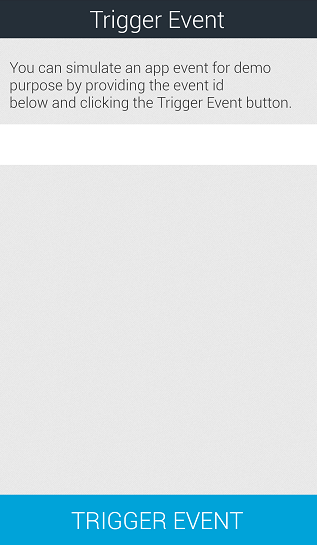
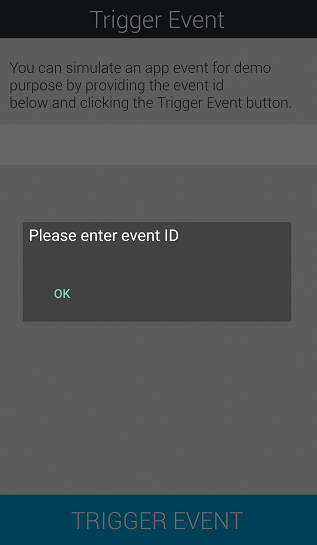
Click Trigger Event to trigger an event using an event ID.
-
The system asks the user to enter the event ID. Click OK to continue.
-
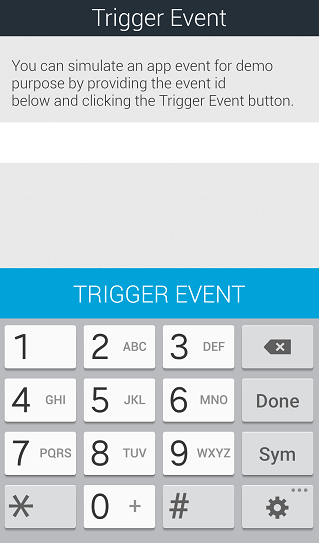
The system displays the keypad to enter the event ID.
-
Enter the event ID, and click Trigger Event to continue. The Trigger Event screen shows the confirmation message that the event is triggered successfully. For more information about how to add events, see Adding an Event
- Click the back icon on the top left corner to launch the start screen.
-
Click the gear icon on the Start screen to reset the settings for the demo app.
The system displays the Demo App Settings screen.
-
In the Demo App Setting screen above, click Reset Demo App to delete the existing user information.
- Click Ok on the alert to reset the demo application. The alert displays the confirmation notification that the user is deleted successfully.
| Rev. | Author | Edits |
|---|---|---|
| 7.3.1 | AU | AU |