Build on Push for Flyway jobs
App Factory provides the ability to create triggers, which are specialized jobs that are used to automate and run tasks for your projects.
To execute your Flyway scripts on push, you must configure a Webhook in your SCM system to invoke App Factory and create a watcher job in your App Factory project to fire in response.
For more information about creating Webhooks, refer to the following sections.
For more information on how to create a watcher job in App Factory, refer to Configuring a Watcher Job in App Factory.
Every project contains a sub-folder called Triggers in the Databases folder. The Triggers folder contains a job called createFlywayTrigger (to create triggers), and a sub-folder called watchers, which contains the jobs that build a specific branch selection when they receive a call from the webhook on the SCM system.
Creating Webhooks in GitHub
Prerequisites
Make sure that you have permissions to change the settings of the GitHub repository.
Configuring a Webhook
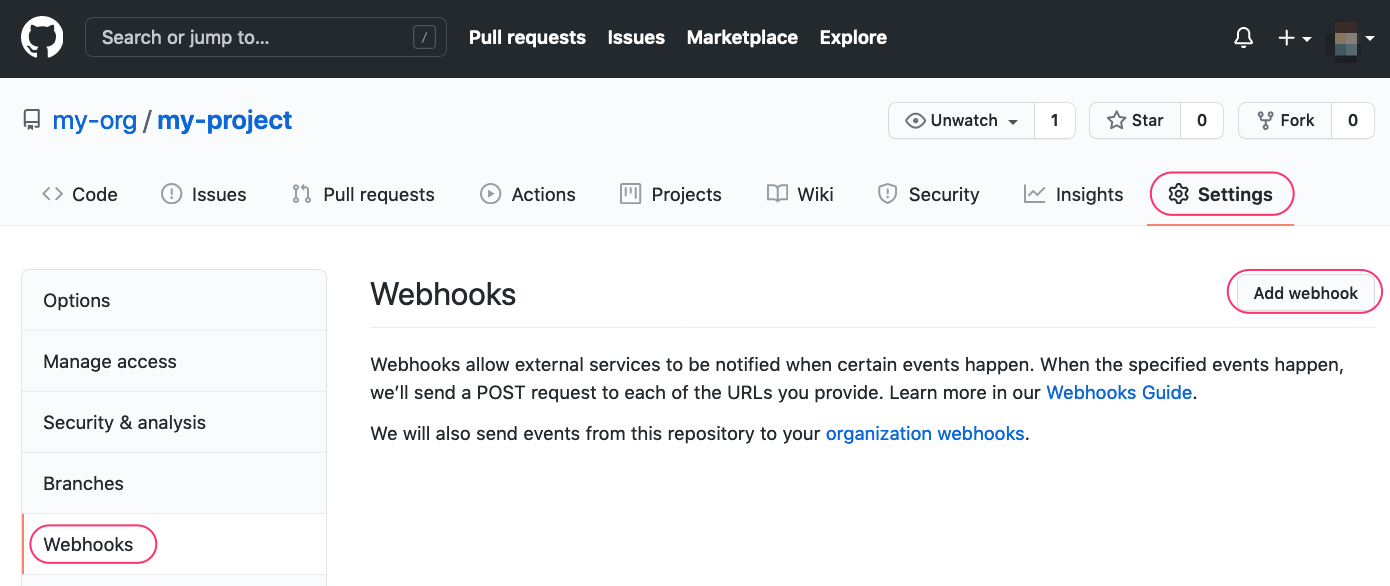
- Open your GitHub repository in a web browser, navigate to Settings → Webhooks, and then click Add webhook.
The Add webhook page opens.
-
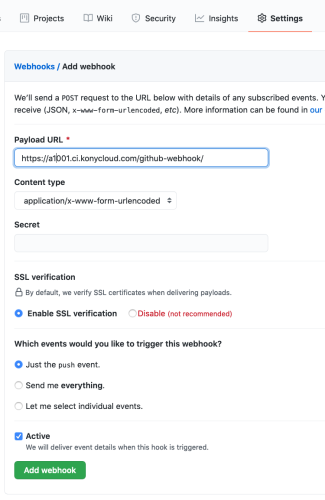
Configure the following parameters in the Add webhook page:
-
Set the Payload URL to:
https://<App Factory domain>/github-webhook/
For example:https://a1001.ci.voltmxcloud.com/github-webhook/
For more information, refer to Payload URL Format.Note: The last forward slash in the Payload URL is mandatory.
-
Content type must be
application/x-www-form-urlencoded - Jenkins verification does not require a Secret. Leave the field empty.
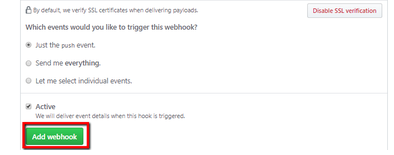
- Select the Just the push event option. Only pushes of code to a specific branch trigger the Flyway job.
- The Active option should be marked by default.
-
-
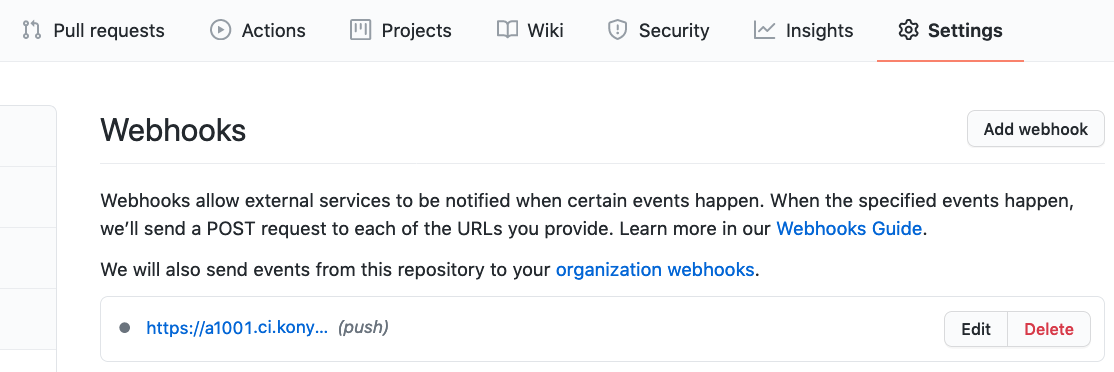
After you configure the necessary parameters, click Add Webhook.
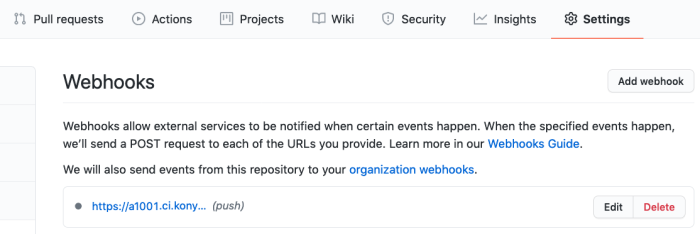
The webhook is created.

- You can Edit or Delete a Webhook by clicking the respective button. For more information about Webhooks, refer to the GitHub Webhook Documentation.
Creating Webhooks in Bitbucket
Prerequisites
Make sure that you have permissions to change the settings of the Bitbucket repository.
Make sure you have the Stash Webhook to Jenkins for Bitbucket add-on installed.
Configuring a Webhook
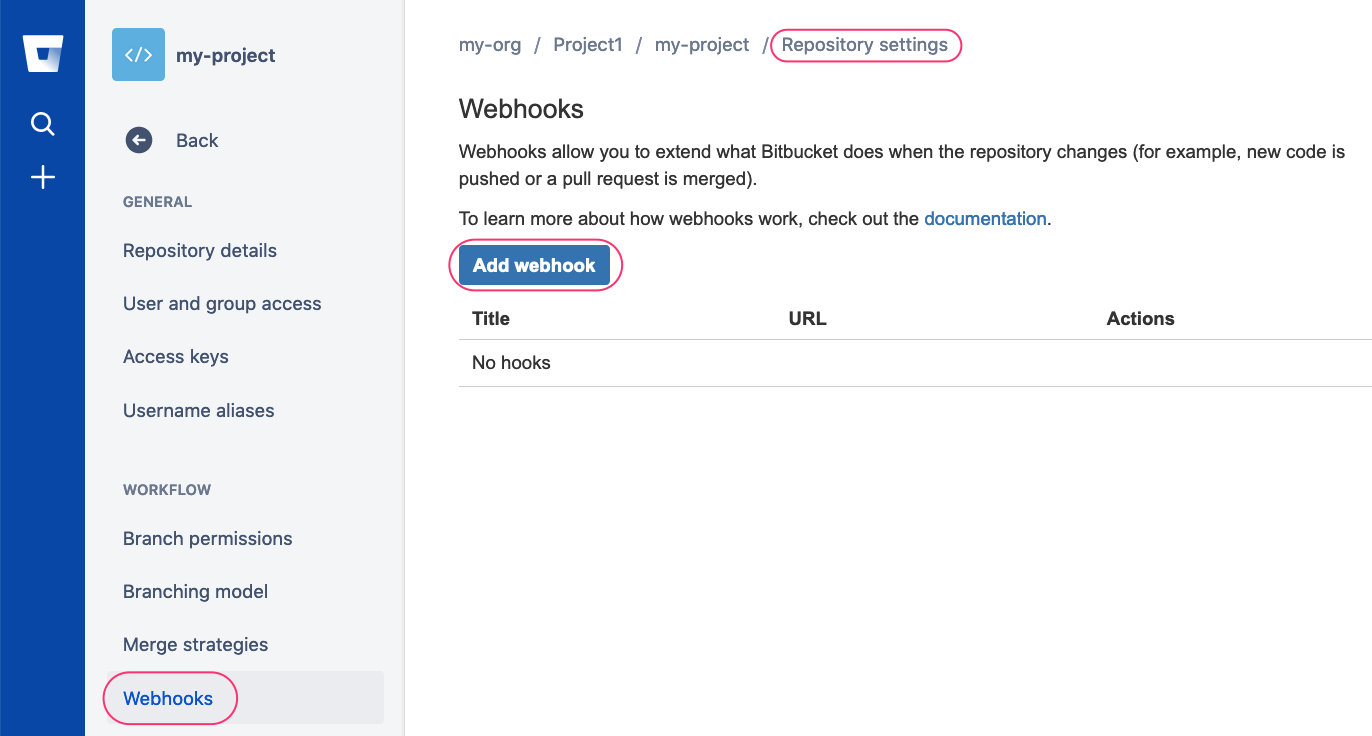
- Open your BitBucket repository in a web browser, navigate to Repository Settings → Webhooks, and then click Add webhook.
The Add webhook page opens.

-
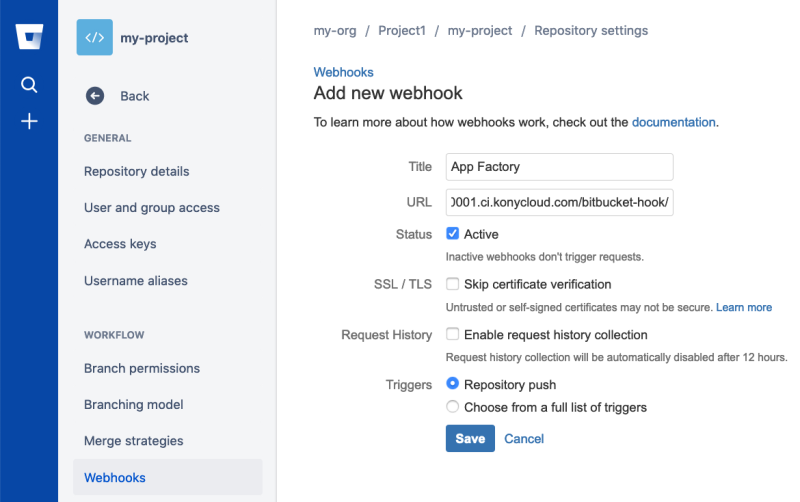
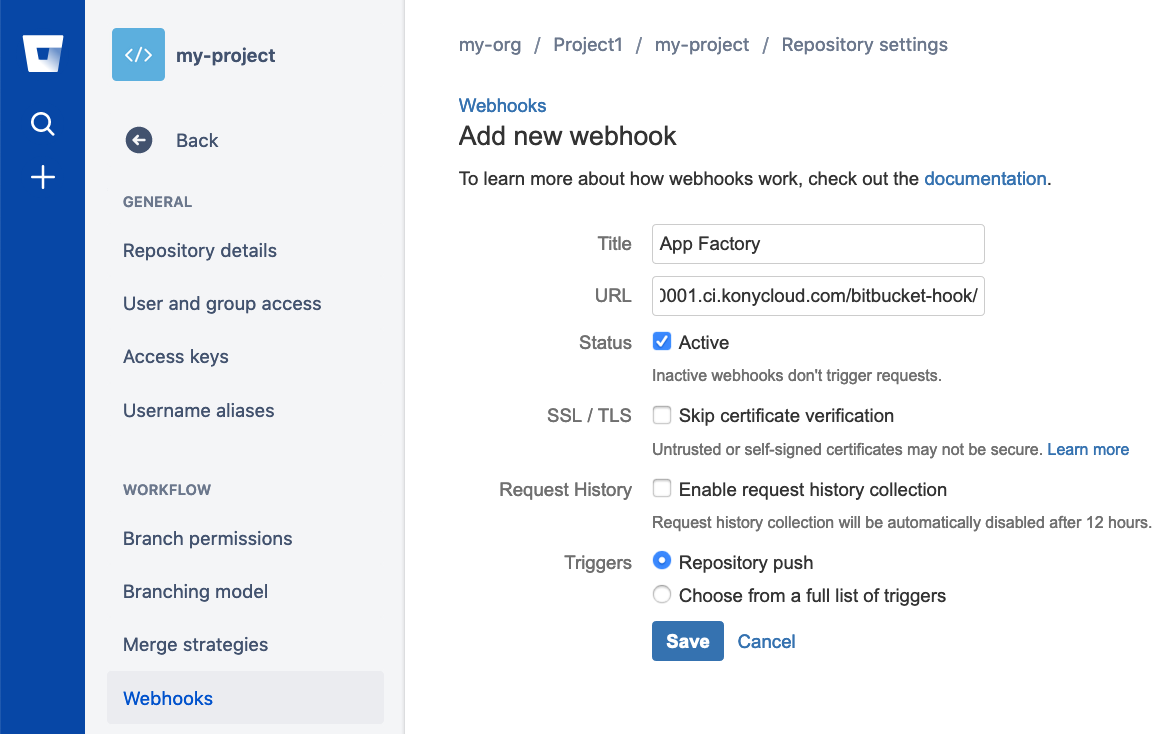
On the Add new webhook page, configure the following parameters:
- Set the title to
App Factory -
Set the URL to:
https://<App Factory domain>/github-webhook/
For example:https://a1001.ci.voltmxcloud.com/github-webhook/
For more information, refer to Payload URL Format.Note: The last forward slash in the Payload URL is mandatory.
-
Leave the status set to Active
- Select the Triggers option for Repository push
- Set the title to
-
After configuring all parameters, click Save.
Configuring a Watcher Job in App Factory
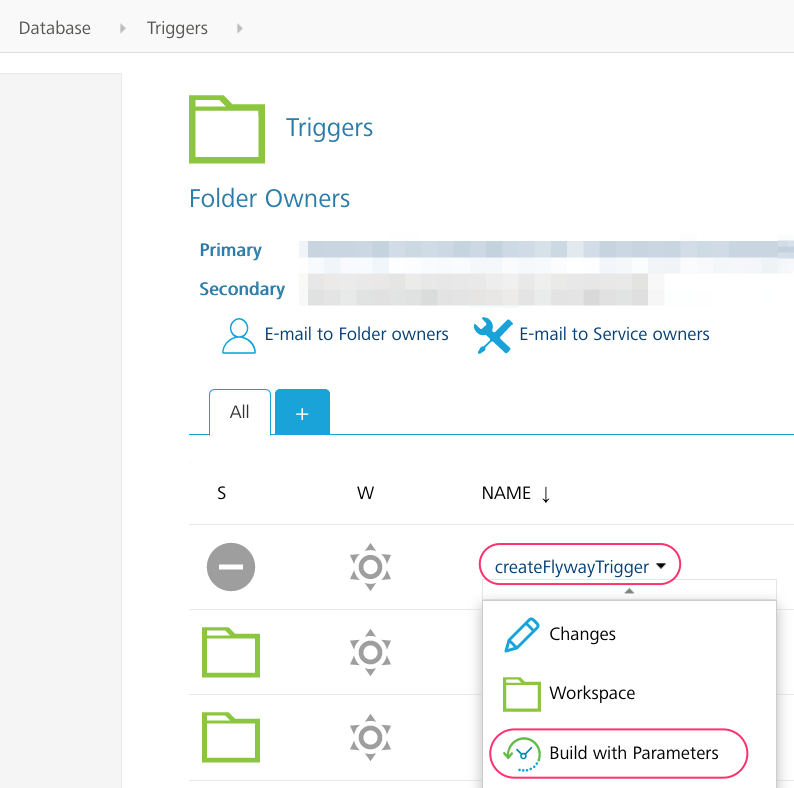
- From the Database folder of your project, navigate to Triggers.
- In the Triggers folder, click the build icon for the createFlywayTrigger job.
Alternatively, open the drop-down menu for the createFlywayTrigger job, and then select Build with Parameters.

- For the CRON_SCHEDULE parameter, make sure that the field is blank.
- Configure the remaining parameters for the job, which are the same as the Flyway job.
- After you configure the parameters, click BUILD.
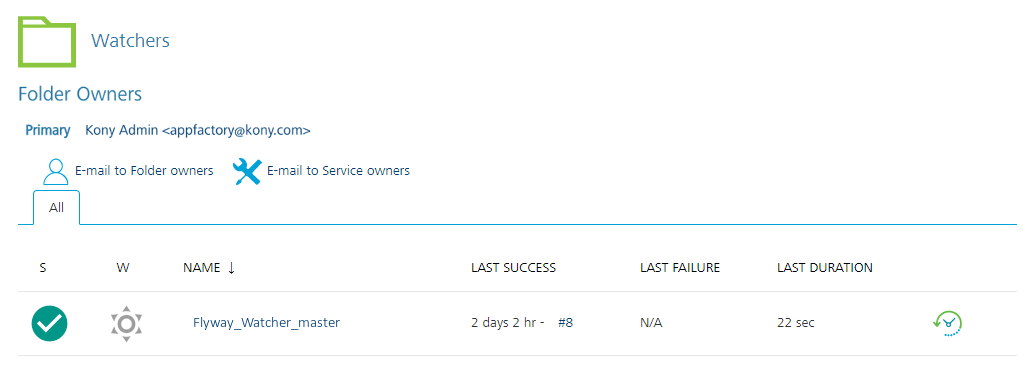
Jobs that are triggered when changes are pushed to a branch are stored in the watchers folder. You can tell what branch it watches by the branch specifier expression that is appended to the job name.
Reference: Payload URL Format
The format of the Payload URL depends on the type of Git server. App Factory supports the following Git servers:
| Server Type | Payload URL |
|---|---|
| GitHub Server | <App Factory URL>/github-webhook/ |
| Bitbucket Server (Stash) | <App Factory URL>/bitbucket-hook/ |