Adding User Attributes
You can add a custom user attribute only if the Admin has assigned the following permissions to you:
ROLE_CONFIGURATIONS,
ROLE_CREATE_ATTRIBUTES
If the Admin has not assigned, you the permission to add custom user attributes and you access the User Attributes page, the system hides the Add Attributes button on the home page.
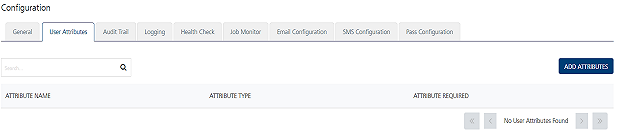
If the Admin has assigned, you the permission to add custom user attributes and you access the User Attributes page, the system displays the Add Attributes button on the home page.

To add attributes, follow these steps:
- In the User Attributes home page, click the Add Attributes button to add new user attributes.
-
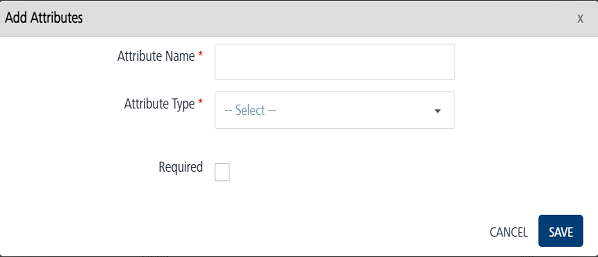
The Add Attributes drop-down window appears.
Important: You can add 30 audience attributes. Once added, you cannot delete any of the audience attributes.
-
Enter details for the following fields:
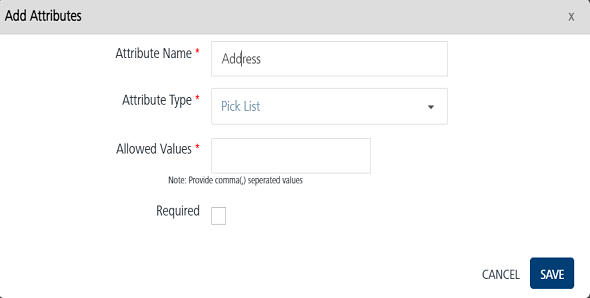
- Attribute Name: Enter the attribute name in the Attribute Name field, such as Address.
- Attribute Type: Based on your requirement, select the attribute type from the drop-down list as string, number, pick list or date.
- Required: Select the required check box to make the new attribute mandatory while adding the users.
-
Based on the selected attribute type, system displays additional fields to configure as part of the Add Attribute details.
Attribute Types: String and Number
-
If you select the attribute type as String or Number, then following fields appears:
- Allowed Reconciliation Key: You can also configure the new field as new reconciliation key only if the new field is enabled as mandatory field. Volt MX Foundry Engagement Services allows you to configure only one reconciliation key. When you configure a new reconciliation key, the system replaces the old key (for example: email) with the new reconciliation key. To set the new field as reconciliation key, select the Allowed reconciliation Key check box.

Attribute Type: Pick List
- Allowed Reconciliation Key: You can also configure the new field as new reconciliation key only if the new field is enabled as mandatory field. Volt MX Foundry Engagement Services allows you to configure only one reconciliation key. When you configure a new reconciliation key, the system replaces the old key (for example: email) with the new reconciliation key. To set the new field as reconciliation key, select the Allowed reconciliation Key check box.
-
Pick List: If you have selected attribute type as the Pick List, the Allowed Values text field appears. In the Allowed Values text field, enter the multiple values according to your attribute name, such as Sales, Finance, MIS.
Date
-
Date: Select the Required check box to make the date attribute mandatory while adding the users.

-
Click the Cancel button if you want to close the dialog without saving any details. The system displays the Administration screen.
-
Click the Save Changes button to save the details.
Note: The fields marked with a red asterisk sign are mandatory fields.
-
The newly added attribute appears in user attribute list view. The system displays a message confirming the attribute is saved.
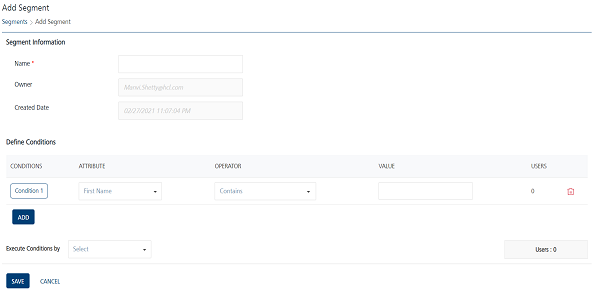
The added user attribute appears in Engagement >Segment > Add Segment.