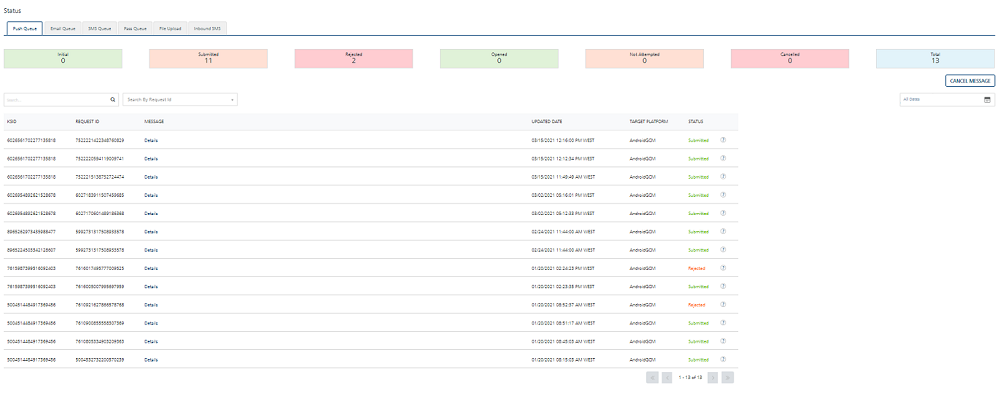
Push Queue
The Push Queue page displays the status of a push message for every single subscriber. The Status column displays the message status as submitted, initial or rejected. Under the Status column, hover over an icon next to the message status to view more details. For example, you can view reasons for the Undelivered, Rejected and Cancelled push messages. For more details, see Status Messages.
By default, the Push Queue tab is set to active.
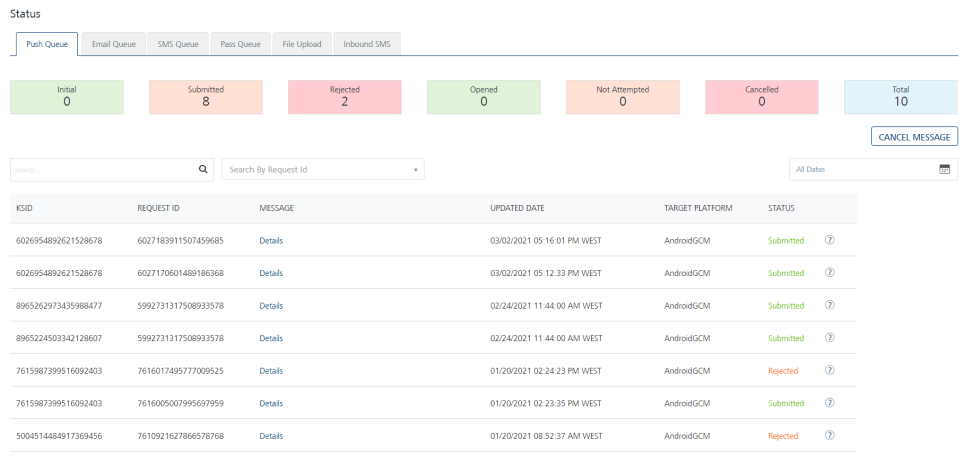
The Push Queue page displays the following details:
- Cancel Message: Click the Cancel Message button to cancel a message. For more details, see Cancel Messages.
Note: This feature is only available on Volt MX Foundry Cloud Environment.
- Date calendar: The default date is set to the current date. To use All Dates, see All Dates.
-
Message column: Click the Details link to view the push message details. The Json Structure message box displays the push notification in JSON format.
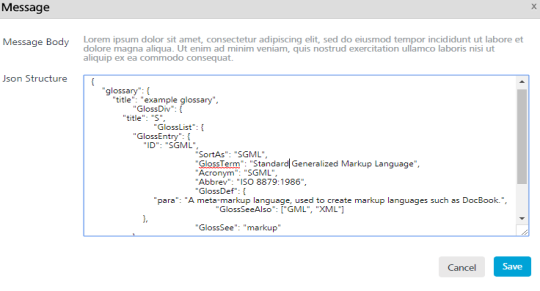
Click Close to close the window.
-
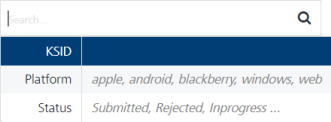
Search field: Click in the Search field to view options to search a message. You can search messages based on the following criteria:
-
KSID: Enter the KSID in the Search field and click Enter.
The message appears in the list view.

-
Request ID: Enter the request ID in the Search field and click Enter.
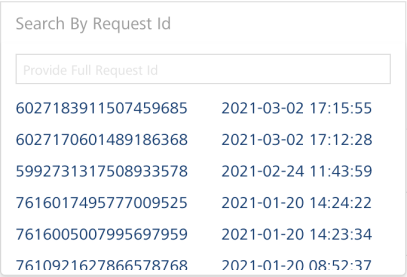
The message appears in the list view.

-
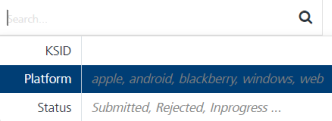
Target Platform: Enter the platform name in the Search field and click Enter.
The message appears in the list view.

-
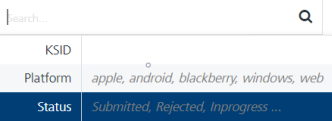
Status: Enter the status in the Search field as Submitted, Rejected or Initial and click Enter.
The message appears in the list view.

Note: To clear your search result, click in the Search field to view the Status page.
The Message list view displays the following details:
Message Element Description KSID The column displays VoltMX Subscription Identification number of the application. Volt MX Engagement services generates the identification serial number based on your request for a subscription, such as an application ID, a device ID, and a SID. Request ID The column displays the unique ID assigned to push messages. Message The column displays a link (Details). Click the link to view a push message details. Updated Date The column displays the last updated time stamp details. This can be the timestamp when a message is sent, a message updated, or a message opened. Target Platform The column displays the targeted platforms to which the message is sent Display controls By default, only 20 messages are displayed in the list view. You can view more screens by navigating through the forward arrow icon. You can move back through the backward arrow icon. -
-
Status: The column displays the current status of the push message. You can use the filter from the Search drop-down list to sort the push messages based on the status. The following table explains the status messages:
| Status | Description |
|---|---|
| Initial | The Engagement Services has initiated the message to be sent. |
| Submitted | The Engagement Services has sent the message to the cloud platform. |
| Undelivered | The Engagement Services tried to send a message, but it is undelivered to cloud platform due to any possible reasons. |
| Rejected | The Engagement Services tried to send a message, but it is rejected by cloud platform. For example, GCM key is expired. |
| Canceled | The Engagement Services did not try to send the push message as it is cancelled. |
| Opened | Subscriber of the application opened the message sent by the Engagement Services. |
| Not Attempted | The Engagement Services did not try to send the message because the cloud platform details are missing. |
| Not Applicable | The Engagement Services did not try to send the message because the Web Subscriptions are selected as part of Silent Push. |
Cancel Messages (for Cloud)
Note: This feature is only available on Volt MX Foundry Cloud Environment.
The Cancel Messages page opens up when you click on the Cancel Message button. You can select the messages you want to cancel.
Note: You can only cancel messages that are in the Initial state.
The Cancel Messages page displays the following details:
- All Request ID list: It displays a list of messages based on the Request IDs.
- Date calendar: The default date is set to the current date. To use All Dates, see All Dates
- Cancel: Select the messages you want to cancel by selecting the checkbox against the message. Then click Cancel.
The Message list view displays the following details:
| Message Element | Description |
|---|---|
| Request ID | The column displays the unique ID assigned to push messages. |
| Message | The column displays a link (Details). Click the link to view the details of a push message. |
| Created Date | The column displays the time stamp details of the time when the push message is created. |
| Start Date | The column displays the time stamp details of the time when the push message is to be sent |
| Expiry Date | The column displays the time stamp details of the time when the push message will expire. |
| Message Status | The column displays the current status of the push message. By default, the Message Status is Initial (since you can only cancel messages that are in the Initial state). |
| Display controls | By default, only 25 messages are displayed in the list view. You can view more screens by navigating through the forward arrow icon. You can move back through the backward arrow icon. |