Activating or Inactivating a Subscription from a Device
As an administrator, you can activate or inactivate a subscription from a device. Only active subscriptions are eligible to send push notifications. To stop sending notifications from a device, you need to inactivate that subscription.
The Engagement server displays an error message if you try to select a combination of active and inactive devices to perform the activate or inactivate action.
Note: You can activate or inactivate a subscription from the Devices home page or from the Device Details page.
Important: Both the Subscribing and Activating are the same actions. Equally Unsubscribing and Inactivating are the same actions.
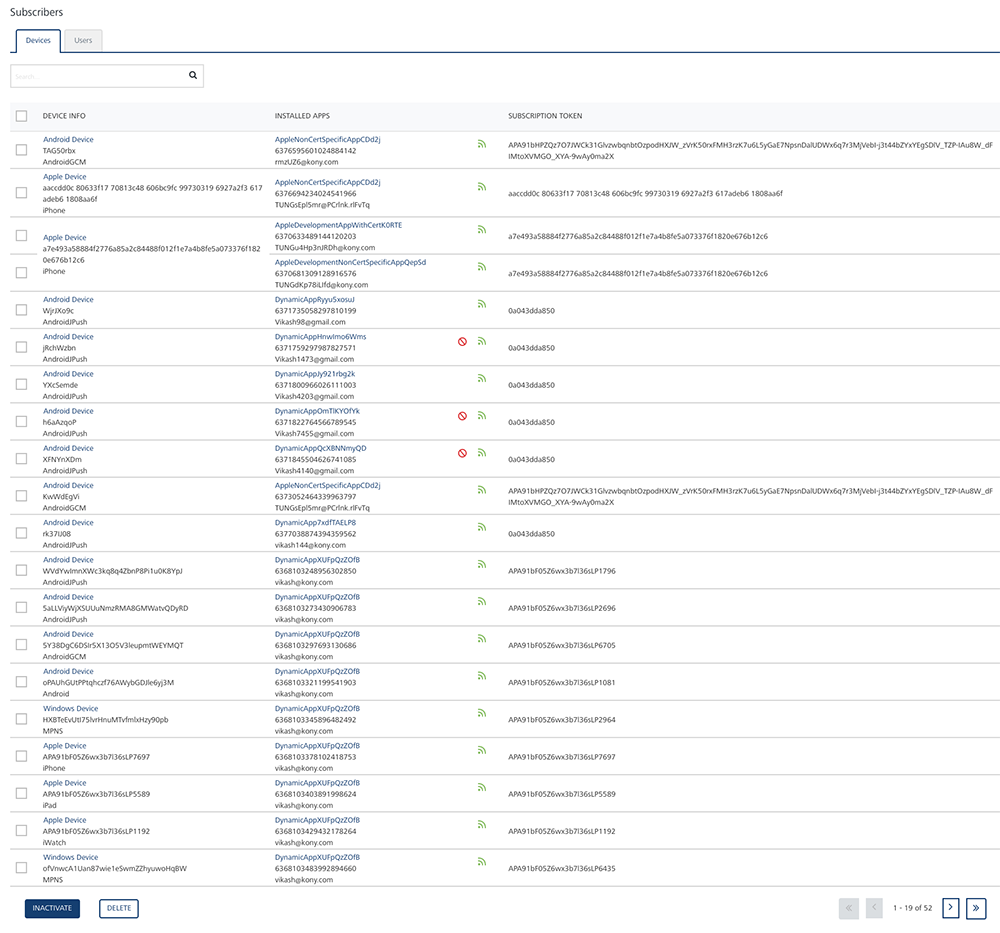
In the Apps list view, under the Apps column, hover your mouse over the green icon to view the Subscribe/Unsubscribe option.
You can use the Inactivate button available at the bottom of the Apps list view to inactivate a subscriber.
Inactivating a Subscription
To inactivate a subscription from the Device Details page, follow these steps:
-
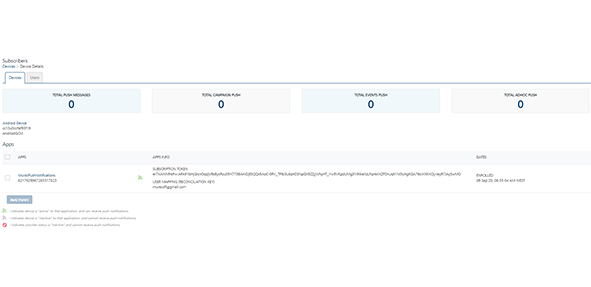
On the Devices home page, click the required device under the Device Info column in the list view.
The Device Details page appears.
-
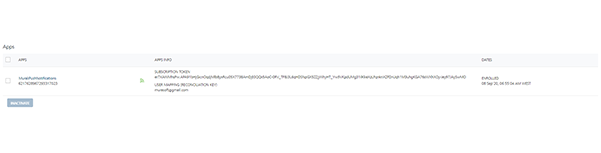
In the Apps list view, under the Apps column, select the check box next to the application name that you want to inactivate.
The Inactivate button turns to active.
-
Click the Inactivate button.
The system displays the Notification dialog box with a warning message asking if you want to unsubscribe the selected applications.
-
Click Cancel if you do not want to inactivate the subscription. The Notification dialog box closes without inactivating the application.
-
Click Yes to continue.
The system displays the confirmation message that the subscriber status updated successfully. The icon of the installed app turns to gray under the Installed Apps column. The gray color indicates that the application is unsubscribed and cannot receive notifications.
Activating a Subscription
To activate a subscription, follow these steps:
-
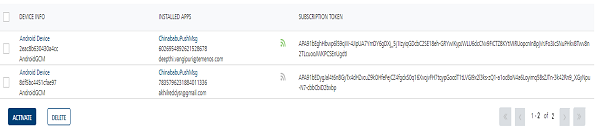
In the Apps list view, under the Device Info column, select the check box adjacent to the application name, you want to activate.
The Inactivate button turns to Activate.
-
Click the Activate button to activate the subscription.
The system displays the Notification dialog box with a warning message asking if you want to subscribe the selected applications.
-
Click Cancel if you do not want to subscribe the application. The Notification dialog box closes without activating the app.
-
Click Yes to continue.
The system displays the confirmation message that the subscriber status updated successfully. The gray icon of the installed app turns to green color under the Installed Apps column. The green color indicates that the application is subscribed and can receive push notifications.

Inactivating a Subscription Through a User Interference
A user can inactivate a subscription to disable it temporarily. To inactivate, you need to run the Unsubscribe API to inactivate a subscription using KSID as an input parameter. Once a subscription is removed, a red icon appears next to the app details under the Installed Apps column. The red icon indicates that the subscription is forcibly unsubscribed manually on user's request and cannot receive any push notifications or, a user has not installed the app.