VoltScript in Foundry Lab 03 - Foundry Identity Service and DRAPI Integration Service
Duration 40 Min
What you will learn
In this lab you will create a VoltScript Integration Service in Volt Foundry. You will use a previously created Identity Service for OAuth token authentication, and you will update documents in a previously populated DRAPI instance.
Note
The key difference between VoltScript in this lab and code from [previous labs] is in this lab you will write your Voltscript in Volt Foundry. No VSCode instance is necessary.
Prerequisites
Steps
Configure an Identity Service
- Log into Volt Foundry.
- On the Apps page, create a new Foundry app.
- On the Identity Services tab, follow the steps to create an Identity Service with access to the scope for "Demo Companies and Contacts" database.
Configure a new Integration Service
-
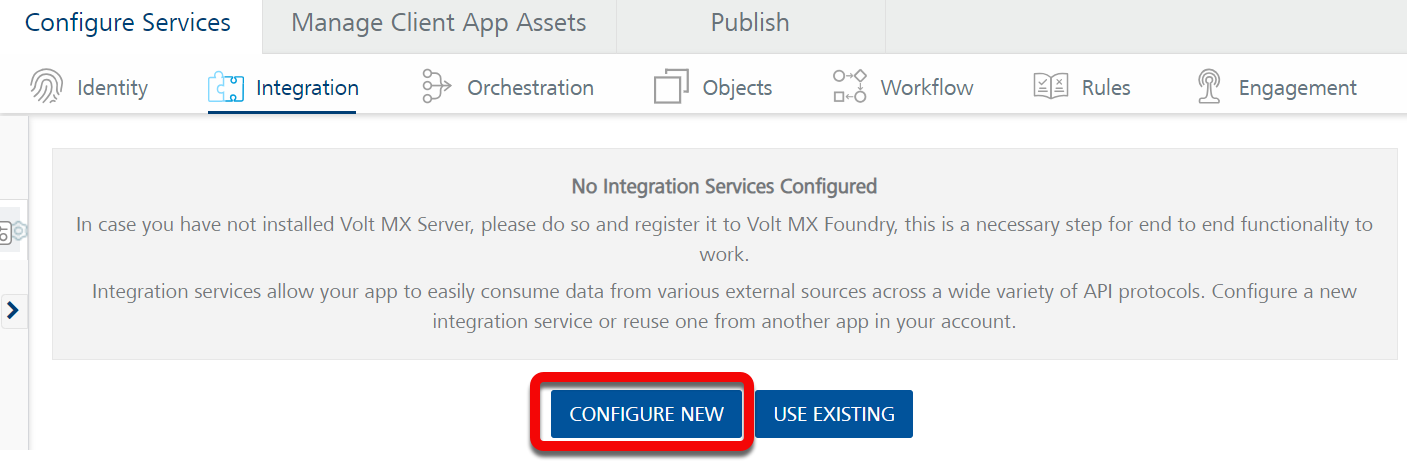
On the Configure Services tab, click Integration tab and then click CONFIGURE NEW.
-
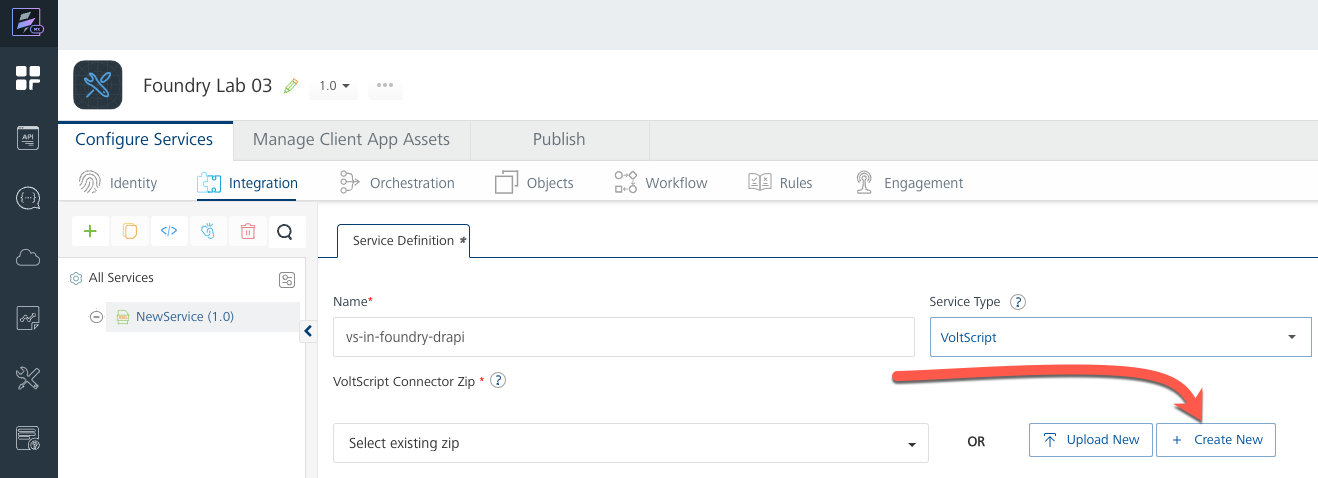
Set the Name to
vs-in-foundry-drapi. - Select "VoltScript" for Service Type.
Create a New VoltScript Connector Zip
-
Instead of selecting an exisiting or uploading a new VoltScript Connector Zip, click the Create New button.
-
Set the Name to "updatecompany".
- Set the Version to "1.0", and optionally enter a Description.
Warning
The Foundry workspace will not allow you to import a VSE Extension or upload a VSS Library into a new VoltScript Connector Zip until you have saved your main.vss file.
Add the Skeleton Code
-
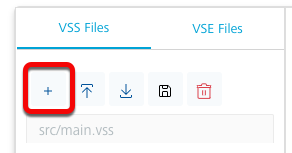
On the VSS Files tab, click the Add VSS (+) button, then select Add New File.
-
In the Add New File dialog, enter "main.vss", then click Add. As with Lab 01, your new vss file should be automatically prepopulated with the necessary skeleton code for your Integration Service.
-
Click the Save VSS (
 ) button to save your
 main.vssfile.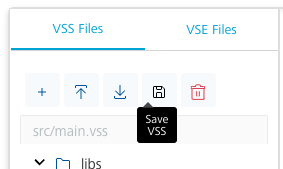
Before writing any actual code, you will need to add the necessary resources for this lab.
Import VSE Extensions
Note
You will need to have login credentials for the Volt MX Marketplace and for GitHub so that you can access the latest resources.
In the same manner as you did for Lab 01, you will need to import VSE files for:
- ContextVSE
- JsonVSE
- DrapiVSE
Upload VSS Libraries
Add the following VSS libraries in the same manner as you did in Lab 01.
- VoltMXObjects.vss
- VoltScriptCollections.vss
- VoltScriptJsonConverter.vss
Now that we have successfully uploaded all of the needed resources, let's add some code to test; but before we continue, let's go ahead and save our Integration Service by click the SAVE ZIP button. You should then see a Successfully updated. status at the bottom of the page.
Write Your Integration Service Code
-
On the
VSS Filestab, open thesrcfolder onmain.vssto open it in the editor. -
After the Options, add the following directives:
UseVSE "*DrapiVSE"
Use "../libs/VoltScriptJsonConverter"
Why no JsonVSE?
You may be wondering why we have not added a
UseVSE "*JsonVSE"statement, even though we imported the VSE. The reason why is that the VoltScriptJsonConverter.vss library includesOption PublicandUseVSE "*JsonVSE"directives; which brings the JsonVSE into same scope asmain.vss. -
Add the following declarations at the top of the
Sub Initialize:Dim request as DrapiRequest Dim doc as DrapiDocument Dim companyPayload as JsonObject Dim parser as New JsonParser() Dim server as New DrapiServer() Dim replaceItems as New JsonObject() Dim response as DrapiResponse Dim newCompanyName As String Dim oldCompanyName As String Dim query as String Dim unid as String -
Add the following code between the START OF FOUNDRY HANDLER and END OF FOUNDRY HANDLER comment blocks:
server.serverURL = VoltMXRequest.getInputParam("serverURL") Set request = server.createRequest("companiesandcontacts") unid = VoltMXRequest.getInputParam("unid") newCompanyName = VoltMXRequest.getInputParam("CompanyName") Set doc = request.getDocument(unid, "html", "default") Call parser.loadFromJson(doc.JsonValue) Set companyPayload = parser.getRootObject() oldCompanyName = companyPayload.getChild("Company").scalarValue Call companyPayload.insertValue("Company", newCompanyName) doc.JsonValue = companyPayload.toString(false) Call VoltMxResult.result.insertValue("companyUpdated", doc.put("default")) query = "Form = 'Contact' and Company = '" & oldCompanyName & "'" Call replaceItems.insertValue("Company", newCompanyName) Set response = request.bulkPatchDocuments(query, replaceItems.toString(False), "html", "default", 5000, True, True) Call parser.loadFromJson(response.ContentBody) VoltMxResult.httpStatusCode = response.ResponseCode Call VoltMxResult.result.insertValue("contactsUpdated", parser.getRootObject()) -
Click the Save VSS (
) button to save your main.vssfile. - Click the SAVE ZIP button to save the Zip file.
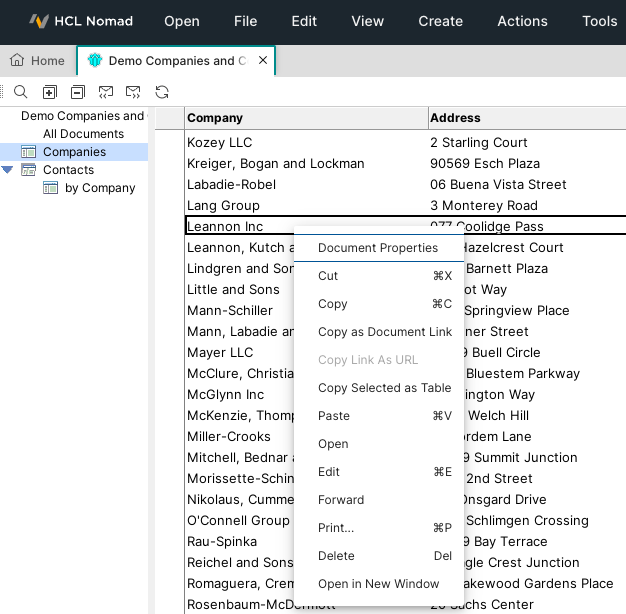
Get a Company UniversalID
- Open the Demo Companies and Contacts database in either your Notes or your Nomad Client, and go to the Contacts\by Company view.
- Make a note of a Company that has 1 or more contacts.
-
Switch to the Companies view and find the Company document. Use the Properties dialog to copy the UniversalID of the document.
-
Return to your Foundry interface.
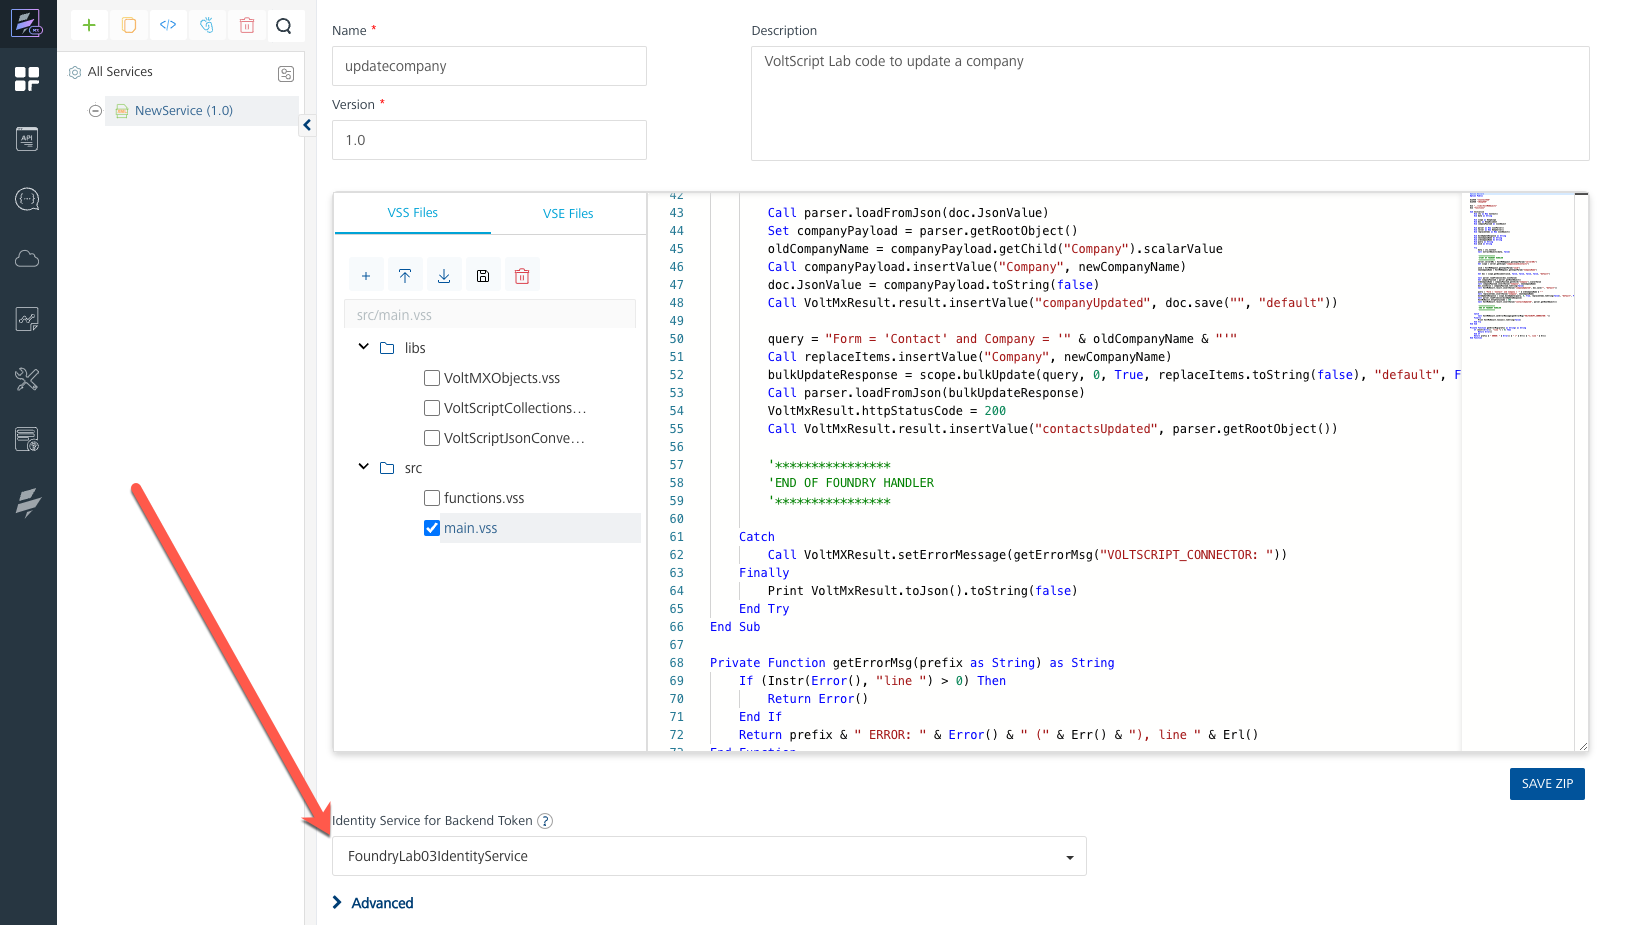
Identity Service
- Locate the Identity Service for Backend Token field.
-
Select the Identity Service you created in VoltScript for Foundry - Lab 03
Add An Integration Service Operation
- Click SAVE & ADD OPERATION.
- Set the name to "update".
- Select "main.vss" as the file.
- Click ADD OPERATION.
- Scroll down to the Request Input tab and click + Add Parameter.
- Set the NAME to
serverURL. -
Set the TEST VALUE to your domino server's Domino REST API base url, for example
http://localhost:8880/api/v1.Note
The URL needs to end with
/api/v1. -
Click + Add Parameter and set the NAME to
unid. - Set the TEST VALUE to the UniversalID you copied from the Companies and Contacts database.
- Click + Add Parameter and set the NAME to
CompanyName. - Set the TEST VALUE to a new value of your choosing.
- Verify that the ENCODE checkbox for all parameters is checked.
- Scroll down to the bottom of the operation and click SAVE AND FETCH RESPONSE.
- On Identity Backed Response tab, click the AUTHORIZE button to begin the OAuth2 dance.
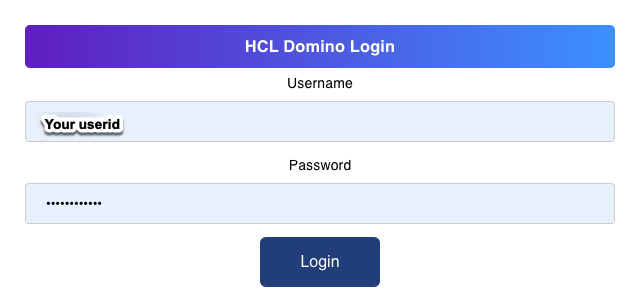
-
You should then be presented with an Authentication Dialog. You will need to enter the appropriate userid and password for the identity service.
Failure
If your integration service fails you should receive JSON content to help identify the failure.
You can also click the Identity Backend Response - Log tab to view detailed log information about the failure.

Success
The output result shows a JSON object with:
httpStatusCodeset to 200.companyUpdatedset totrue.contactsUpdatedcontaining a JSON object of results for each contact update - UNID, success message, and status details.
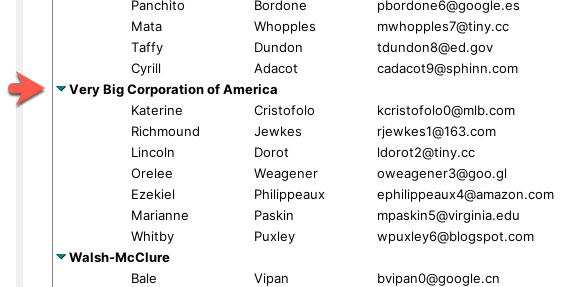
Verify in Client
Even though the returned JSON indicates that the operation was successful, you can perform an additional verification:
- Open the Demo Companies and Contacts database in either your Notes or your Nomad Client, and go to the Companies view.
- You should be able to find a document for the new Company Name you provided earlier.
-
If you go to the Contacts\by Company view, you should be able to find Contact documents for the new Company Name.
The code for the lab is available on GitHub.
Congratulations
You have successfully used a VoltScript Integration Service to update DRAPI content while authenticating using an OAuth2 Token from a Volt Foundry Identity Service.