Working with Masters
Volt MX Iris Tutorials
Working with Masters
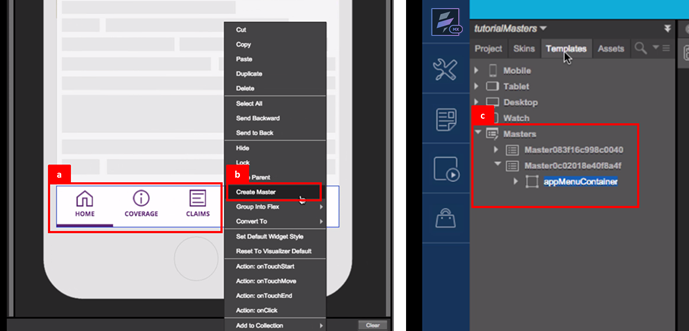
1. Creating a Master
-
Select the container from the design, which is to be converted into a Master.
-
Right click on this container and select the Create Master option to convert the design into a Master.
-
View all masters created under the templates tab in project explorer.
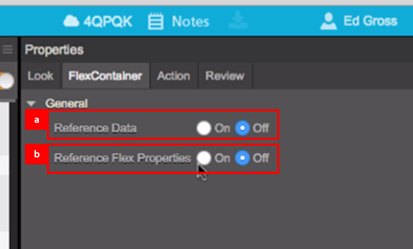
2. Configuring the Properties of Masters
-
Reference Data
Switching this parameter ON, will ensure changes made to textual content in a Master reflects in all instances of the master in a project.
-
Reference Flex Properties
Switching this parameter ONwill ensure changes made to the design elements and properties in the Flex container of the master will reflect in all instances of the master in a project.
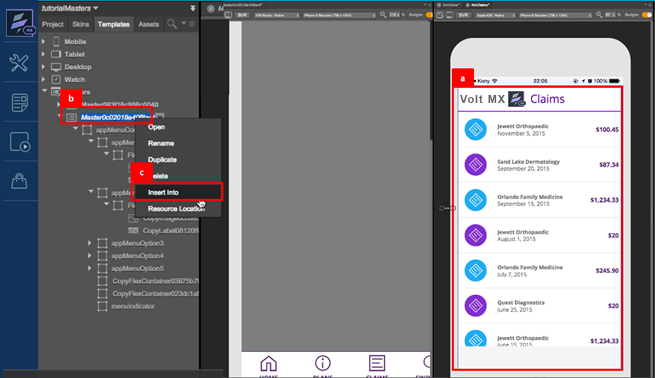
3. Applying a Master
-
Select the form in the application on which a Master is to be applied.
-
In the templates view of project explorer, right click on the Master to be applied to the application form.
-
Select the Insert Into option to apply the Master to the selected application form.
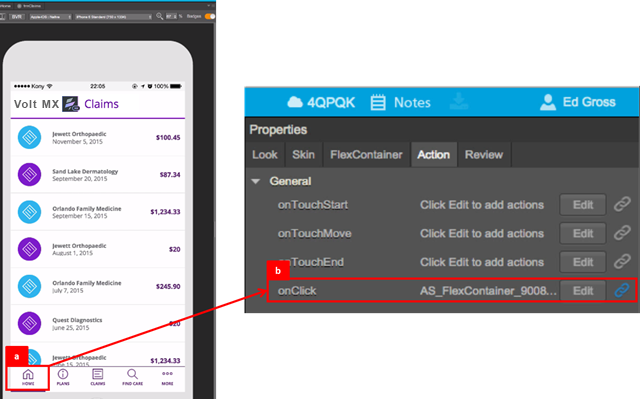
4. Defining Actions in Masters
-
Select a widget in the Master, to create an action sequence.
-
Select the On-Click event from the properties to define the action sequence to be applied.
-
Select the Add Snippet action from the library.
-
Define the actions to be performed within the action sequence. In this case navigate to the home page.
5. Applying Masters across channels
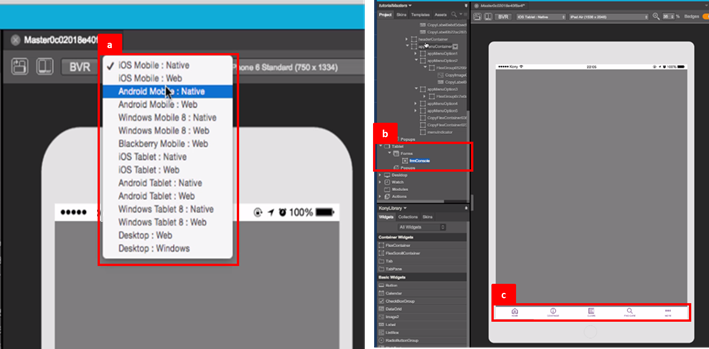
-
Masters can be applied across channels. The appearance of a master can be view on multiple devices, by toggling between the device type on the Iris console.
-
To apply a master on a tablet form, first select the tablet form and then right click on the master and select the Insert Into option.
-
A master re-sizes automatically to align with the device form factor on which it is applied, in this case a tablet.