Send Message
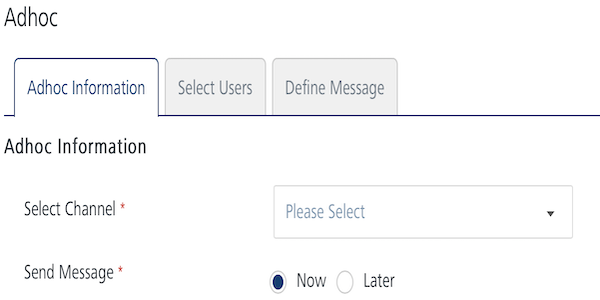
The Send Message option enables to send push messages based on your choice. You can configure the start date, expiry date and time. By default, the Now option is selected. You can change the option to the Later for scheduling date and time for push notifications. When the Now option is selected, the Send button is available to send push notifications.

-
Now: Click Send to send the push message. The system displays the confirmation message that the message is in a queue with the corresponding message ID for reference. When the Now option is selected, the Volt MX Foundry Engagement Services sends messages as high priority.
-
Click the Later option button to schedule the date and time for push messages to be sent. The system sends the push message based on following configuration.
-
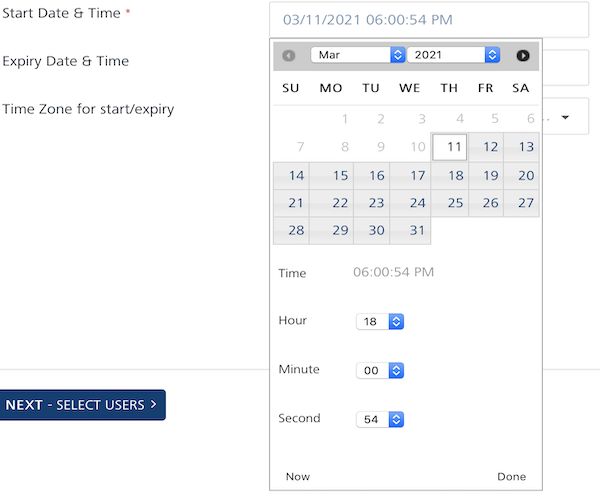
Start Date and Time: The system displays the current date and time. If required you can update the start date and time. To update the details, click in the text field. The Calendar menu appears.

-
Select the required date in the calendar and click Done. The selected date with the current time appears in the Start Date and Time field.

Important: You can also revert the date to current date and time by clicking the Now button in the calendar wizard.
-
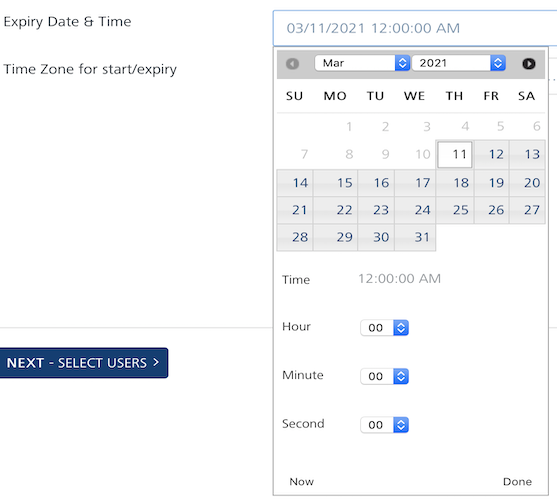
Expiry Date and Time: to set the expiry date, click in the expiry date and time field. The system displays the calendar wizard to set date and time. Select the required date in the calendar and click Done. The selected date with the current time appears in the Expiry Date and Time field.

-
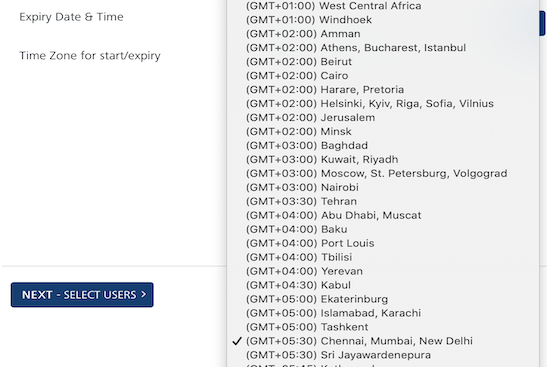
Time -Zone: Click in the Time -Zone field. The time-zone menu appears. Select the required time zone. The selected time zone appears in the time zone field.

-
Click the Schedule Notification button. The system displays the confirmation message that message queued with a push message request ID for reference.
Note: When you select the Later option, the Send button turns into the Schedule Notification button to send push notifications.
-