Adding a Member from Volt MX Foundry Console
When an Engagement Services user wants to access the services of Volt MX Foundry, you need to add the member through Volt MX Foundry console so the member can access the Volt MX Foundry services. There are two methods to add a member through Volt MX Foundry console.
First Method
Based on requirement, you can add a member through Volt MX Foundry console and assign the role as Admin, Member or Owner. Based on assigned role the member have all the permissions to access Volt MX Engagement Services.
To add a new member to Volt MX Foundry Engagement Services through Volt MX Foundry console, follow these steps:
- Open an Internet browser.
-
Enter the Volt MX Foundry console URL in the address field in the browser.
Volt MX Foundry Console URL is
http://<IP/Hostname>:<serverport> /mfconsole -
Press the Enter key.
The Sign in to Volt MX Foundry page appears.
-
Enter details for the following fields:
- Email: Enter your email ID in the email field.
- Password: Enter your password in the password field.
- Source: Select the appropriate source from the drop-down list.
-
Click the Sign in button.
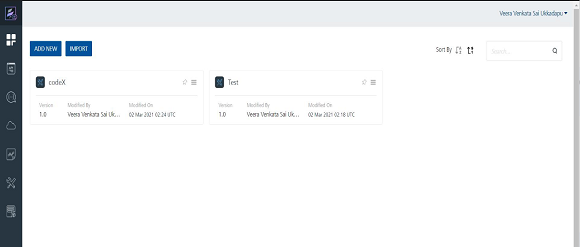
The VoltMX Foundry home page appears. By default, the Applications page is set to active.
-
Click Settings from the left panel.
The User Management page appears.

-
Click the Create User button to create a new user.
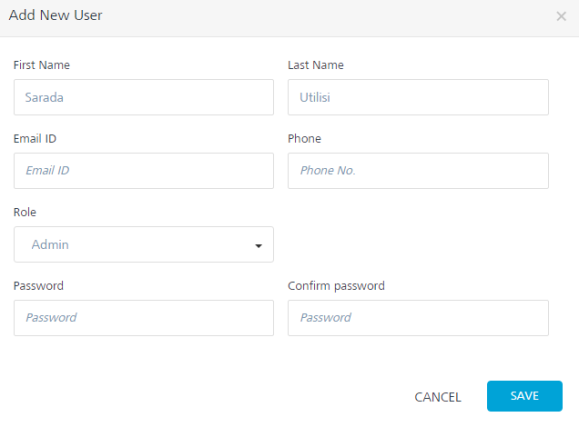
The Add New User drop-down window appears.
-
To create a new user, enter details for the following fields:
- First Name: Enter the first name of the member in the first name field.
- Last Name: Enter the last name of the member in the last name field.
- Email ID: Enter email ID of the user.
- Phone: Enter the phone number of the user.
-
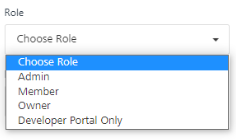
Role: Select the appropriate role from the Role drop-down list as Admin, Member or Owner.
-
Password: Enter a password for the user.
-
Confirm Password: Re-enter the password to confirm it.
Note: The password must contain at least six characters, and maximum 20 characters including upper case letters, lower case letters, and numbers.
-
Click Cancel if you do not want to add the new member.
- Click Save. The newly added member appears in the User list view on the User Management page.
-
Next, login into Volt MX Foundry Engagement Services console with below URL with the same credentials created for Volt MX Foundry Console.
http://
: /vpns The added member is displayed under the Member list on the Admin Access home page. The added member have all the permissions. Based on your requirements, you can add the member to a group.
Second Method
In this scenario the member already exists for Engagement Services. You need to create the same user with in Volt MX Foundry to map the user from Engagement Services.
To add a new member, follow these steps:
-
Click the Environments link from the left panel.
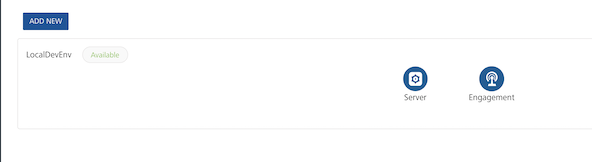
The Environments page appears. The Environments page displays a table with Environment Name with the corresponding features. Click Engagement under the Features section.
The Engagement Services home page appears. By default it is set to Dashboard page.
-
Click Admin Access link under the Settings section.
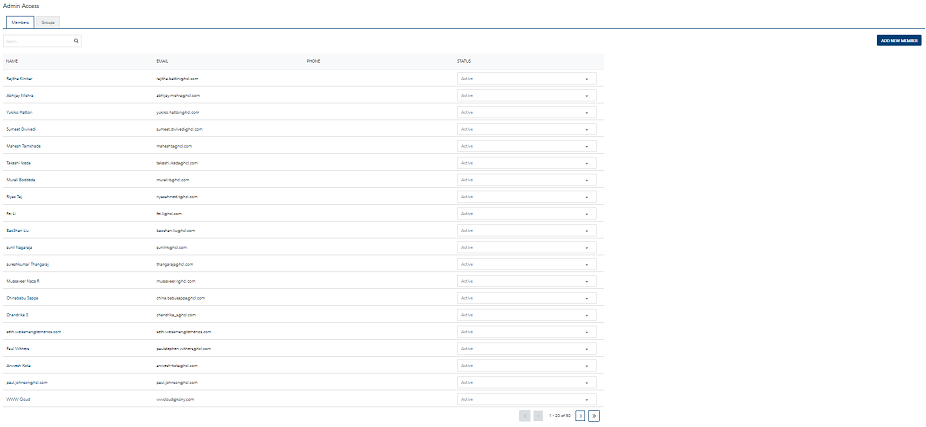
The Admin Access home page appears.
-
Click the Add New Member button.
The Add Member page appears.
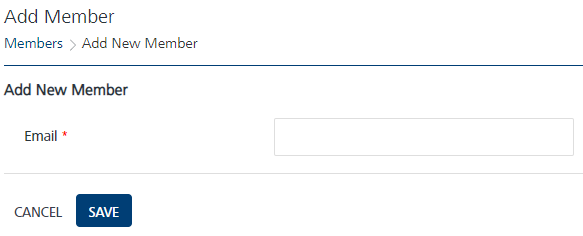
-
Enter the email id of the new member in the Email field and click Save.
-
The newly added member appears in the Member’s list view on the Member home page.
-
Click the newly added member name under the Name column in the Member’s list view.
- The Member Details page appears. Based on requirements, you can add group and permissions to the user.