Import a Domino application
Important
The information in this document is based on the latest version of HCL Volt MX Go, HCL Domino REST API, and HCL Domino.
About this task
Guides you through importing a Domino application to Volt Iris via Design Import using an existing Volt Foundry app and its identity service.
Before you begin
- You have met all the Design Import process prerequisites.
- You have launched Volt Iris and have created a new project.
Procedure
-
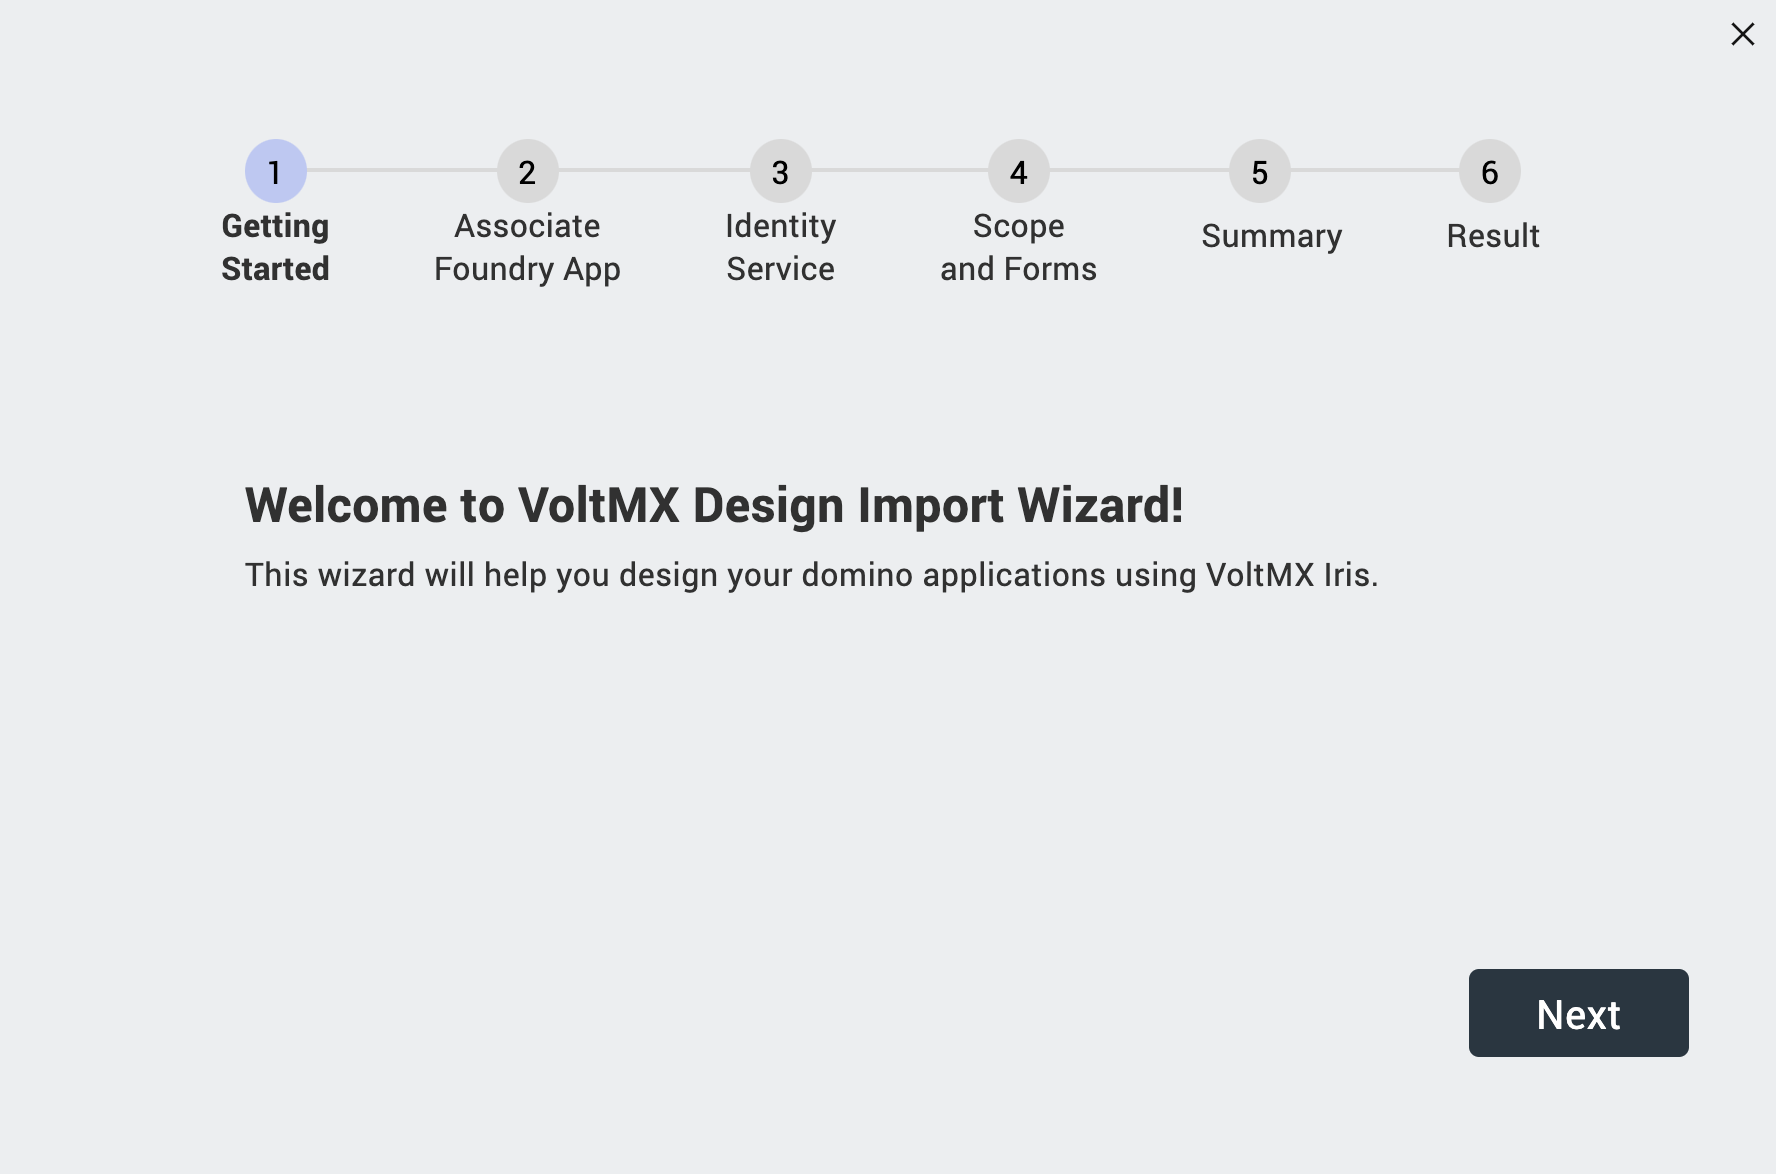
In the top menu, select Project → Import → Domino Application. The VoltMX Design Import Wizard opens.
-
On Getting Started step, click Next.
Using Designer Profile
The Designer Profile feature stores the information you enter in the Design Import Wizard when creating an Identity Service in a profile. This profile can be reused the next time you start Design Import to go directly to the Scope and Forms page, thus streamlining the import process.
To save your entered information in a profile, you must reach at least the Scope and Forms page in the Design Import Wizard. The profile remains available only while Volt Iris is open. Closing or restarting Volt Iris will delete the profile.
The information saved in the profile is based on the latest Identity Service configuration you did in the Design Import Wizard.
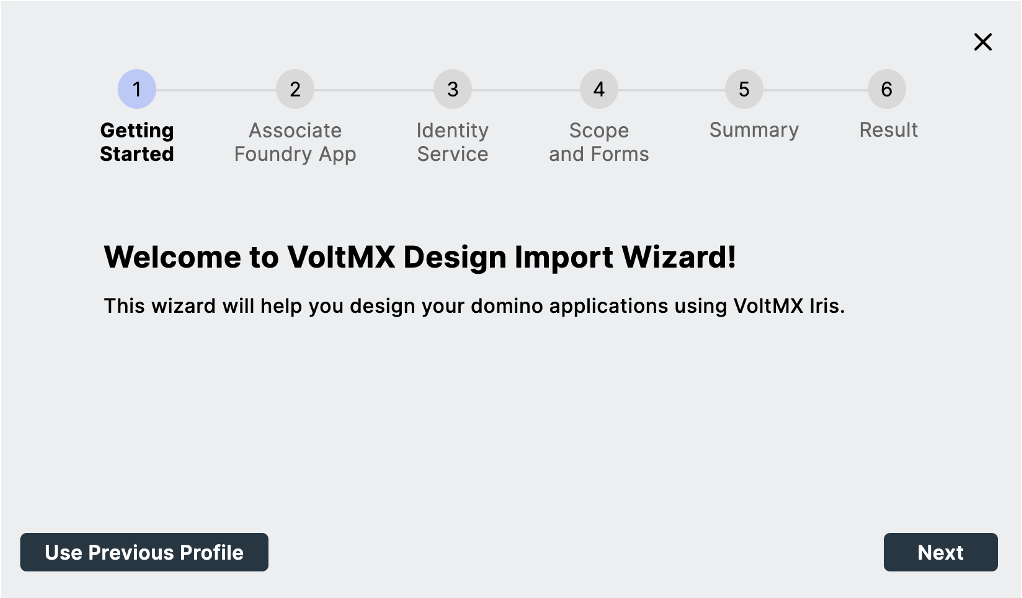
To use the stored profile, click Use Previous Profile and then you will be directed to the Scope and Forms page.
-
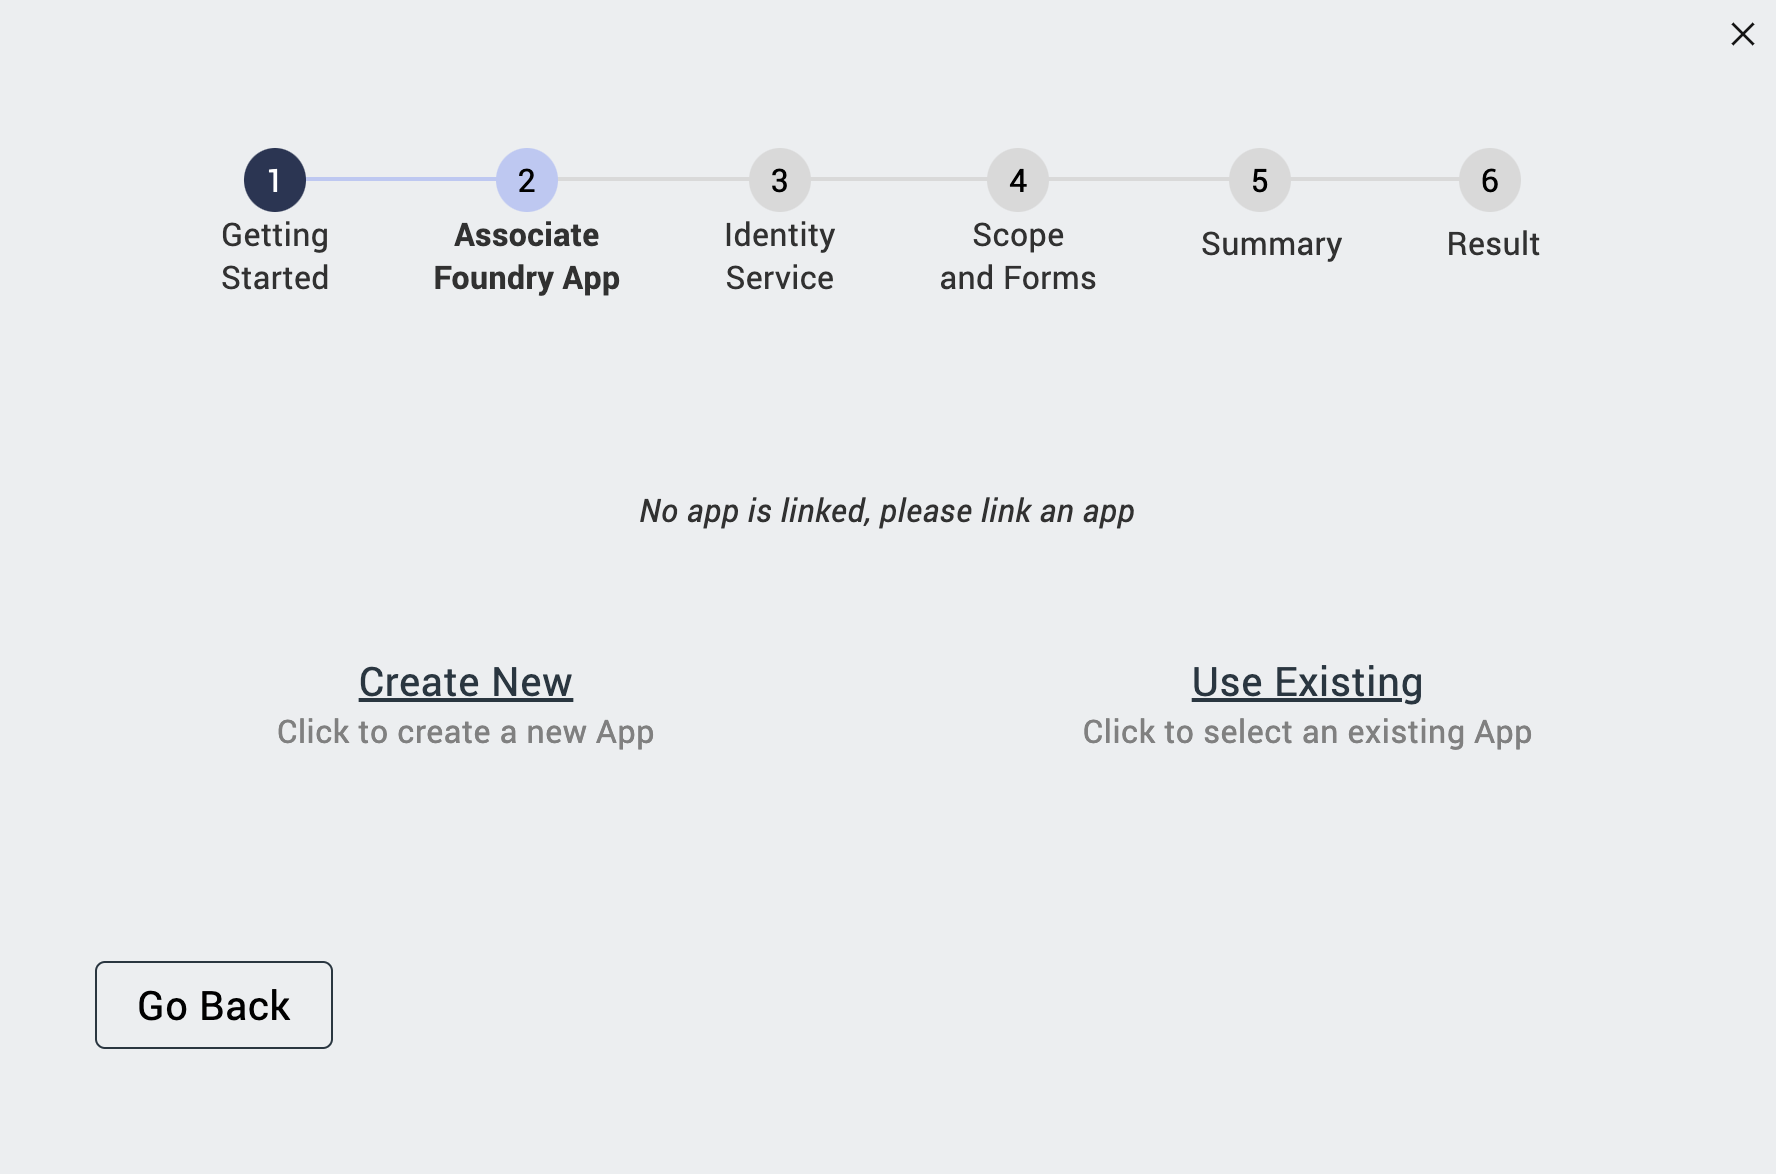
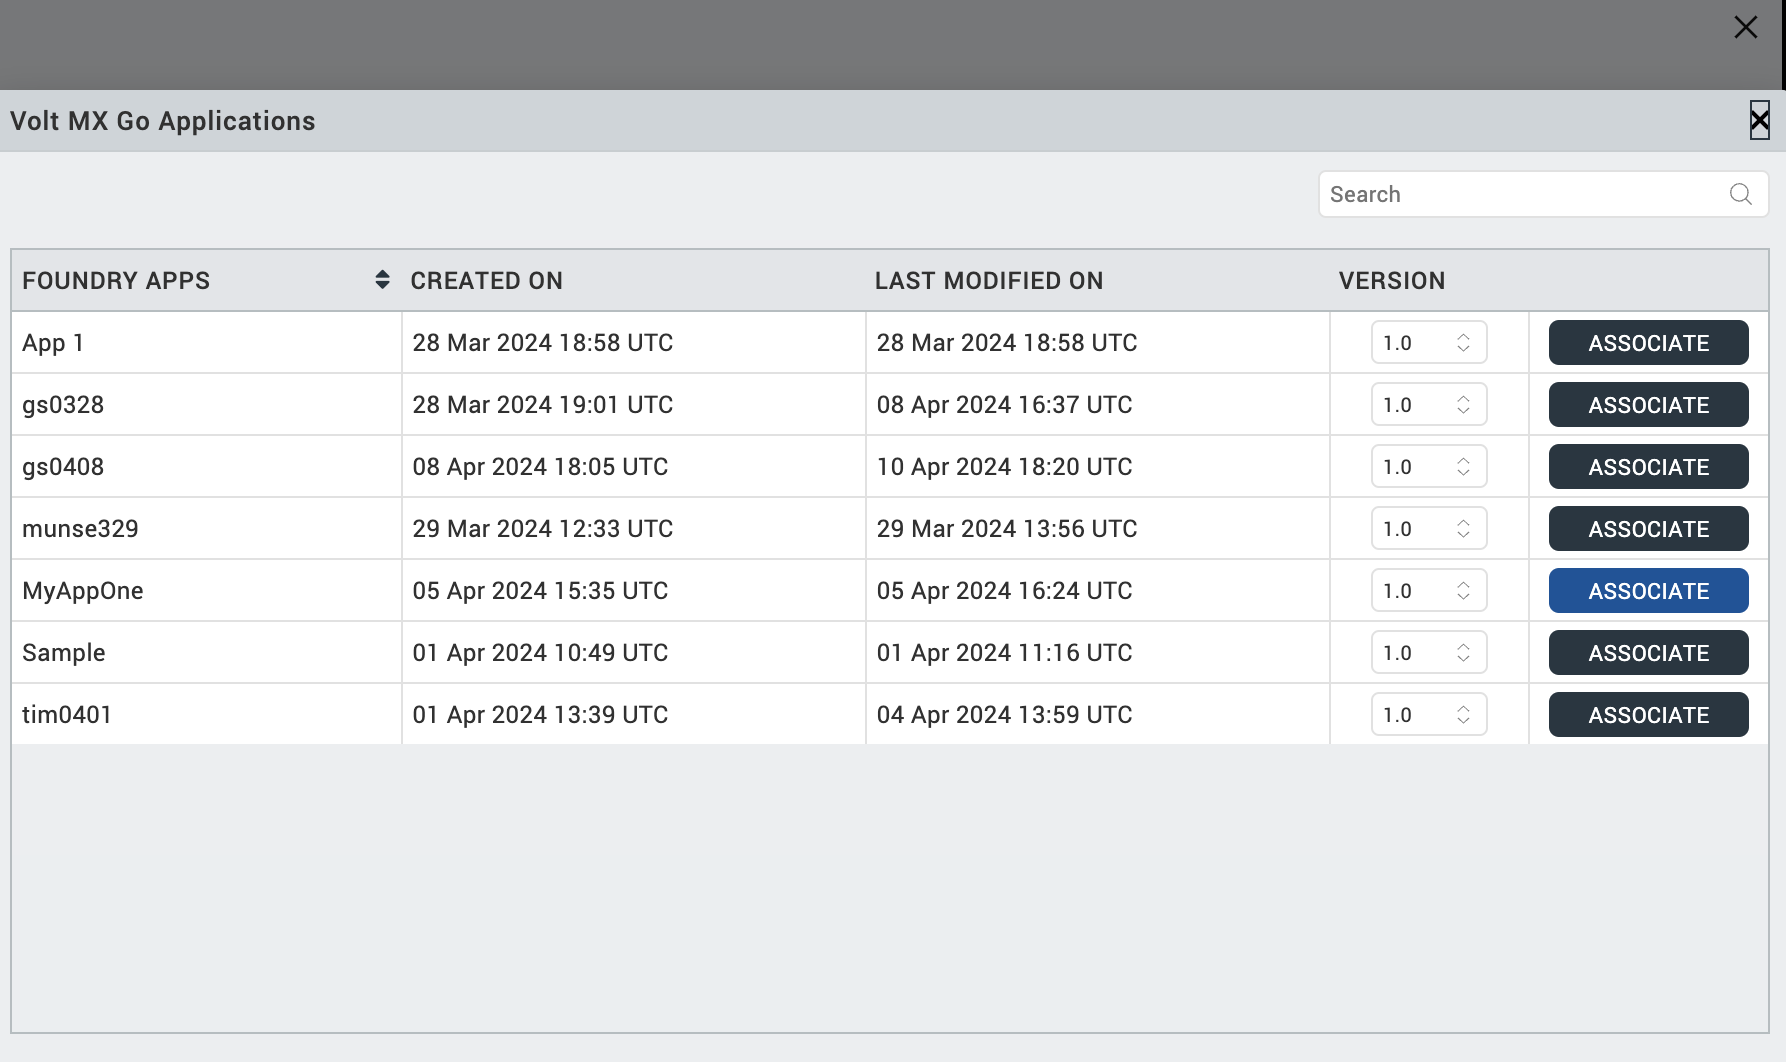
On Associate Foundry App step, click Use Existing. The Volt MX Go Applications dialog opens.
-
Click Associate corresponding to the Volt Foundry app you want to use.
In the example image, only one application is available. The number of applications you will see in the Volt MX Go Applications dialog will depend on the number of applications in the Volt Foundry.
-
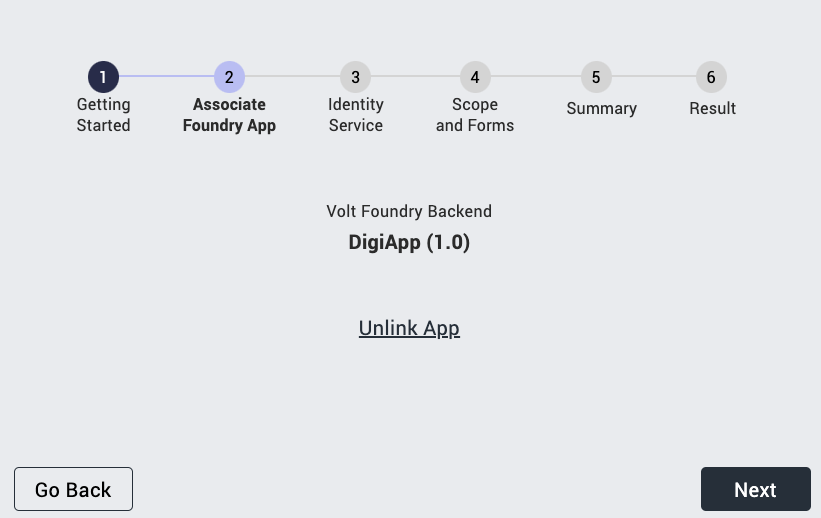
After the name of the selected Volt Foundry app is displayed, click Next.
-
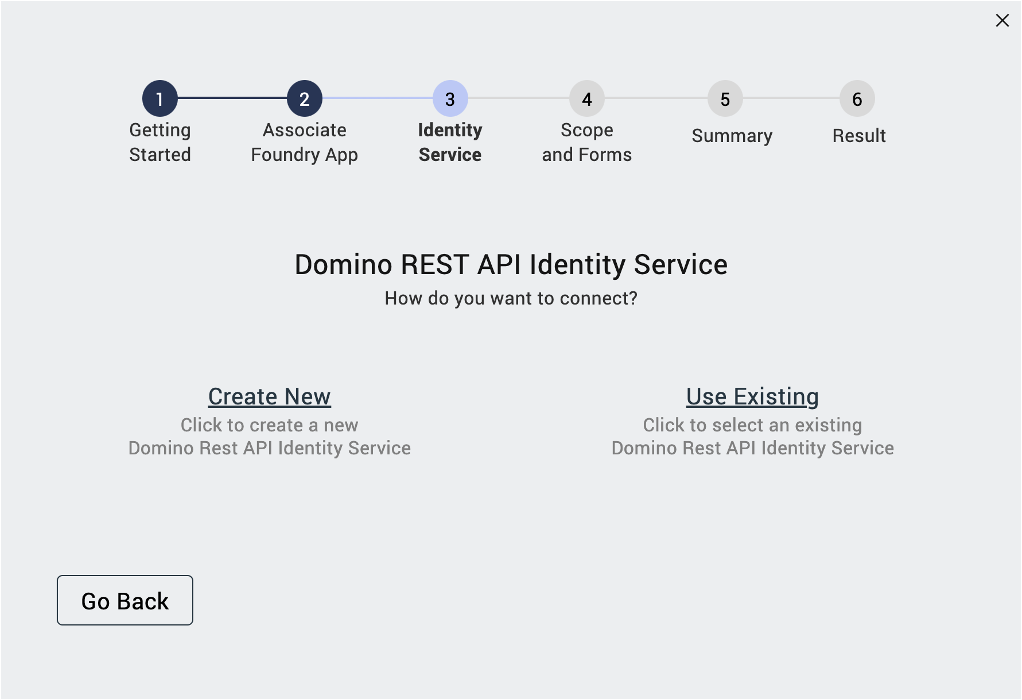
On Identity Service:
-
Select Use Existing.
-
Under Select Existing Identity Service, select an identity service from the drop-down list and then click Next.

-
In the HCL Domino Login dialog, log in with your Domino credentials.
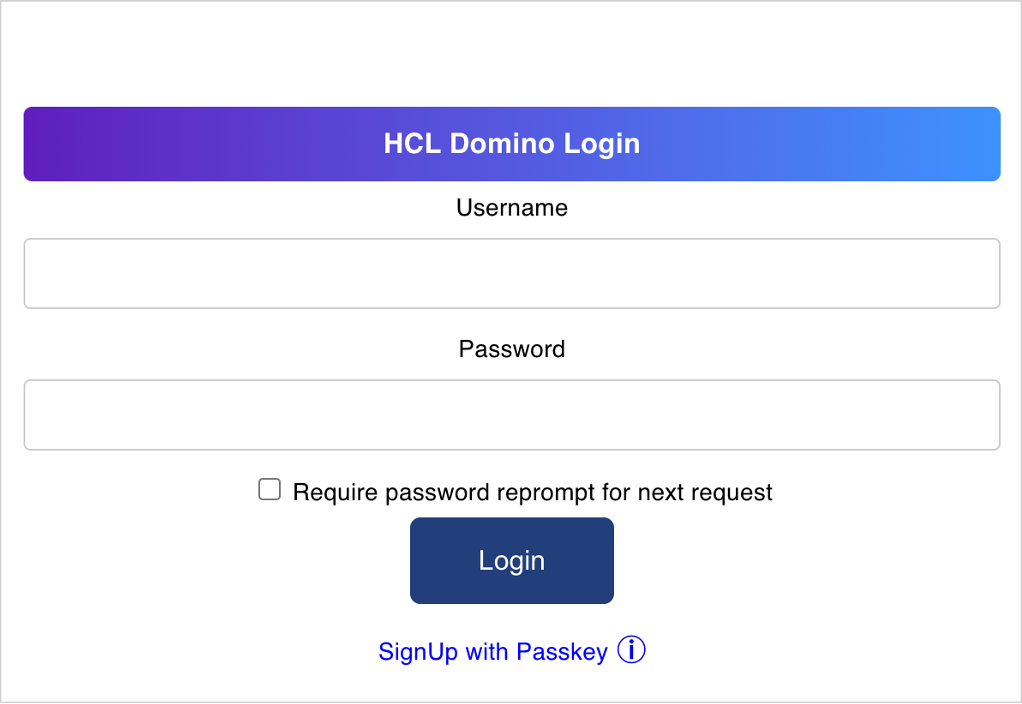
In case a Permission Requested dialog appears, click Allow.
Note
In case of an error due to incorrect Scope, Client ID, or Client Secret, a dialog shows an error message and information on how to address the error. You must then update the existing identity service you selected in Volt Foundry.
-
Choose the identity service related to your app on Volt Foundry in Foundry App Identity Service and click Next.
Tip
You should always select the Identity Service name that contains used for DRAPI.

-
-
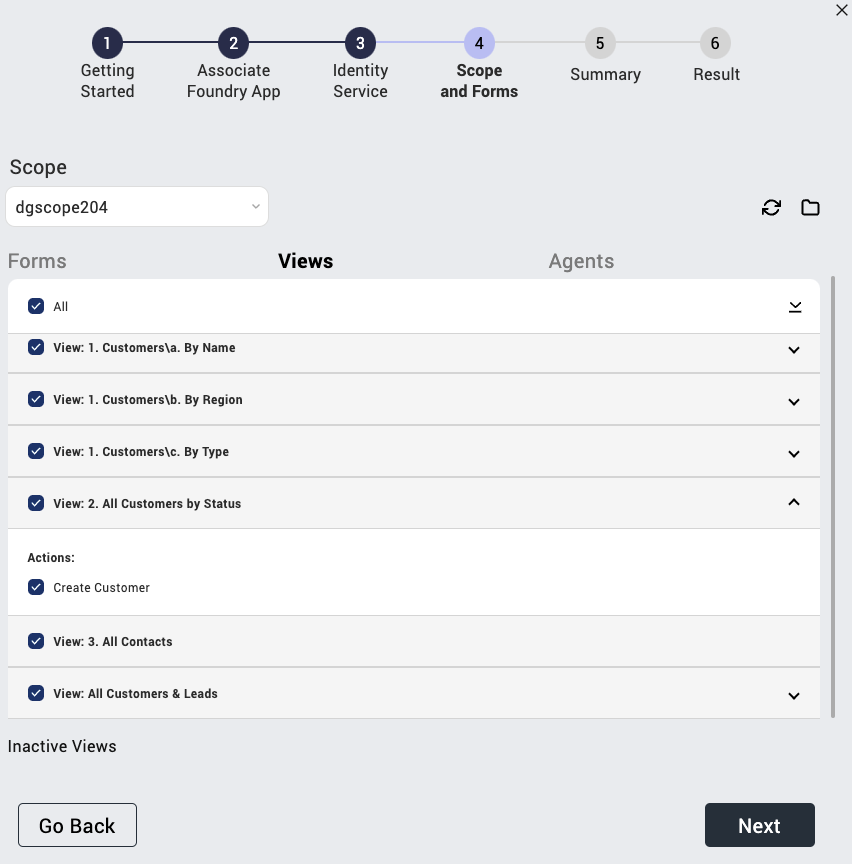
On Scope and Forms:
Note
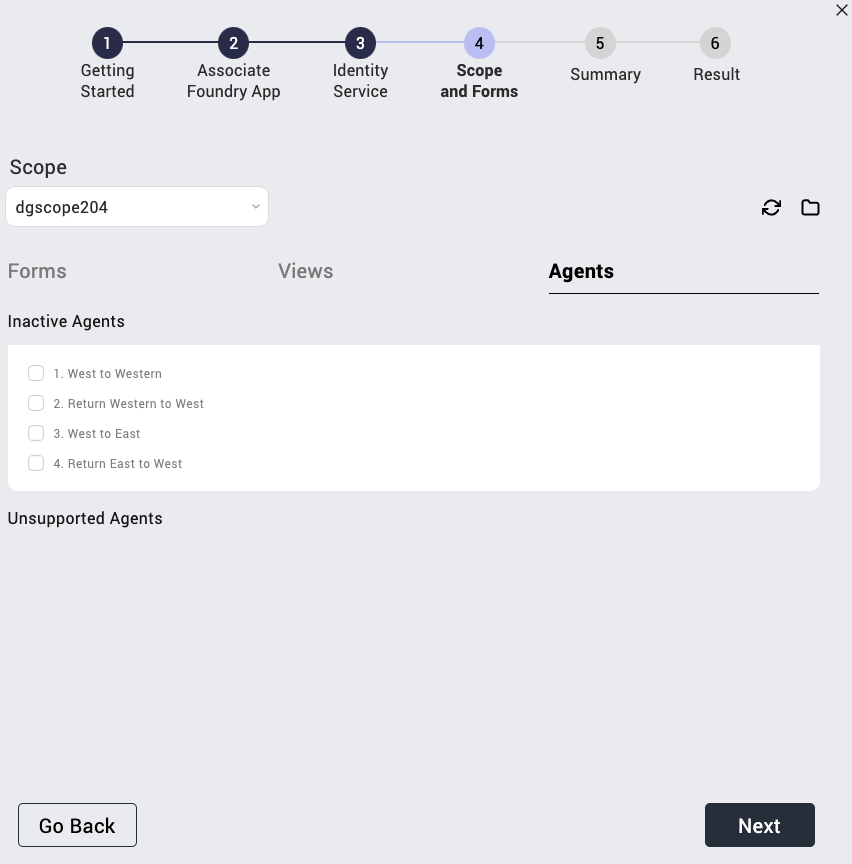
- Selectable forms, views, and agents are only those set to the active status when configuring the schema in the Domino REST API. Those in inactive status can still be seen but won't be selectable. Unsupported agents are also shown but won't be selectable.
- Actions are often active within the Domino database and can only be modified using Domino Designer. Imported actions might not function as expected. If this happens, you modify or update the actions to function as expected. For more information, see Modify or update imported actions using VoltFormula.
- If a dialog opens indicating that your Domino REST API schema has misconfigured settings, kindly see Troubleshooting for more information on addressing the issue.
- If you see a warning icon appear beside any form, form field, view, or agent, click the Reports folder icon and click a report to open a detailed report explaining the cause of the warning.
- You can click the Refresh icon to update the scope in case there are changes in the Domino REST API schema without exiting the wizard.
- You can use the All, Active, Inactive, and Unsupported buttons in each tab to filter what's displayed.
- You can use the Search box to find forms, fields, actions, views, and agents. The search results will automatically update as you type the letters of your keyword in the Search box. If you want to clear the search, simply click the clear icon.
-
Select the scope you want to use from the drop-down list.
The available scopes are based on the scopes defined when creating the identity service.

-
Click the Forms tab and select the forms, fields, and actions you want to include in the import.

-
Click the Views tab and select the views and actions you want to include in the import.
-
Click the Agents tab and select the agents you want to include in the import.
-
Click Next.
-
On Summary, review the selected
forms,fields,views, andagentsyou want to import. Once you confirm your selection, click Build Iris Application.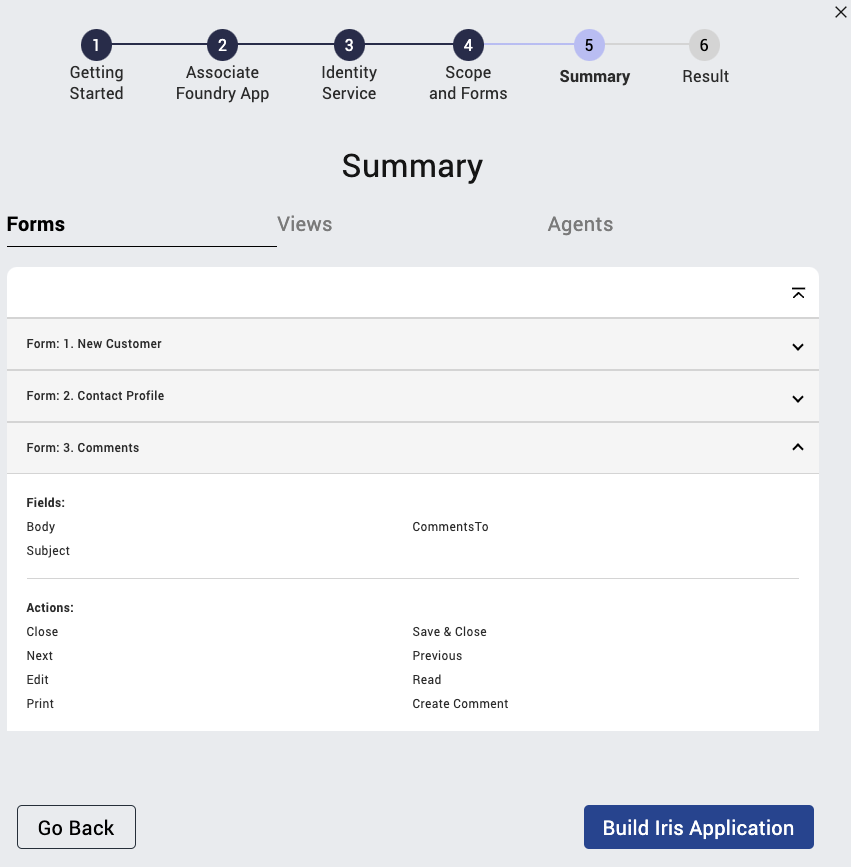
Note
- It may take a while to complete the publishing of the imported Domino app.
-
If a dialog indicating that existing Volt Iris forms are detected appears, click Yes to overwrite the detected forms and build the application. The existing Volt Iris forms were automatically generated when you created the new project in Volt Iris.

-
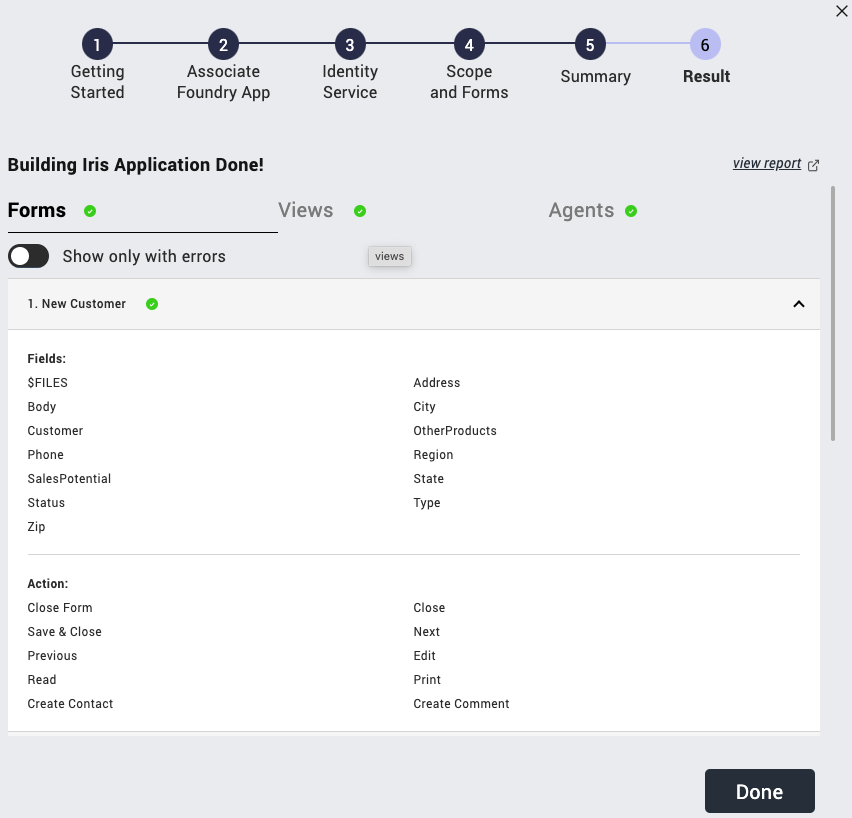
On Result, see the final
forms,views,actions,agents, and then click Done.Tip
- A checkmark icon indicates a successful import.
- A warning icon indicates a successful import, but the imported component might not work as expected due to, for example, its data type not being currently supported.
- An error icon indicates a failed import.
- Click the Show only with errors toggle in a specific tab to the on position to see all elements with the error icon in that specific tab. The Show failed imports toggle won't be visible in a specific tab when there are no failed imports in that particular tab.
- You can click view report to see a results report of imported forms, views, and agents in a new window.
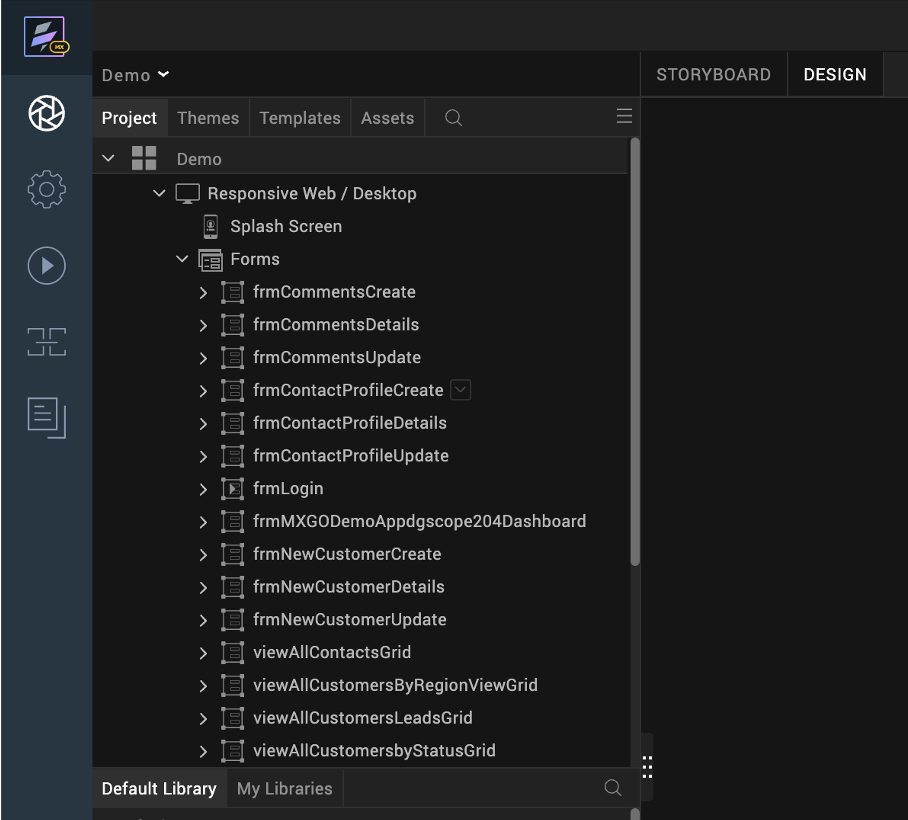
Once you click Done, you can see the imported forms and views in a storyboard view in Volt Iris.
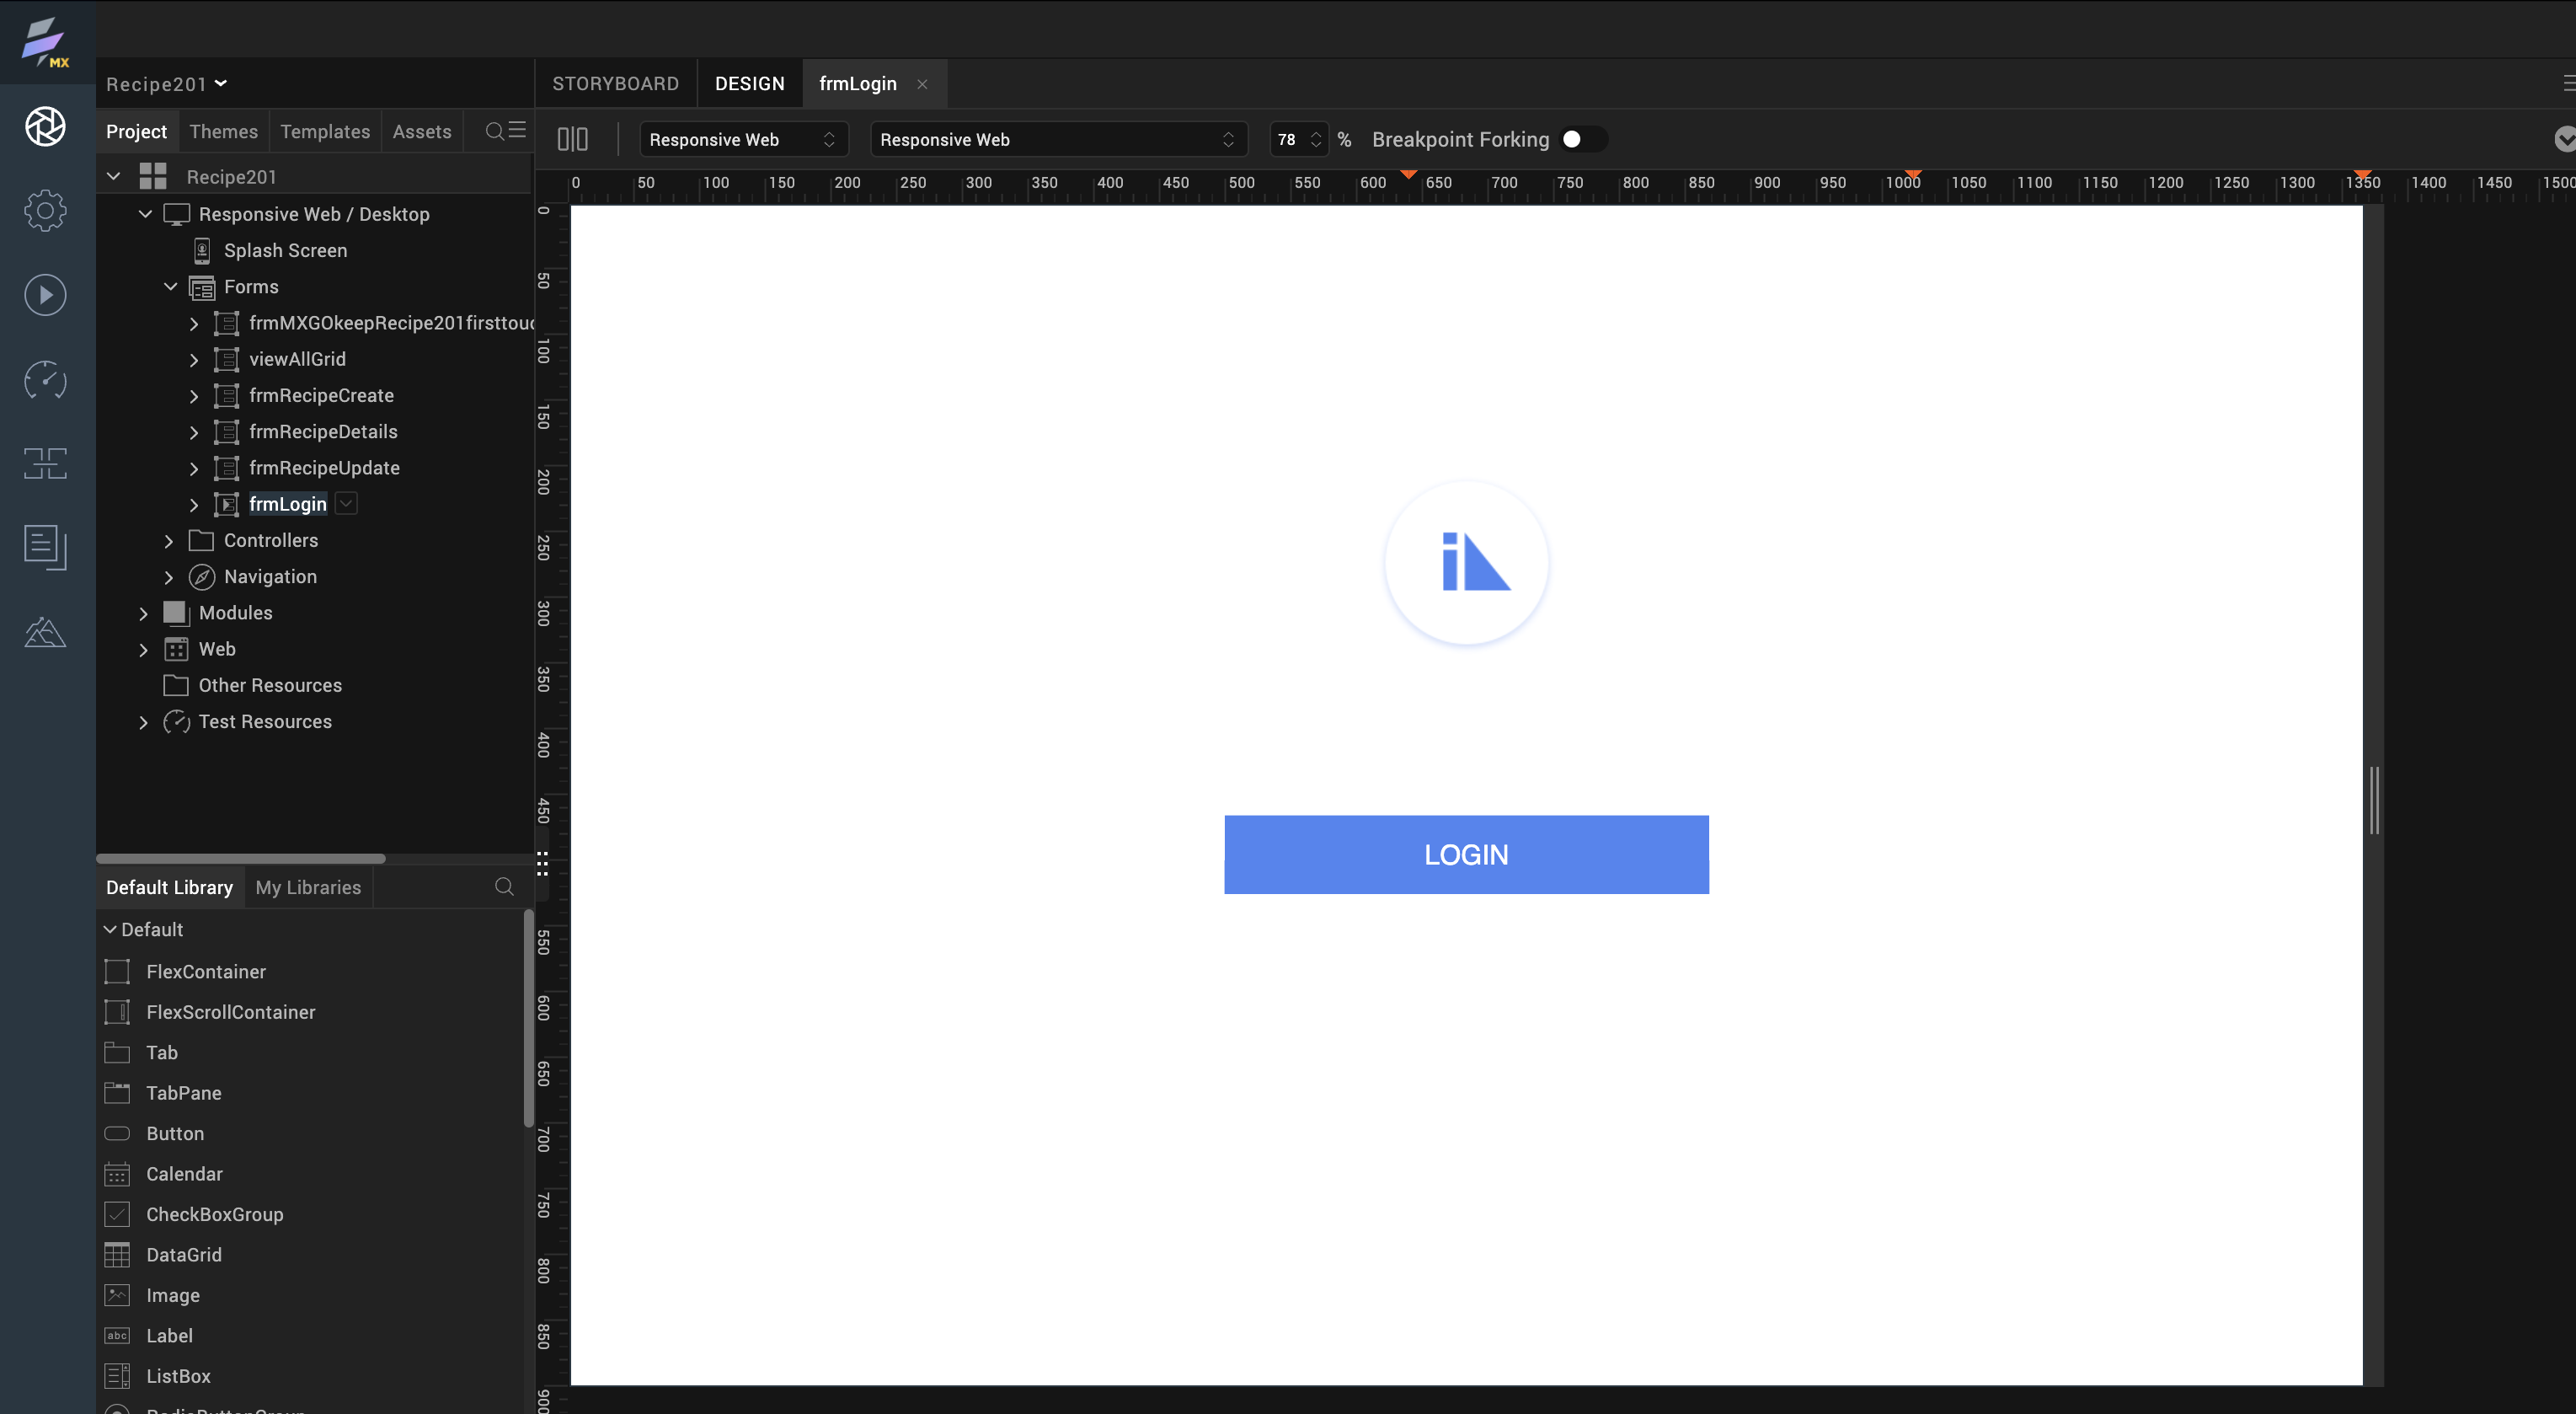
To see the imported forms in a directory, click the DESIGN tab to show the Project tab. You then expand the Responsive Web / Desktop and the Form directory to show the imported forms, views, and actions.