Define widget properties using formula language
About this task
Guides you on using formula language to define properties of Volt Iris widgets. The following widget properties are supported:
- Visible
- Text
- ToolTip
- Enable Blur
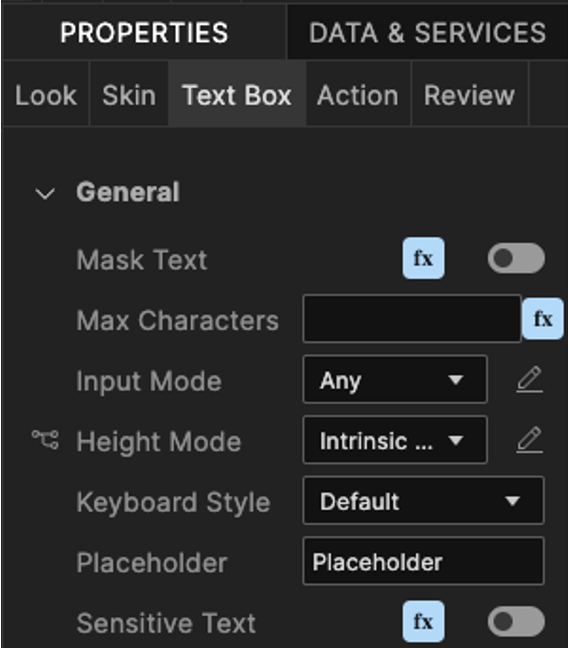
- Mask Text
- Max Characters
- Sensitive Text
Info
To learn more about widgets, see the Iris Widget Programmer Guide  in the HCL Volt MX documentation.
Before you begin
You have added a widget with properties that support formulas to a form in your project in Volt Iris.
Note
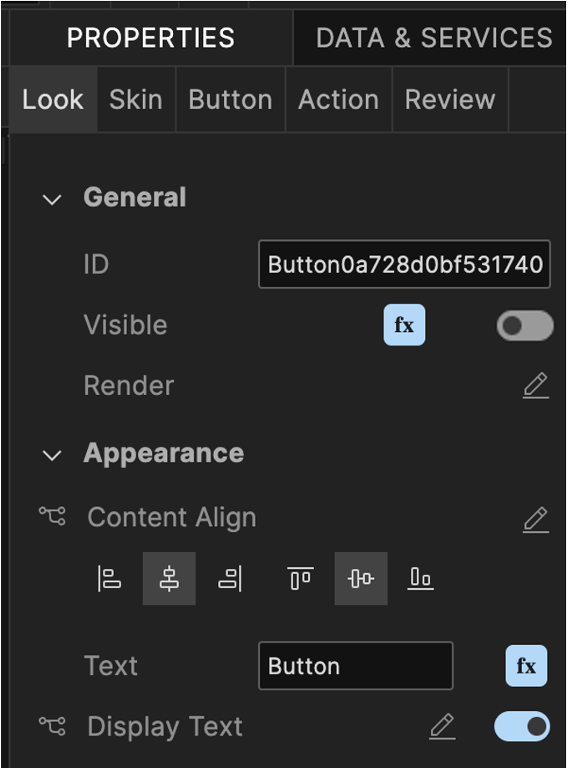
Volt Iris widget properties that support formulas are identifiable by the formula button  .
.
Procedure
- Select the widget and then go to Properties.
- Select the supported property that you want to define from the tabs under Properties.
- Define the widget property.
-
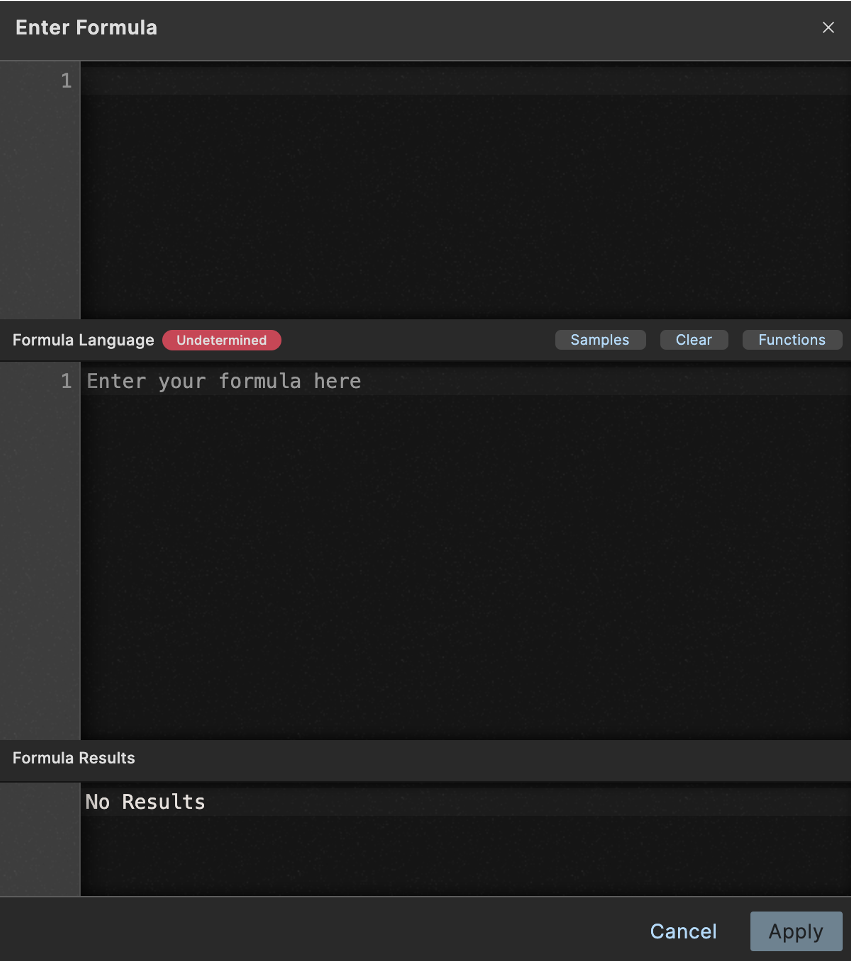
Click the formula button. The Enter Formula dialog opens.
-
Enter the formula in the Formula Language section and then click Apply.
Note
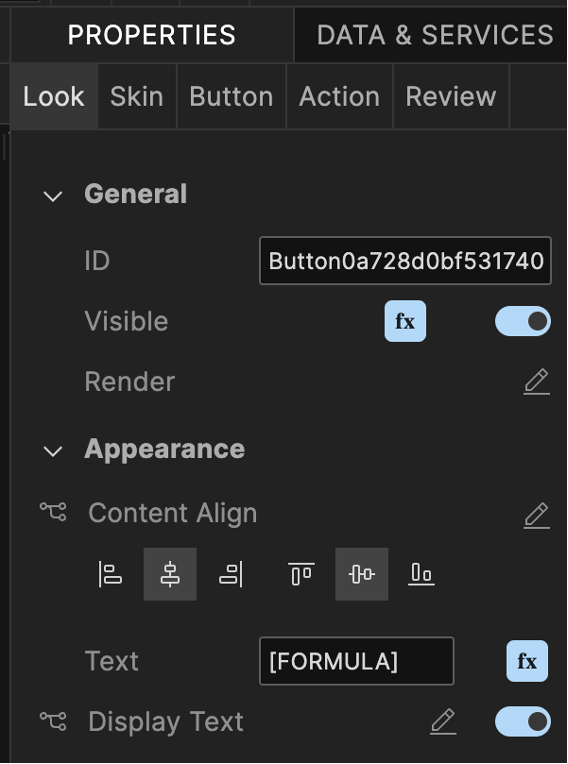
When the formula is set for the Visible property, it may not be possible to determine the formula value until application runtime. This means that the toggle is set to the off position even after setting the formula.
-
Click the formula button. The Enter Formula dialog opens.
-
Enter the formula in the Formula Language section and then click Apply.
The Text property is now defined using formula language as indicated by [FORMULA] in the text field.
-
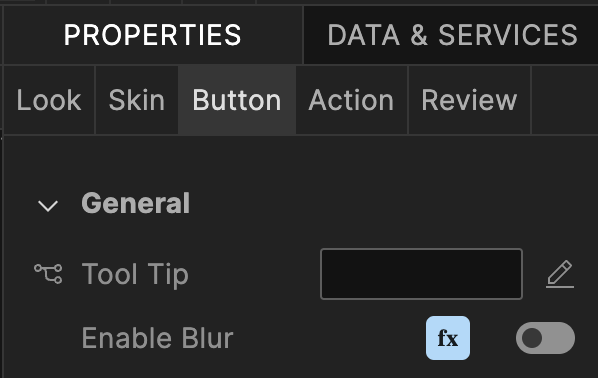
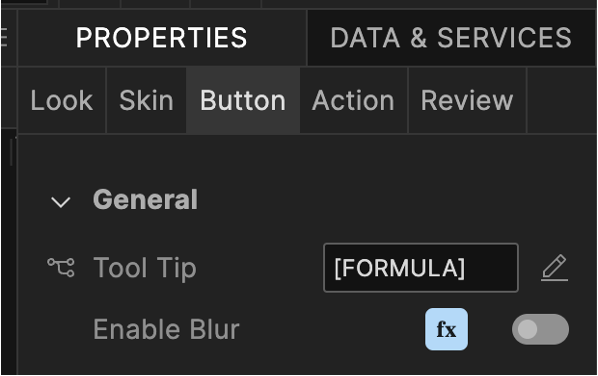
Click the Edit icon. The Tool Tip dialog opens.
-
Click the formula button corresponding to the desired platform. The Enter Formula dialog opens.
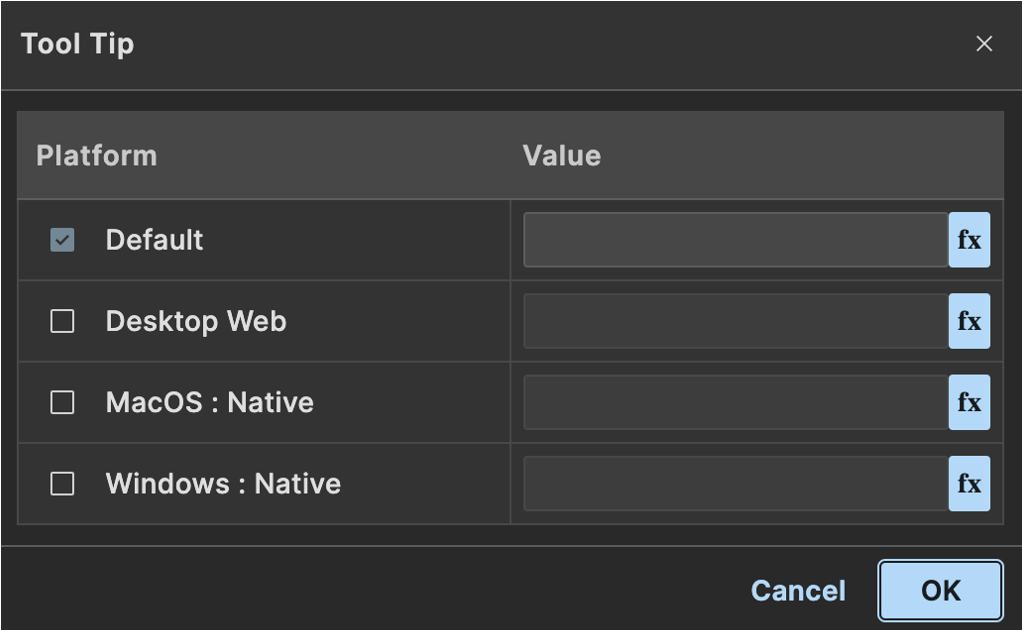
-
Enter the formula in the Formula Language section and then click Apply.
The tool tip for the selected platform is now defined using formula language as indicated by [FORMULA] in the text field
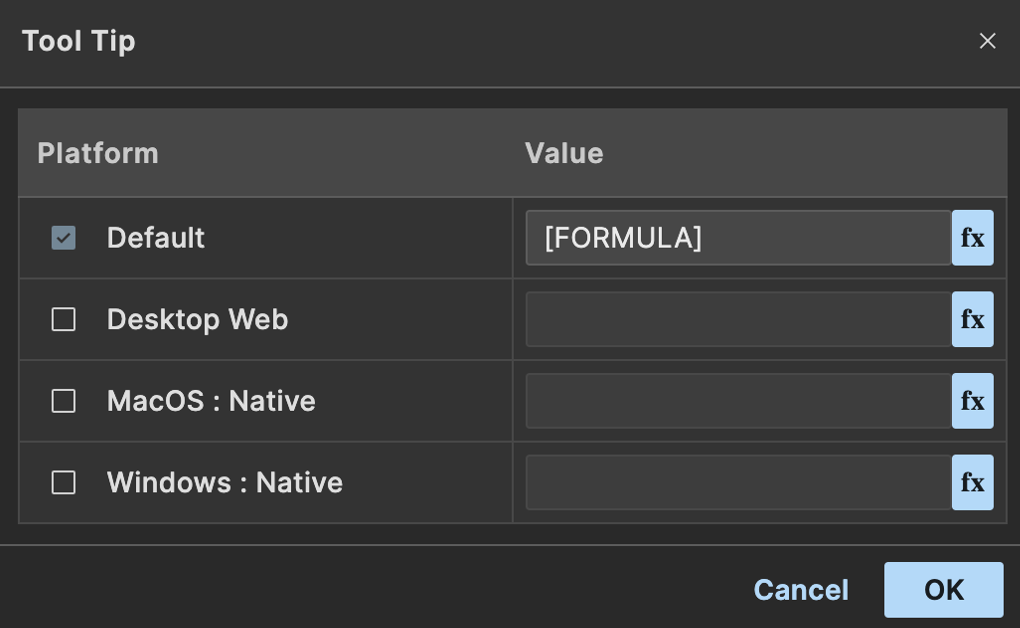
-
Click OK to close the Tool Tip dialog.
The Tool Tip property is now defined using formula language as indicated by [FORMULA] in the text field.
-
Click the formula button. The Enter Formula dialog opens.
-
Enter the formula in the Formula Language section and then click Apply.
When the formula is set for the Enable Blur property, it may not be possible to determine the formula value until application runtime. This means that the toggle is set to the off position even after setting the formula.
-
Click the formula button. The Enter Formula dialog opens.
-
Enter the formula in the Formula Language section and then click Apply.
-
Click the formula button. The Enter Formula dialog opens.
-
Enter the formula in the Formula Language section and then click Apply.
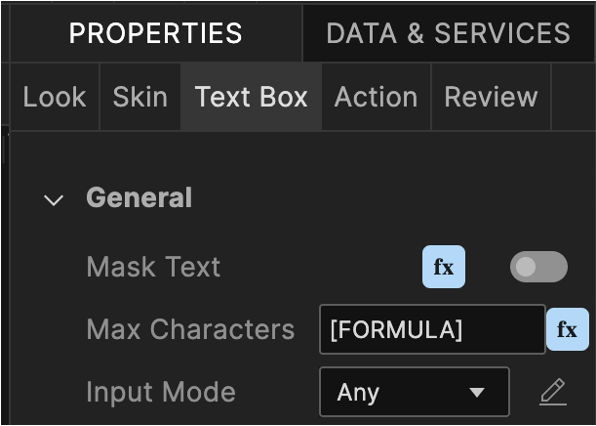
The Max Characters property is now defined using formula language as indicated by [FORMULA] in the text field.
-
Click the formula button. The Enter Formula dialog opens.
-
Enter the formula in the Formula Language section and then click Apply.
Additional information
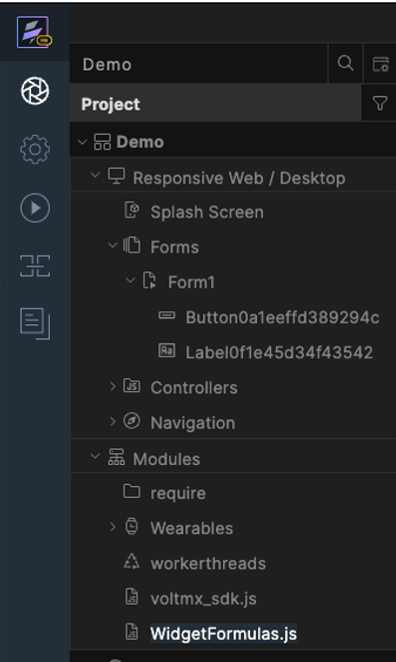
WidgetFormula.js
When a form containing any widget property with a set formula is saved, the converted JavaScript code for that formula is stored in a read-only file named WidgetFormula.js under Modules.
This enables the formula code to be used in other areas of the application, such as from a Controller or Action. Additionally, it allows the formula code to be shared across different properties, ensuring there is only one copy of the formula code and providing a single location for updates or changes to the formula.
Functions button
The Enter Formula dialog features a Functions button. When clicked, the Formula Functions dialog opens, allowing you to select existing functions from the WidgetFormulas.js file.
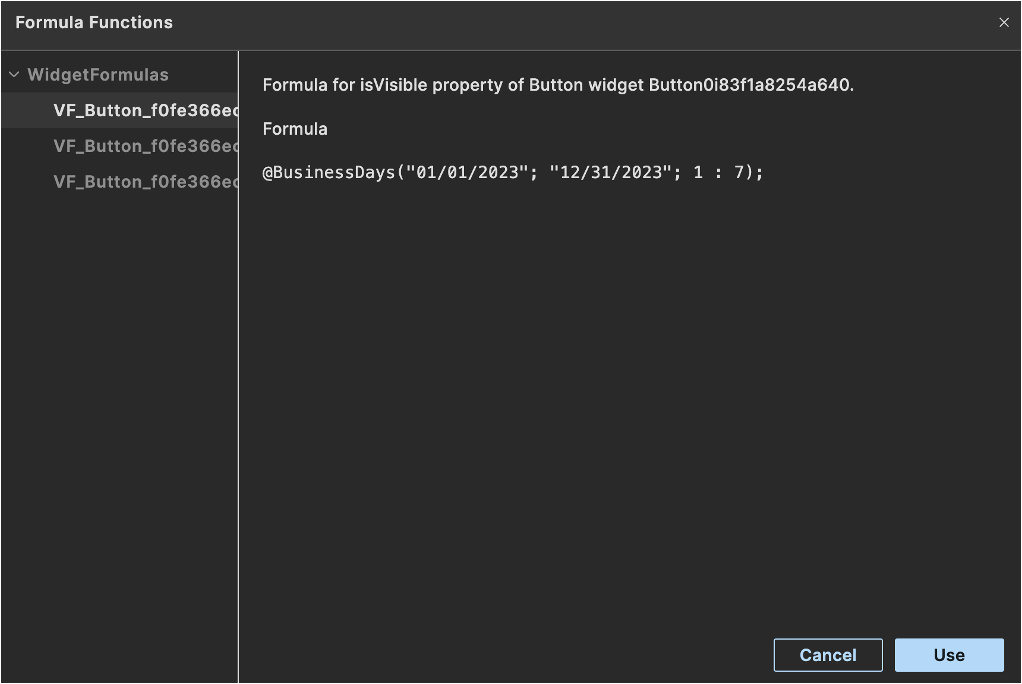
When you choose a function from the Formula Functions dialog and click Use, the dialog will close, and the selected function will be inserted into the Formula Language section of the Enter Formula dialog. A message will appear in the Formula Language section, indicating that the formula is linked to the formula set on a different widget property.
The following image shows an example of the message indicating that the formula is linked to the formula set on a different widget property.

Note
When a user attempts to change a linked formula, a warning dialog is shown indicating that the formula is shared with another property and modifying it will create a separate formula. The following is an example of the warning dialog.
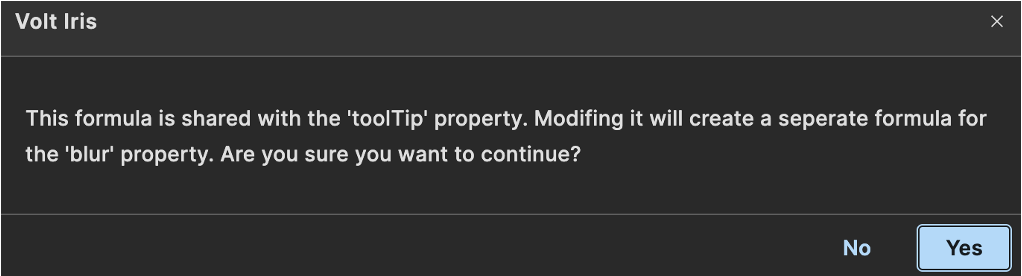
Clicking Yes allows the user to change the linked formula.