For Volt MX Go v2.1
Perform a new or an upgrade installation of Volt MX Go Iris.
Install Volt MX Go Iris
Before you begin
- You have downloaded the Volt Iris installer. The minimum supported version is v9.5.50.
- You have downloaded the Volt MX Go Plugin Installer.
For more information, see Download HCL Volt MX Go installers.
Install Volt Iris
For installing Volt Iris, click the link corresponding to your installation platform and follow the installation steps.
Install Volt MX Go Plugin Installer
The procedure enables the installation of the Volt MX Go Plugin Installer, which is used for installing the Volt MX Go plugins to Volt Iris.
- Navigate to the directory of the downloaded installer zip file.
- Extract the zip file to get the installer file.
- Double-click the installer file. The Volt MX Go Installation Tool window opens.
-
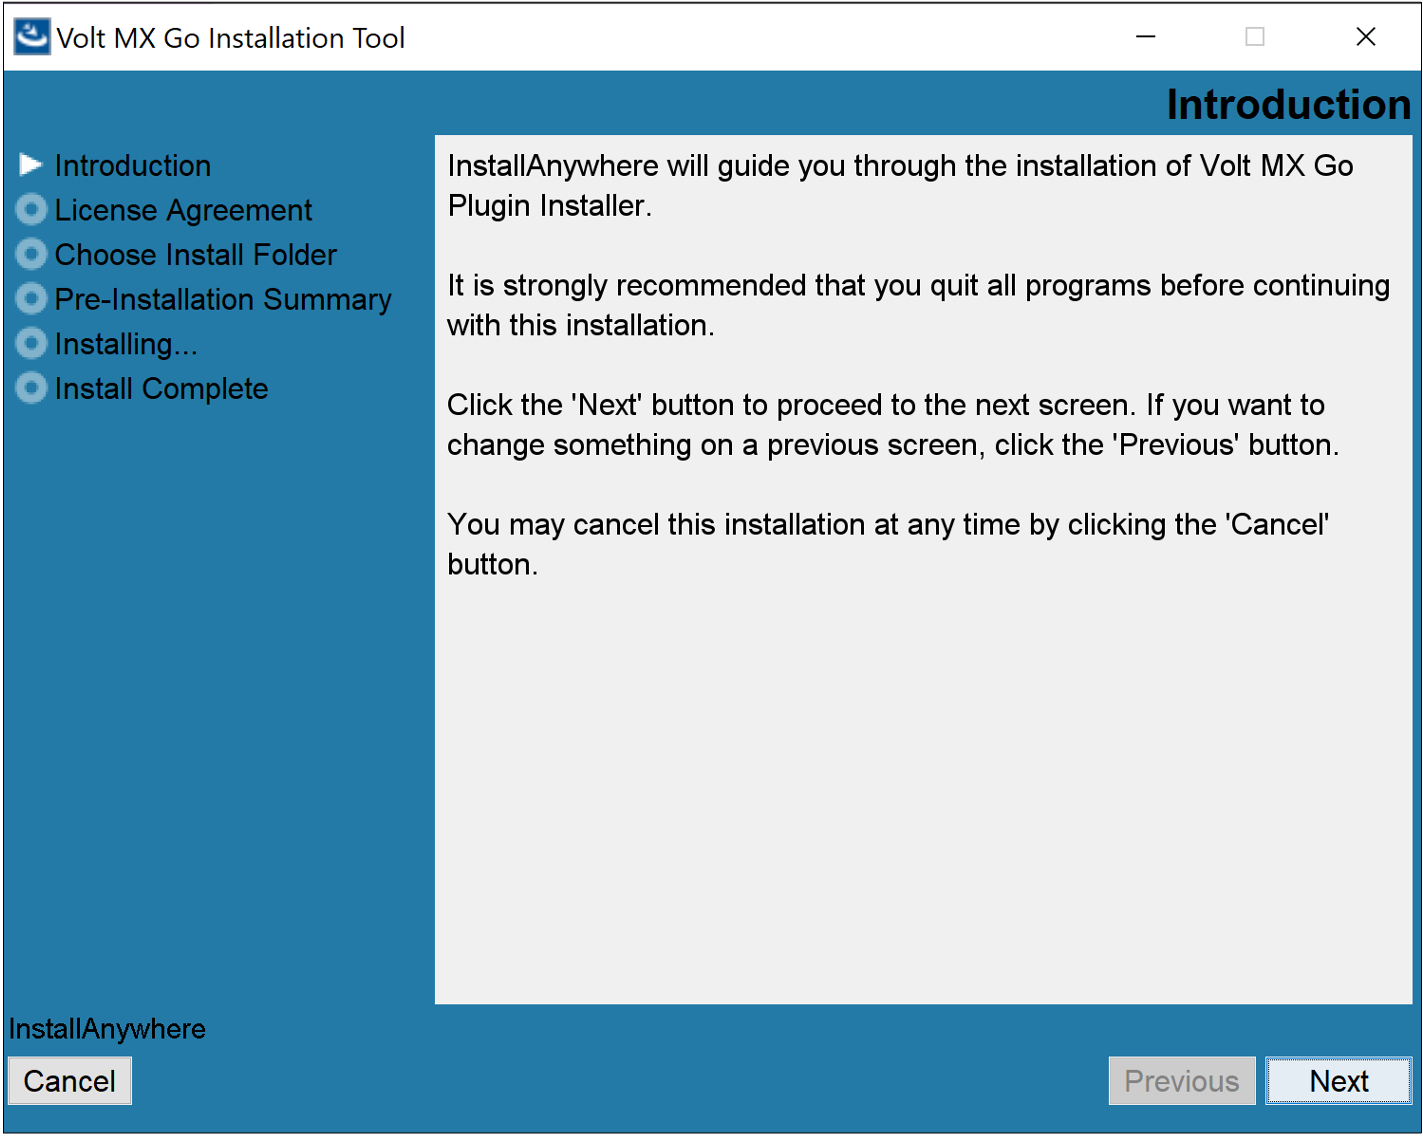
On the Introduction, read the details and instructions, and then click Next.

-
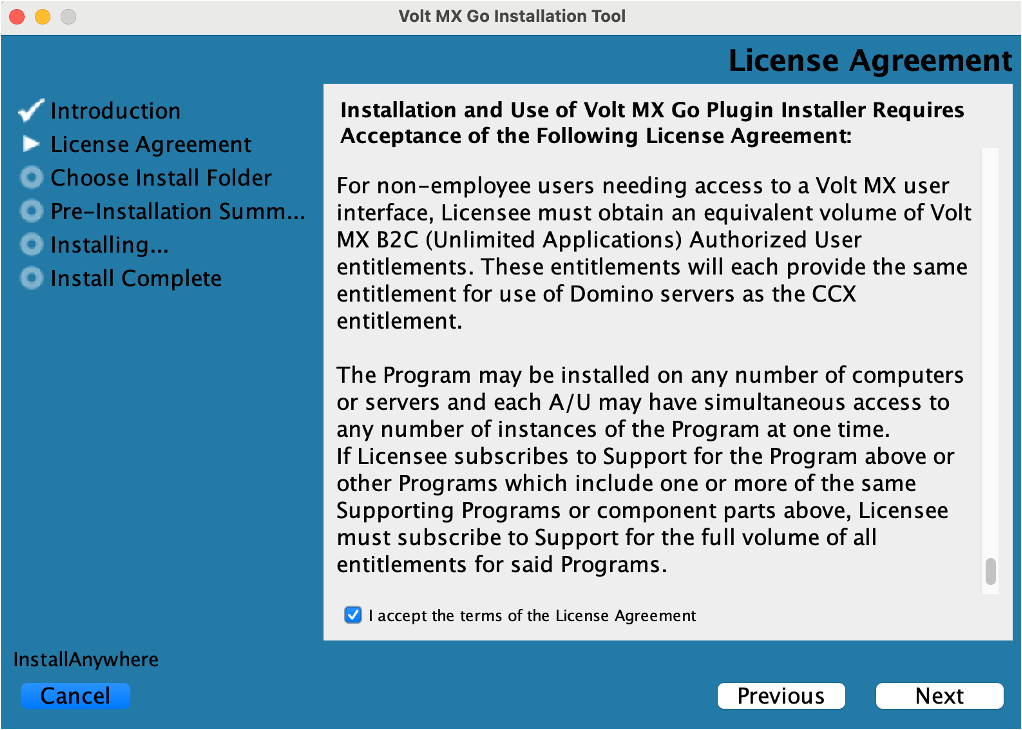
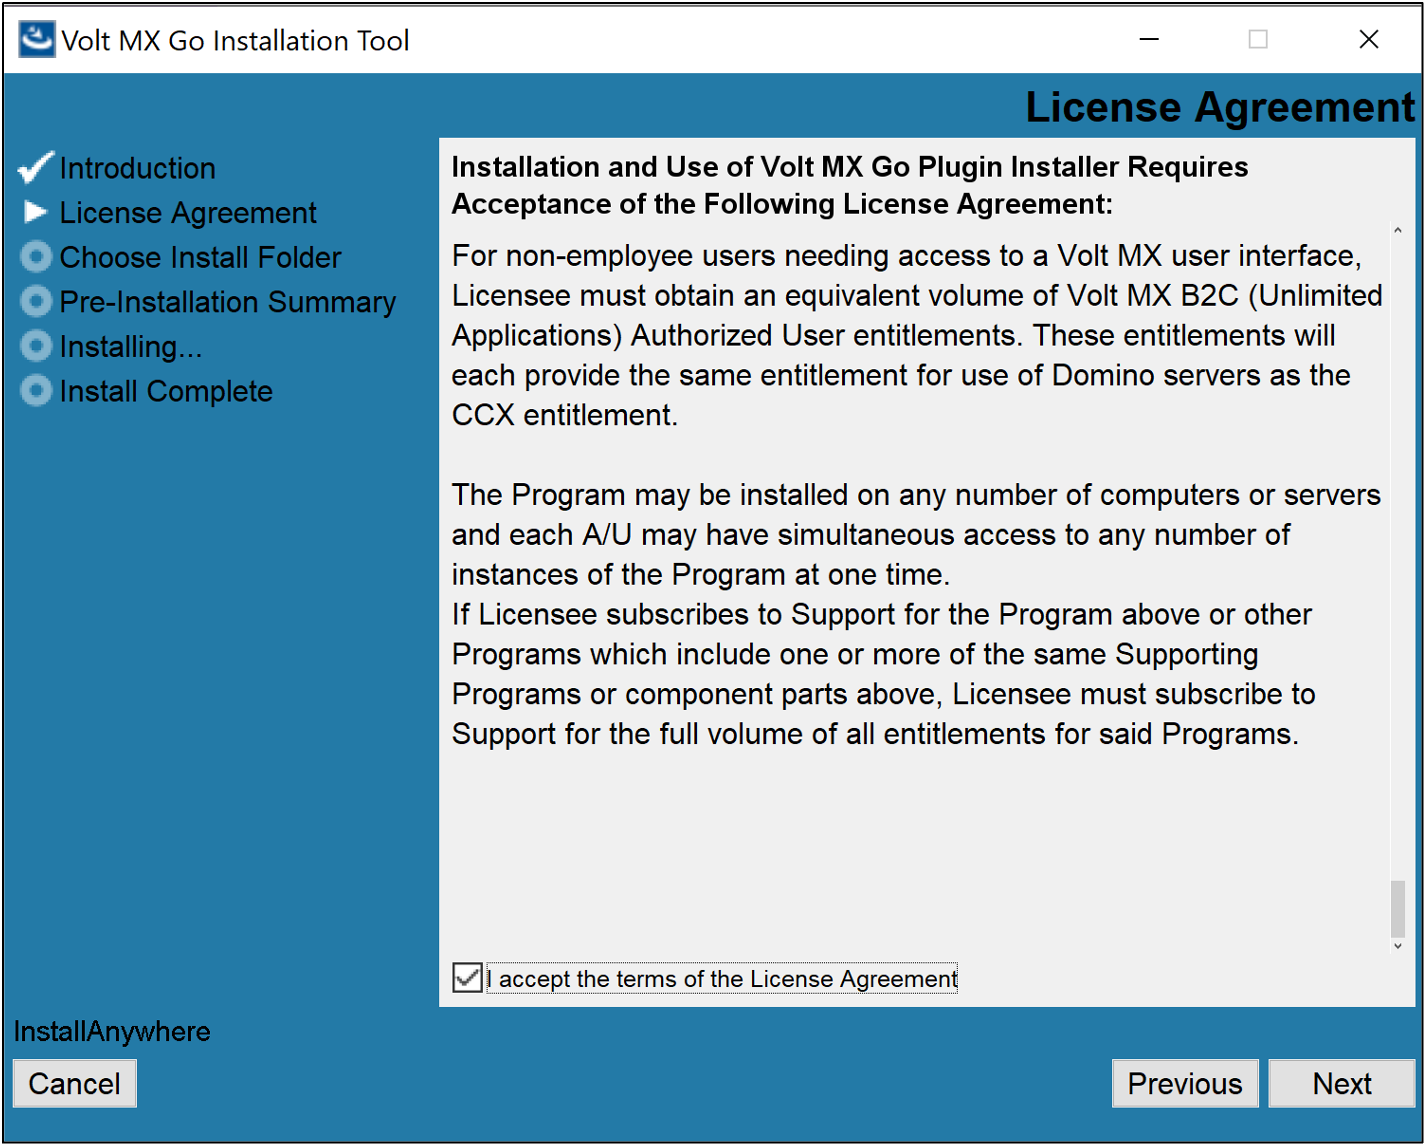
On the License Agreement, read the agreement details, select the I accept the terms of the License agreement checkbox, and then click Next.
-
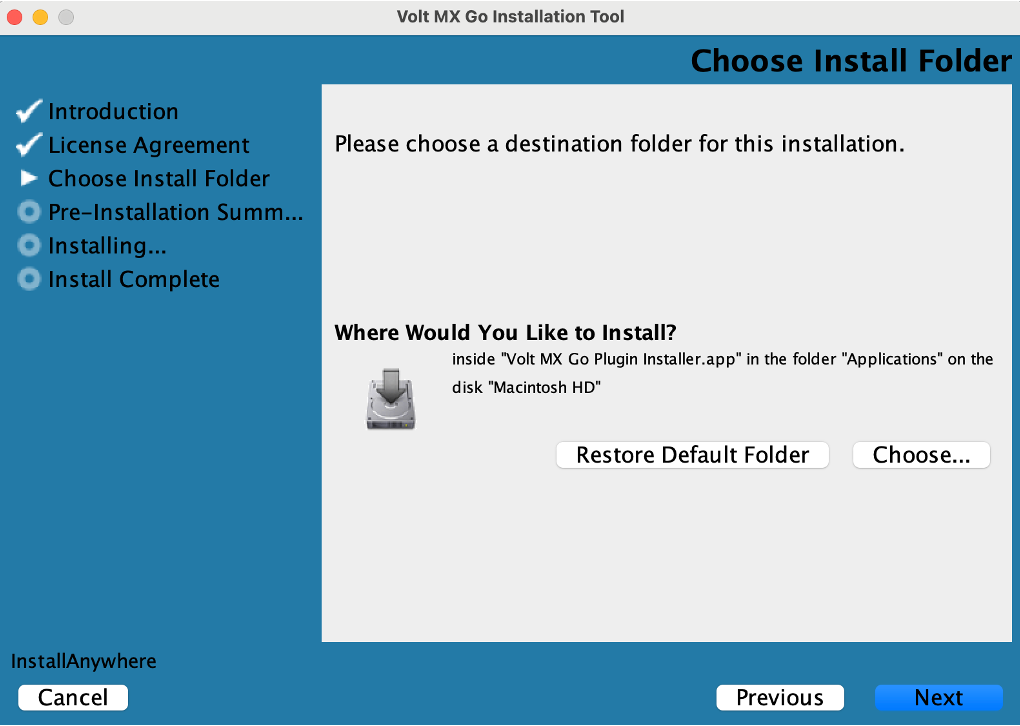
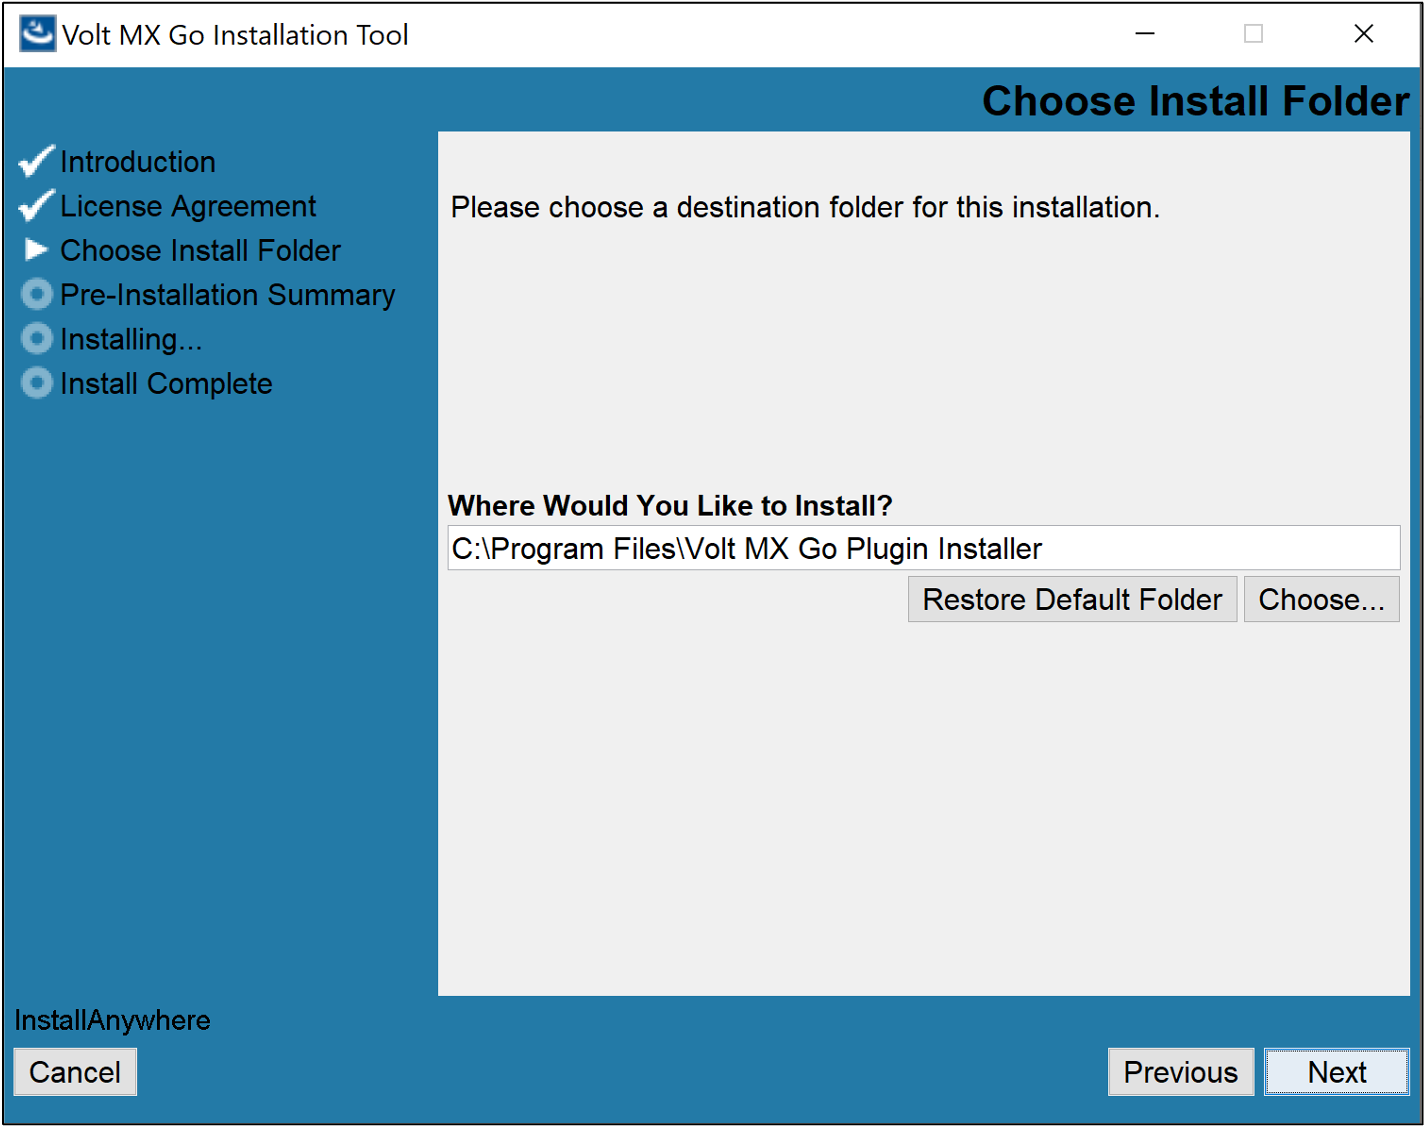
On the Choose Install Folder, click Next if you agree with the indicated default location.
Tip
- If you want a different installation location, click Choose to select your preferred installation location, and then click Next.
- If you selected a different installation location and decided to revert to the default location, click Restore Default Folder and then click Next.
-
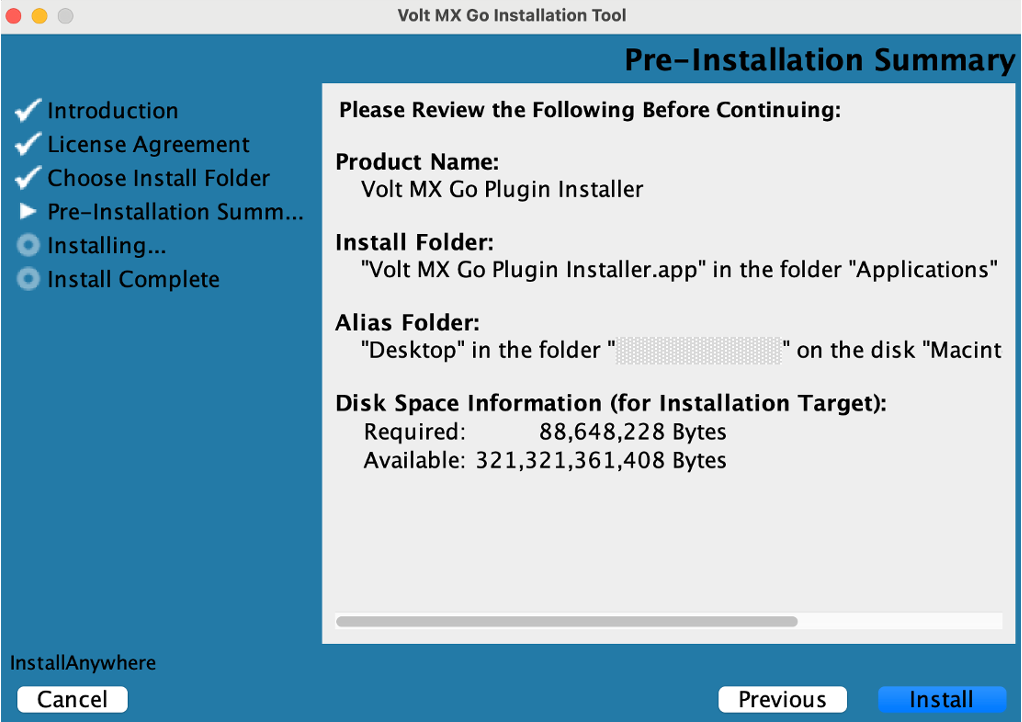
On the Pre-Installation Summary, review the details and then click Install.
-
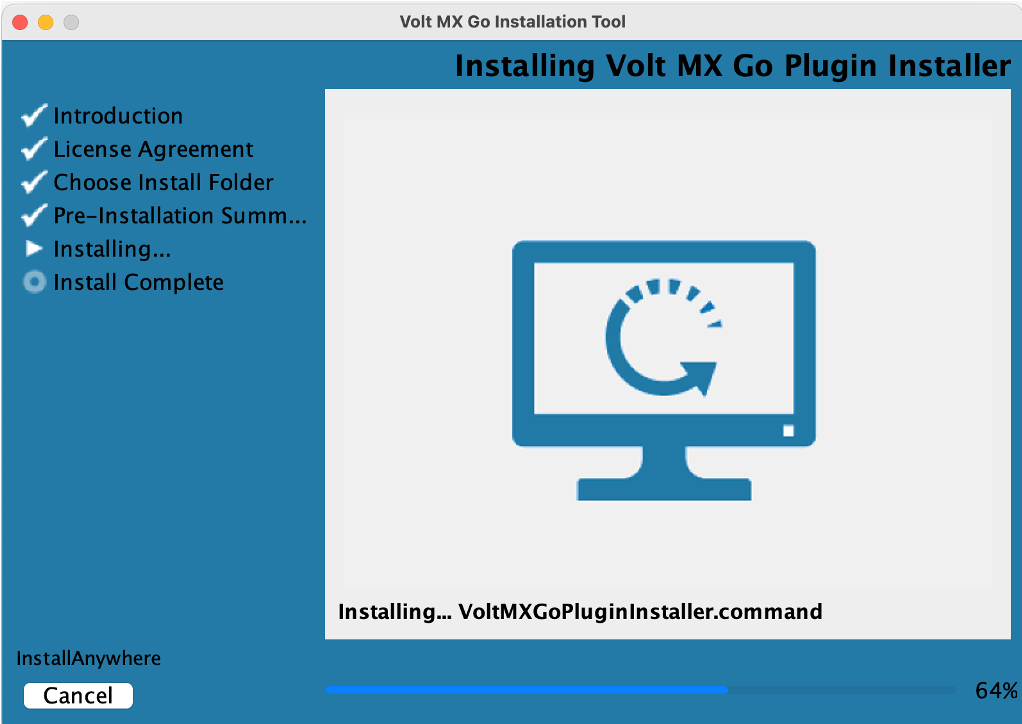
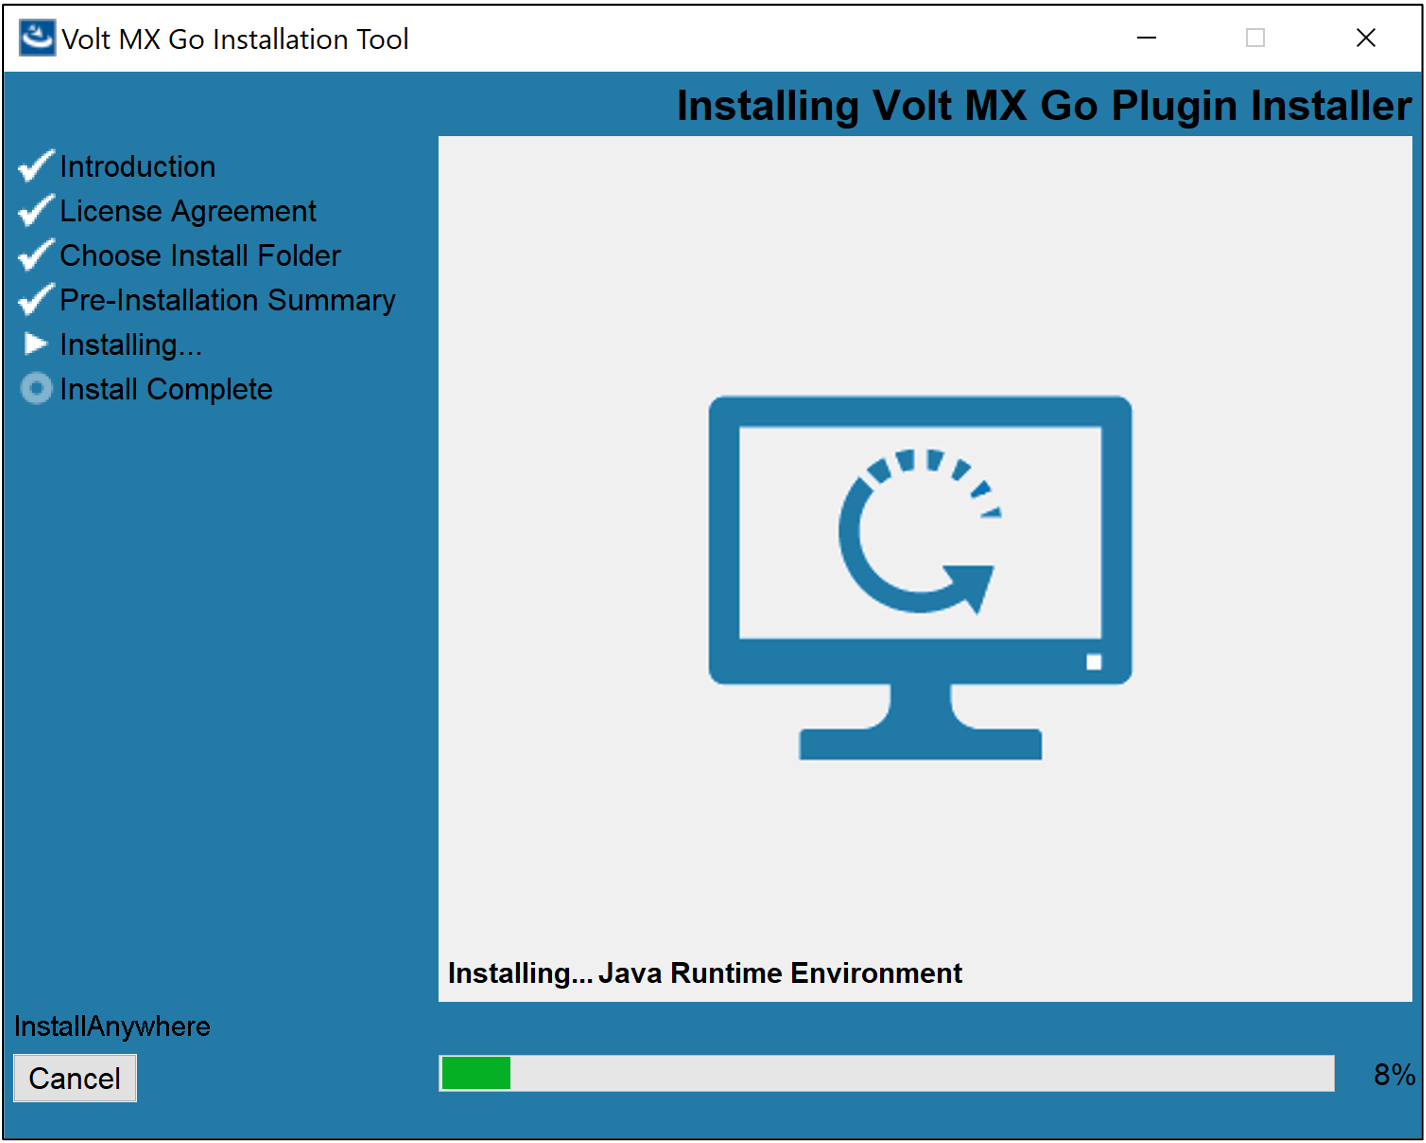
On the Installing tab, you can see the installation status.
-
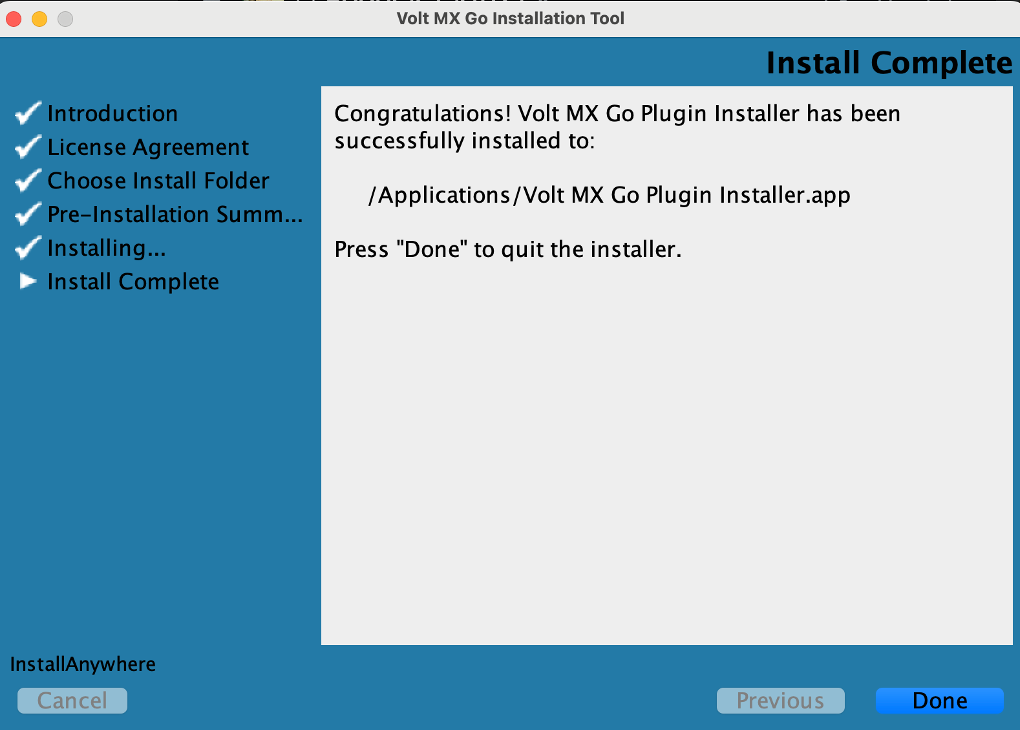
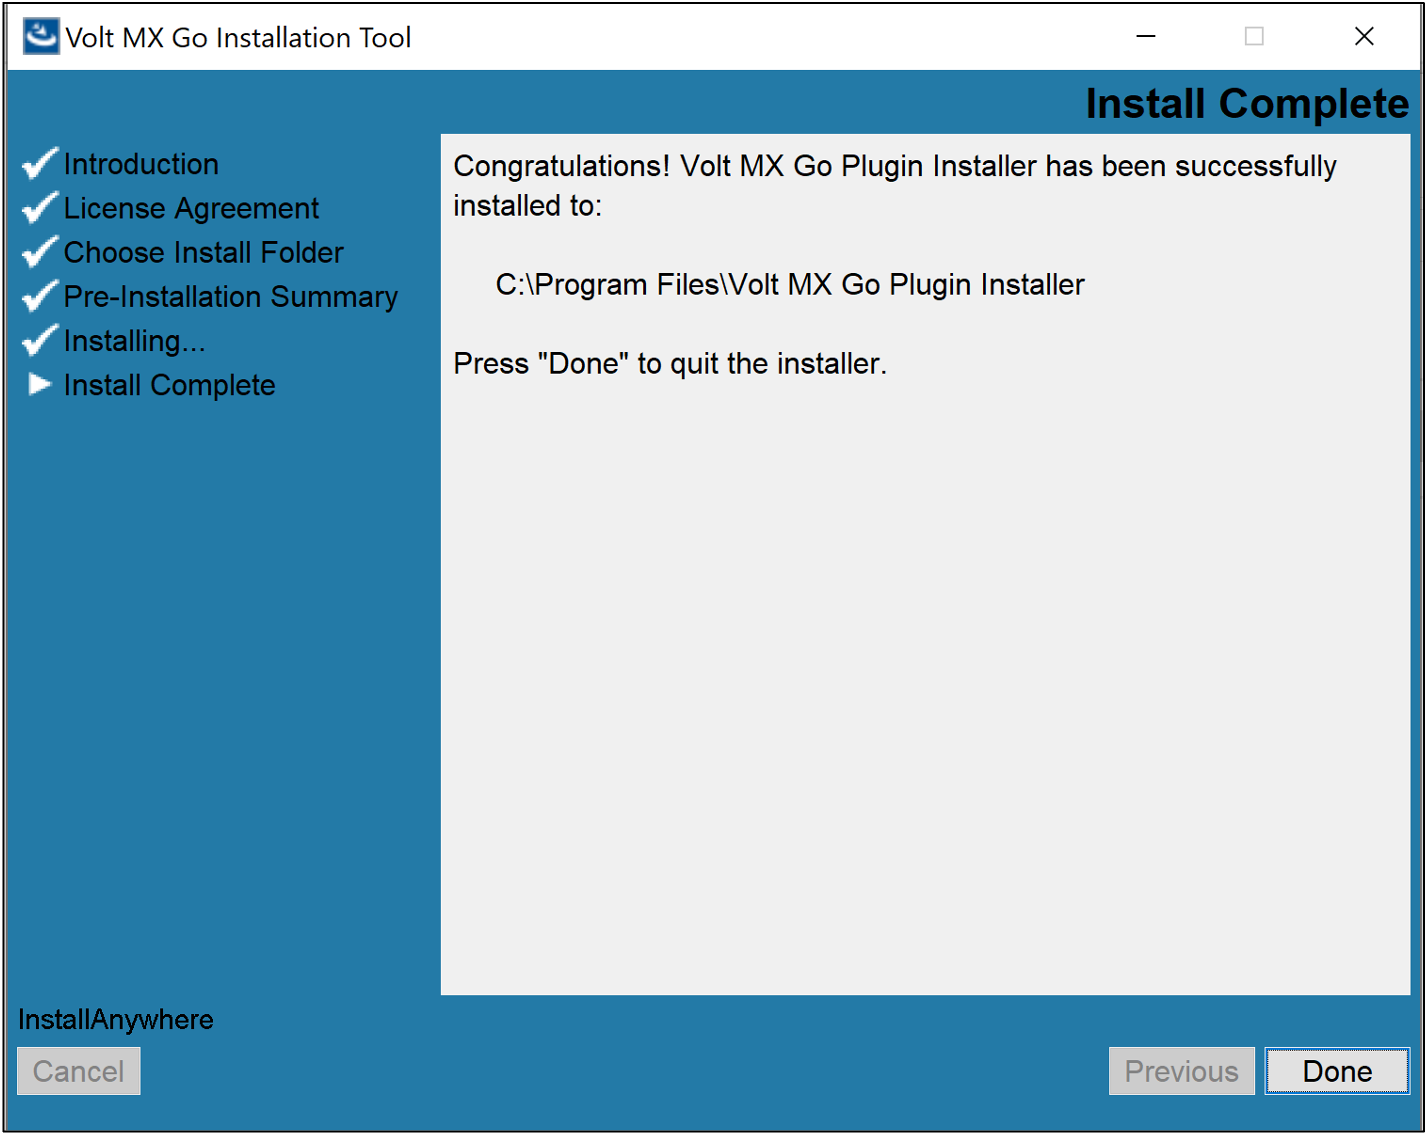
On the Install Complete, click Done.
- Navigate to the folder containing the downloaded installer file.
- Double-click the installer file. The Volt MX Go Installation Tool window opens.
-
On the Introduction, read the details and instructions, and then click Next.
-
On the License Agreement, read the agreement details, select the I accept the terms of the License agreement checkbox, and then click Next.
-
On the Choose Install Folder, click Next if you agree with the indicated default location.
Tip
- If you want a different installation location, click Choose to select your preferred installation location or directly enter your preferred installation location in the text box, and then click Next.
- If you selected a different installation location and decided to revert to the default location, click Restore Default Folder and then click Next.
-
On the Pre-Installation Summary, review the details and then click Install.

-
On the Installing tab, you can see the installation status.
-
On the Install Complete, click Done.
Install Volt MX Go Plugins
The procedure enables the installation of Volt MX Go plugins to Volt Iris to enable Volt MX Go features.
Important
Installing the MX Go plugins into your workspace requires that your workspace contains a pluginsInfo.json file in the .plugins directory. Otherwise, an installation error occurs. To create the pluginsInfo.json file in the .plugins directory, create a Desktop Web App project  with Volt Iris in your workspace, and then run Live Preview . Running the Live Preview creates the
 pluginsInfo.json file.
-
Click Finder in the Dock, click Applications in the sidebar of the Finder window, then double-click the Volt MX Go Plugin Installer app.
Or
Click Launchpad in the Dock, type Volt MX Go Plugin Installer in the search field at the top of Launchpad, and click the app to open it.
A new terminal opens showing the available options.

-
Enter 4 to install Volt MX Go plugins and press return.
- Specify a Volt Iris workspace by entering the number corresponding to a detected workspace or enter the full path to the workspace, then press return.
-
Specify the Iris application installation directory by entering the number corresponding to your installation or enter the full path to your Iris installation directory, then press return.
You get a confirmation statement about the completion of the installation of the plugins.
-
Close the terminal.
-
Select Start, scroll through the alphabetical list, and select Volt MX Go Plugin Installer. Depending on your OS, you might need to select All apps, scroll through the alphabetical list, and click Volt MX Go Plugin Installer.
OR
Double-click the Volt MX Go Plugin Installer shortcut on your desktop if available.
A Command Prompt window opens showing the available options.
-
Enter 4 to install Volt MX Go plugins and press Enter.
- Specify an Iris workspace by entering the number corresponding to a detected workspace or enter the full path to the workspace, then press Enter.
-
Specify the Iris application installation directory by entering the number corresponding to your installation or enter the full path to your Iris installation directory, then press Enter.
You get a confirmation statement that the plugins have been installed.
-
Press Enter to close the Command Prompt window.
Important
-
After installing the plugins, connect Volt Iris to Volt Foundry licensed with a Volt MX Go entitlement to enable and use the Volt MX Go features in Volt Iris.
-
For further reference, see the
 Installing Volt MX Go v2.1 for Volt Iris video demonstration.
Upgrade Volt MX Go Iris
Upgrades Volt MX Go Iris from Volt MX Go v2.0.4 to Volt MX Go v2.1.
Before you begin
-
You have downloaded the Volt Iris installer - v9.5.50 or later. For more information, see Download HCL Volt MX Go installers.
-
You have installed the Volt MX Go Plugin Installer. For more information, see Install Volt MX Go Plugin Installer.
Upgrade Volt Iris
To upgrade, install the latest version of Volt Iris. Click the link corresponding to your installation platform and follow the installation steps.
Important
Make sure to use the same Workspace Folder you used for your Volt MX Go Iris v2.0.4 installation to access all the projects you worked on using Volt MX Go Iris v2.0.4.
Install Volt MX Go Plugins
Install the Volt MX Go plugins to Volt Iris to enable Volt MX Go features. For the installation steps, see Install Volt MX Go Plugins.
Important
After installing the plugins, connect Volt Iris to Volt Foundry licensed with a Volt MX Go entitlement to enable and use the Volt MX Go features in Volt Iris.
Important consideration
Updates for Volt Iris are released regularly, and you will receive an update notification on your Volt Iris instance that prompts you to update to the latest version of Volt Iris. These updates are major release versions, service packs, and fix packs.
You must reinstall the Volt MX Go plugins every time you update Volt Iris.
For more information on updating Volt Iris, click the link corresponding to your installation platform: