For Volt MX Go v2.1
Install Domino REST API
Guides you in installing Domino REST API.
Before you begin
Important
Make sure to check version compatibility between Volt MX Go and Domino REST API.
Procedure
-
Download the Domino REST API installer. For more information, see Download the Domino REST API
 in the HCL Domino REST API documentation.
 -
Follow the links to the installation procedure based on your preferred installation platform:
-
Complete all the post-installation tasks
.
For more information, see the Installation and configuration page in the HCL Domino REST API documentation .
Install Volt MX Go Foundry
Starting from Volt MX Go v2.1 release, Volt MX Go Foundry is enabled by installing the supported version of Volt Foundry using available installation mechanisms and then installing Volt MX Go plugins to Volt Foundry using a Volt MX Go Plugin Installer. The use of Helm charts and a single container solution are also supported for installing Volt Foundry. It's important to note that for Volt MX Go v2.1, only Volt Foundry using a Tomcat non-clustered application server is supported.
Volt Foundry must be licensed with a Volt MX Go entitlement for the plugins to be enabled and for the Volt MX Go features to work.
For using an installer
Before you begin
- You have downloaded the Volt Foundry installer. The minimum supported version is v9.5.18.0.
- You have downloaded the Volt MX Go Plugin Installer.
For more information, see Download HCL Volt MX Go installers.
Install Volt Foundry
For installing Volt MX Go Foundry, click the link to the installation guide corresponding to your installation platform and follow the installation steps.
Important
- For Volt MX Go v2.1, only Volt Foundry using a Tomcat non-clustered application server is supported.
-
Make sure to check all the details and complete all the applicable procedures indicated in the sections in the installation guides.
-
After completing the installation, activate the Volt MX Go license on Volt Foundry and then shut it down before proceeding to the installation of the Volt MX Go plugins. For more information, see license activation
on the Volt MX documentation.
Install Volt MX Go Plugin Installer
The procedure enables the installation of the Volt MX Go Plugin Installer, which is used for installing the Volt MX Go plugins to Volt Foundry.
- Open terminal and extract the installer from the tar file.
- Navigate to the directory containing the
VoltMXGoInstallationTool.binto ensure that you are in the right location to execute the installation commands for the bin file. -
Enter the following command to grant executable permissions to the
VoltMXGoInstallationTool.binfile and press Enter.sudo chmod +x VoltMXGoInstallationTool.binUsing the
chmodcommand withsudoensures administrative privileges. -
Run the
VoltMXGoInstallationTool.binfile to start the installation using the following command and press Enter../VoltMXGoInstallationTool.bin -
Follow the installation instructions. The binary file will initiate the installation process and may prompt you with on-screen instructions. Follow these instructions carefully to complete the installation.
Note
If you have a graphical terminal associated with your Linux deployment, the Volt MX Go Installation Tool window opens. Otherwise, installation is via the command line.
- Navigate to the folder containing the downloaded installer file.
- Double-click the installer file. The Volt MX Go Installation Tool window opens.
-
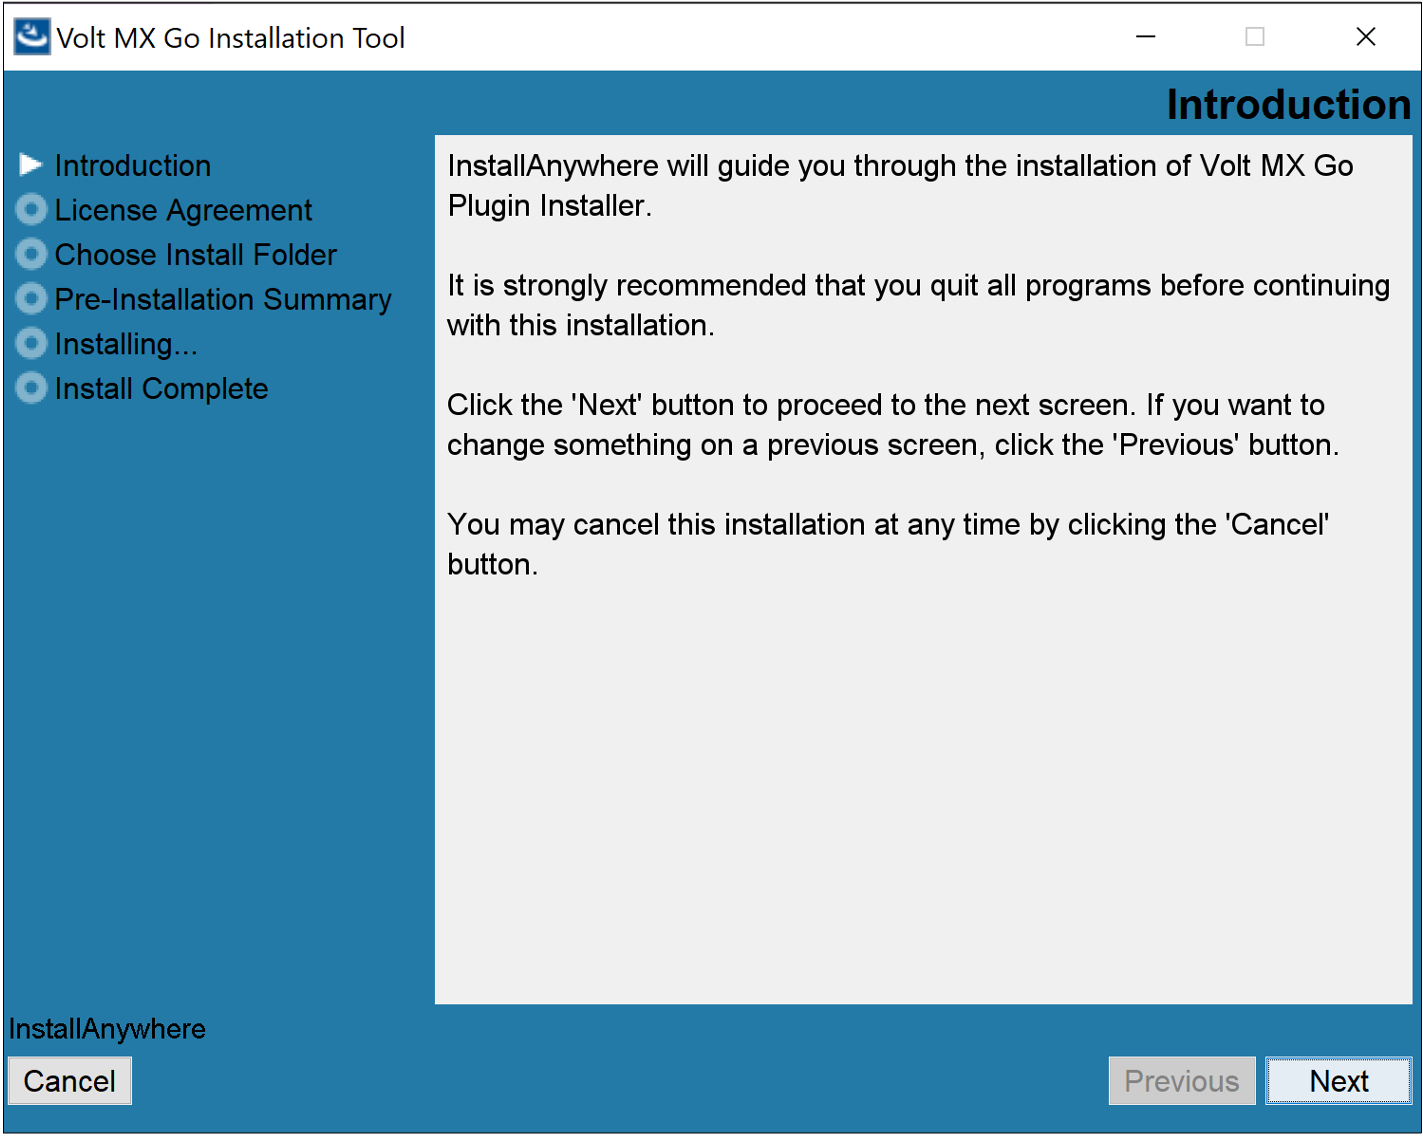
On the Introduction, read the details and instructions, and then click Next.
-
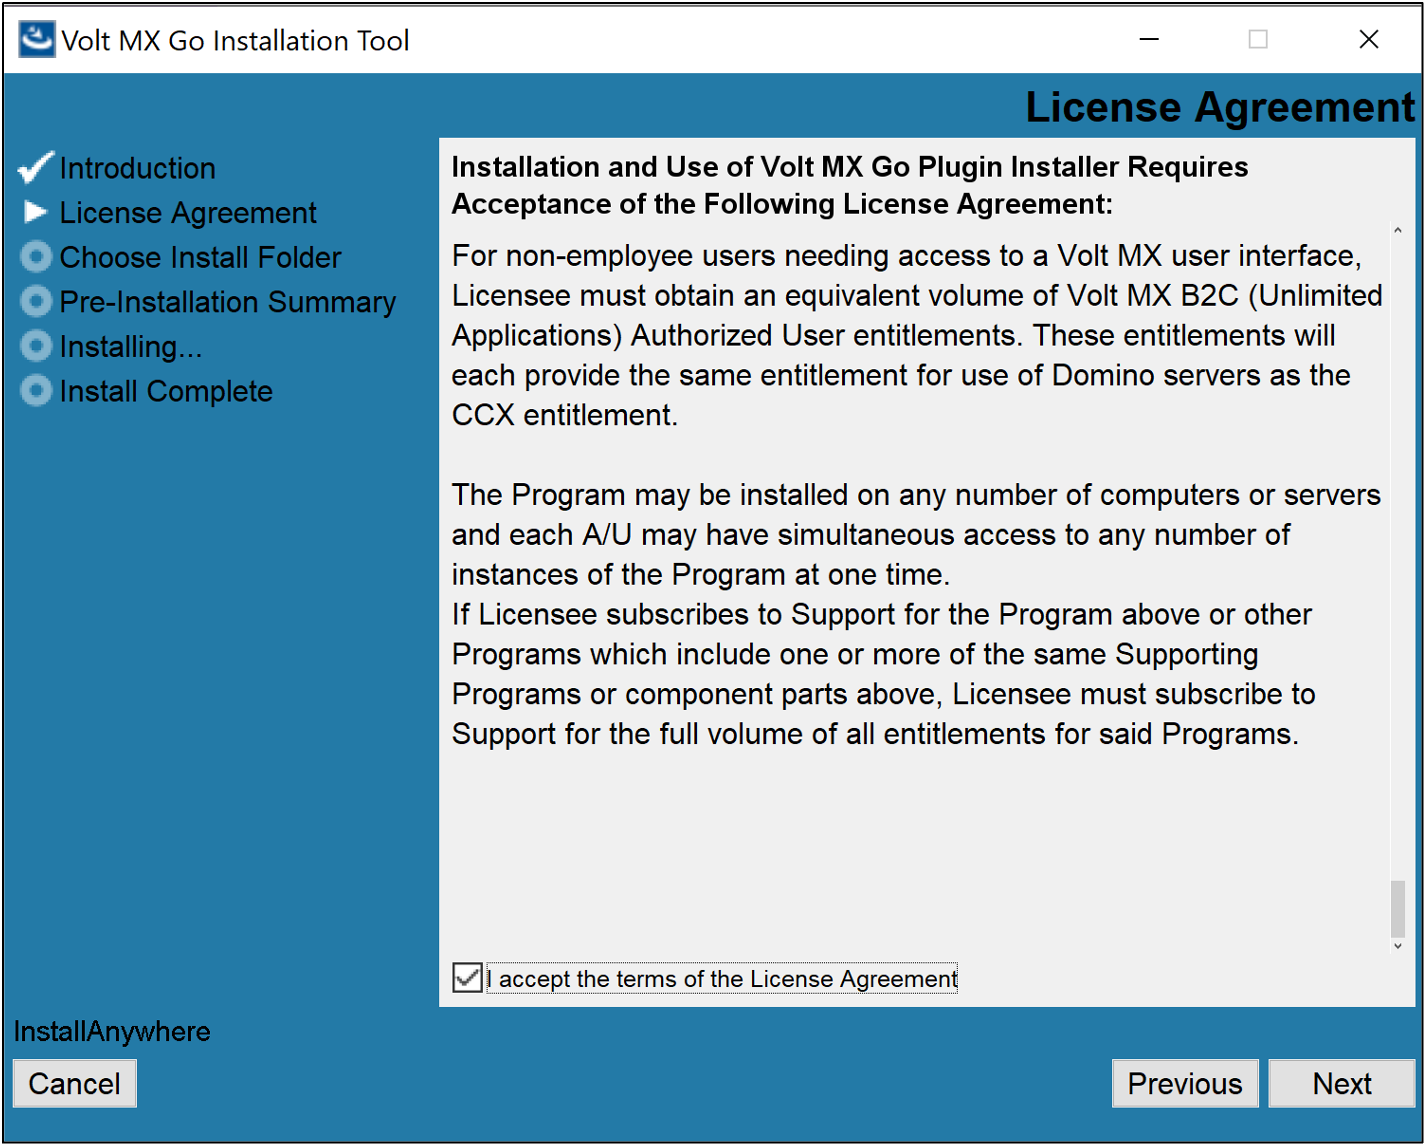
On the License Agreement, read the agreement details, select the I accept the terms of the License agreement checkbox, and then click Next.
-
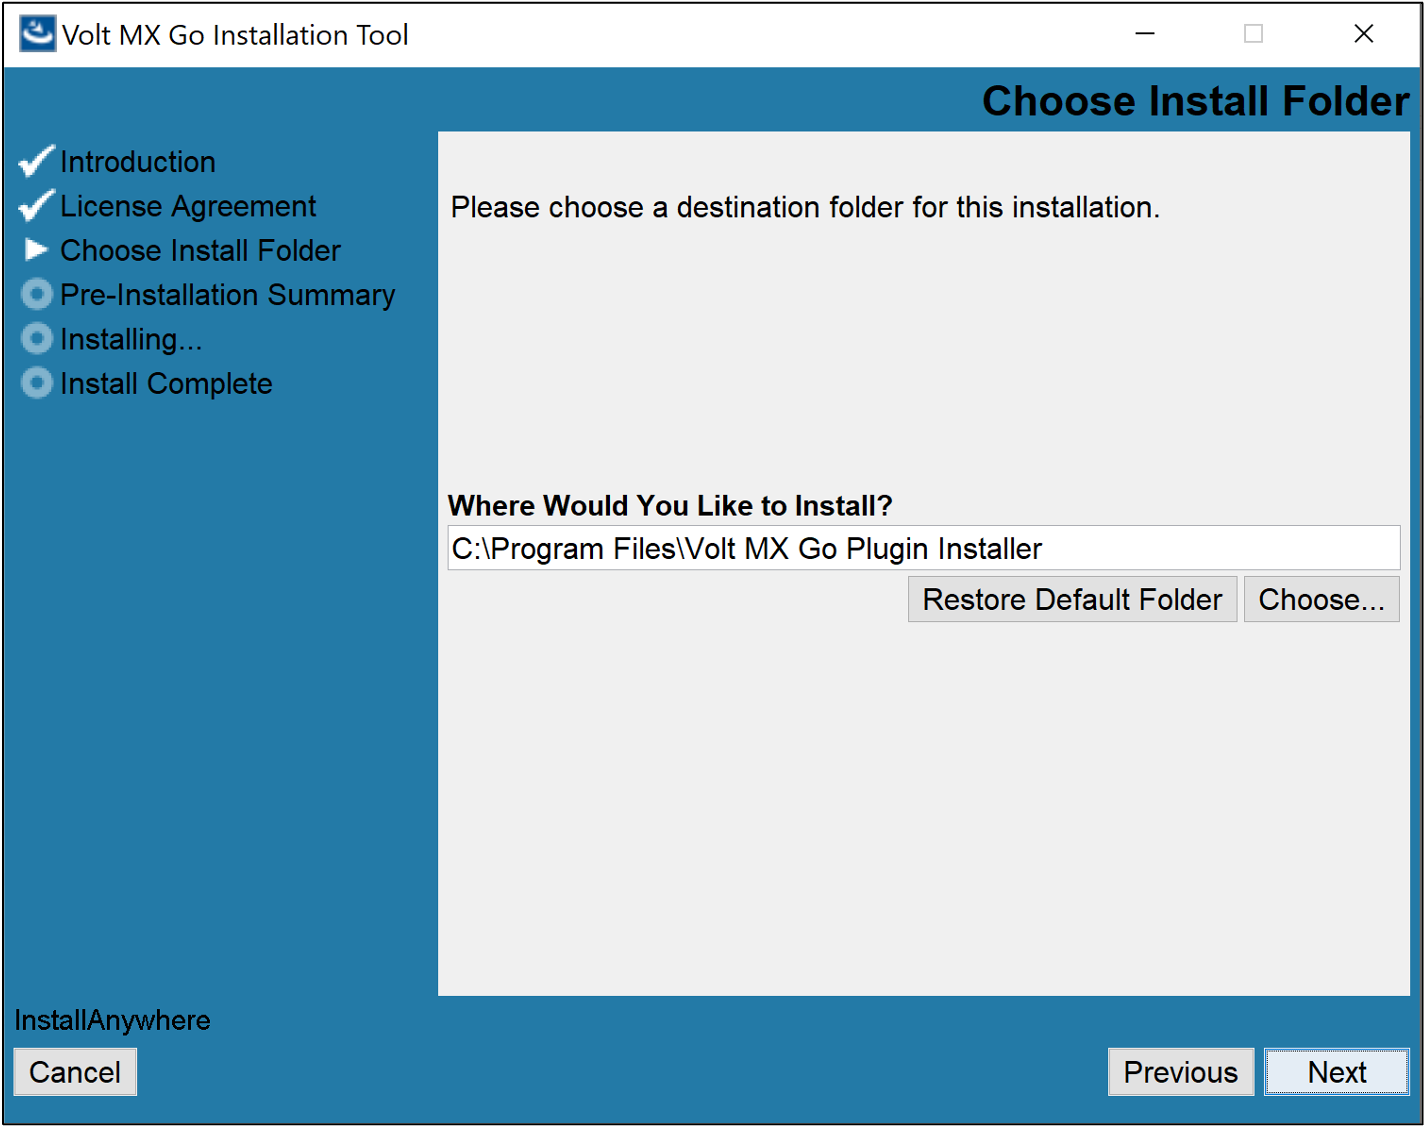
On the Choose Install Folder, click Next if you agree with the indicated default location.
Tip
- If you want a different installation location, click Choose to select your preferred installation location or directly enter your preferred installation location in the text box, and then click Next.
- If you selected a different installation location and decided to revert to the default location, click Restore Default Folder and then click Next.
-
On the Pre-Installation Summary, review the details and then click Install.

-
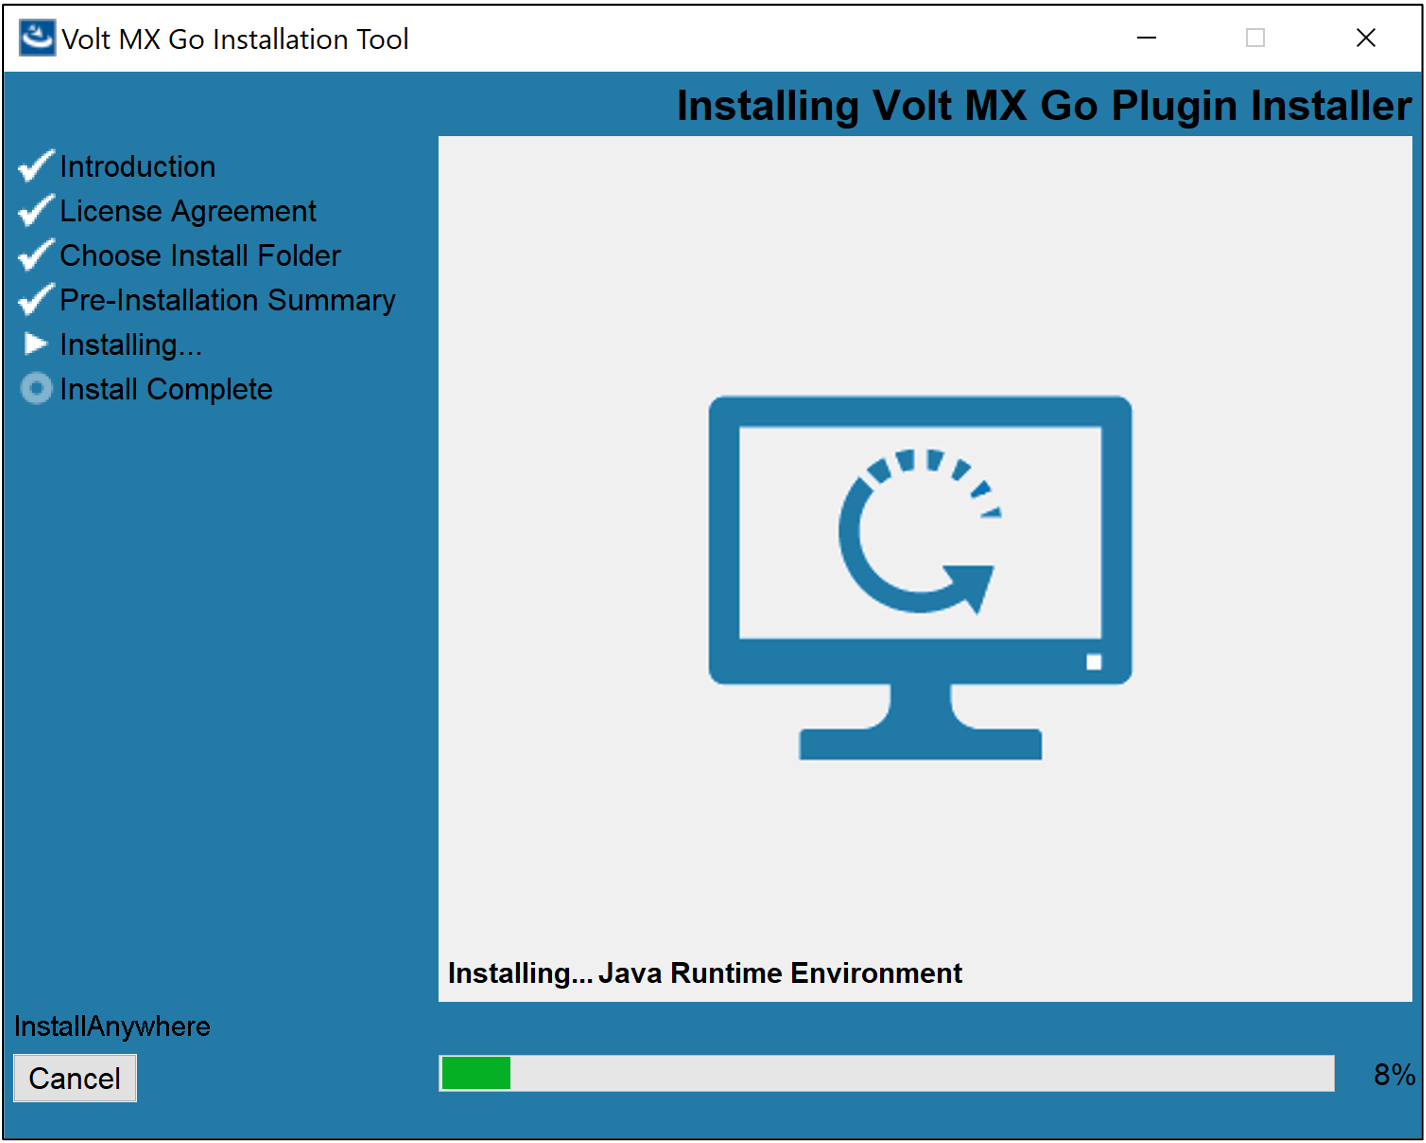
On the Installing, see the installation status.
-
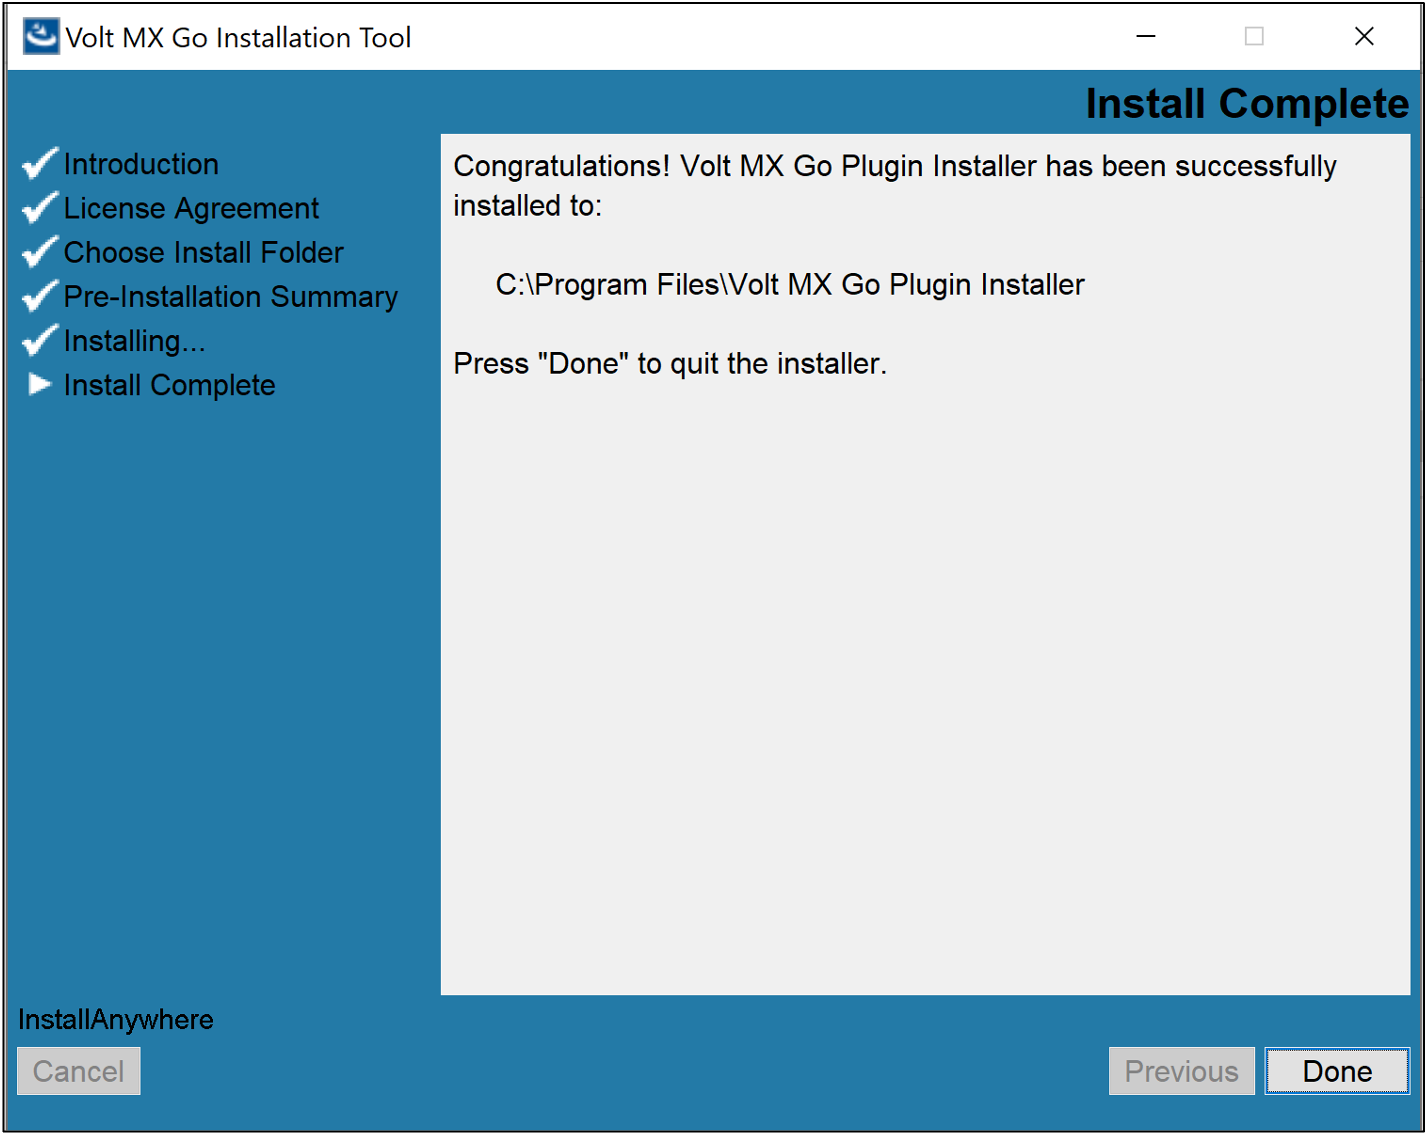
On the Install Complete, click Done.
Install Volt MX Go plugins
The procedure enables the installation of Volt MX Go plugins to Volt Foundry to enable Volt MX Go features.
Important
- For Volt MX Go v2.1, you can only install Volt MX Go plugins to Volt Foundry that uses a Tomcat non-clustered application server.
- Volt Foundry must be licensed with a Volt MX Go entitlement for the plugins to be enabled and for the Volt MX Go features to work.
- Open Terminal.
- Go to the directory where you installed the Volt MX Go Plugin Installer. By default, the installer executable is located in the
~/VoltMXGoPluginInstallerdirectory. -
Run the Volt MX Go Plugin Installer by entering the following command and press Enter.
./VoltMXGoPluginInstallerThe installation tool opens on the Terminal showing the available options.

-
Enter 1 to install Volt MX Go plugins in Volt Foundry and press Enter.
-
Specify the Tomcat WebApps directory by entering the number corresponding to your installation or enter the full path to your Tomcat WebApps directory, and then press Enter.
You get a confirmation statement that the plugins have been installed.
-
Enter 7 and press Enter to exit the installation tool.
-
Select Start, scroll through the alphabetical list, and select Volt MX Go Plugin Installer. Depending on your OS, you might need to select All apps, scroll through the alphabetical list, and click Volt MX Go Plugin Installer.
OR
Double-click the Volt MX Go Plugin Installer shortcut on your desktop if available.
A Command Prompt window opens showing the available options.
-
Enter 1 to install Volt MX Go plugins and press Enter.
-
Specify the Tomcat WebApps directory by entering the number corresponding to your installation, or enter the full path to your Tomcat WebApps directory, then press Enter.
You get a confirmation statement that the plugins have been installed.
-
Press Enter to close the Command Prompt window.
Note
- After installing the Volt MX Go plugins, open Volt Foundry to verify you see the Volt MX GO/First Touch banner.
- For further reference, see the
 Installing Volt MX Go v2.1 for Volt Foundry video demonstration.
For using Helm charts on a supported Kubernetes platform
Before you begin
- You have obtained the authentication token from the HCL Container Repository.
- You have completed all the installation prerequisites .
- You have reviewed the configuration parameters and identified their required values as you must provide them during the installation. For more information, see Configuration .
- You have downloaded the Volt Foundry Helm charts. For more information, see Download HCL Volt MX Go installers.
Procedure
-
Click the link to the installation guide and follow the installation steps.
Volt Foundry Container Helm installation guide
Important
Make sure to check all the details and complete all the applicable steps indicated in the installation guide.
-
After completing all applicable steps in the installation guide, update the
values.yamlfile.- Locate the
values.yamlfile in the Volt Foundry directory. - Open the
values.yamlfile with your preferred editor and locate the line containing theimageRegistry:key. - Change the value of the
imageRegistry:key to"hclcr.io/voltmxgo. - Save your changes and close the file.
- Locate the
-
Execute the
helm upgrade foundrycommand to upgrade the running images to use Volt MX Go.
For single container solution
For more information, see Volt Foundry Single Container Solution in the Volt MX Documentation.
Before you begin
- You have obtained the authentication token from the HCL Container Repository.
- You have completed all the installation prerequisites .
- You have reviewed the configuration parameters and identified their required values as you must provide them during the installation. For more information, see Configuration .
- You have downloaded the Volt Foundry Single Container install script. For more information, see Download HCL Volt MX Go installers.
Procedure
-
Click the link to the installation guide and follow the installation steps.
Volt Foundry Single Container Solution installation guide
Important
- The installation guides indicate installation files and installation file download locations. You must use the installer you downloaded as indicated in the Before you begin section.
- Make sure to check all the details and complete all the applicable steps indicated in the installation guide.
-
Update the
docker-compose.ymlfile.- Locate the
docker-compose.ymlfile in the Volt Foundry directory. - Open the
docker-compose.ymlfile with your preferred editor and locate the line containing theimage:key. - Change the value of the
image:key from"hclcr.io/voltmx/voltmx-foundry-db:<version>_GA"to"hclcr.io/voltmxgo/voltmx-foundry-db:<version>_GA", wherein <version> corresponds to the Volt Foundry release version. For example,"hclcr.io/voltmxgo/voltmx-foundry-db:9.5.18.0_GA". - Save your changes and close the file.
- Locate the
-
Stop the existing images by running the command
docker compose down. - Restart the images by running the command
docker compose up -d.
Next step
After completing the installation of Domino REST API and Volt MX Go Foundry, proceed to Install Volt MX Go Iris.