Configure Domino REST API as SAML identity provider
To be able to access encrypted resources, like emails or confidential documents in application databases, Domino REST API needs to be configured as a SAML identity provider.
There are two scenarios:
- Domino REST API is the only identity provider (This feature is subject to a later code drop).
- Domino REST API is an additional identity provider (This feature is subject to a later code drop).
About this task
As SAML is already available for you, the procedure guides you on adding Domino REST API as an Identity Provider and setting up websites to use an ID Vault via SAML.
The procedure guides you on configuring
Procedure
-
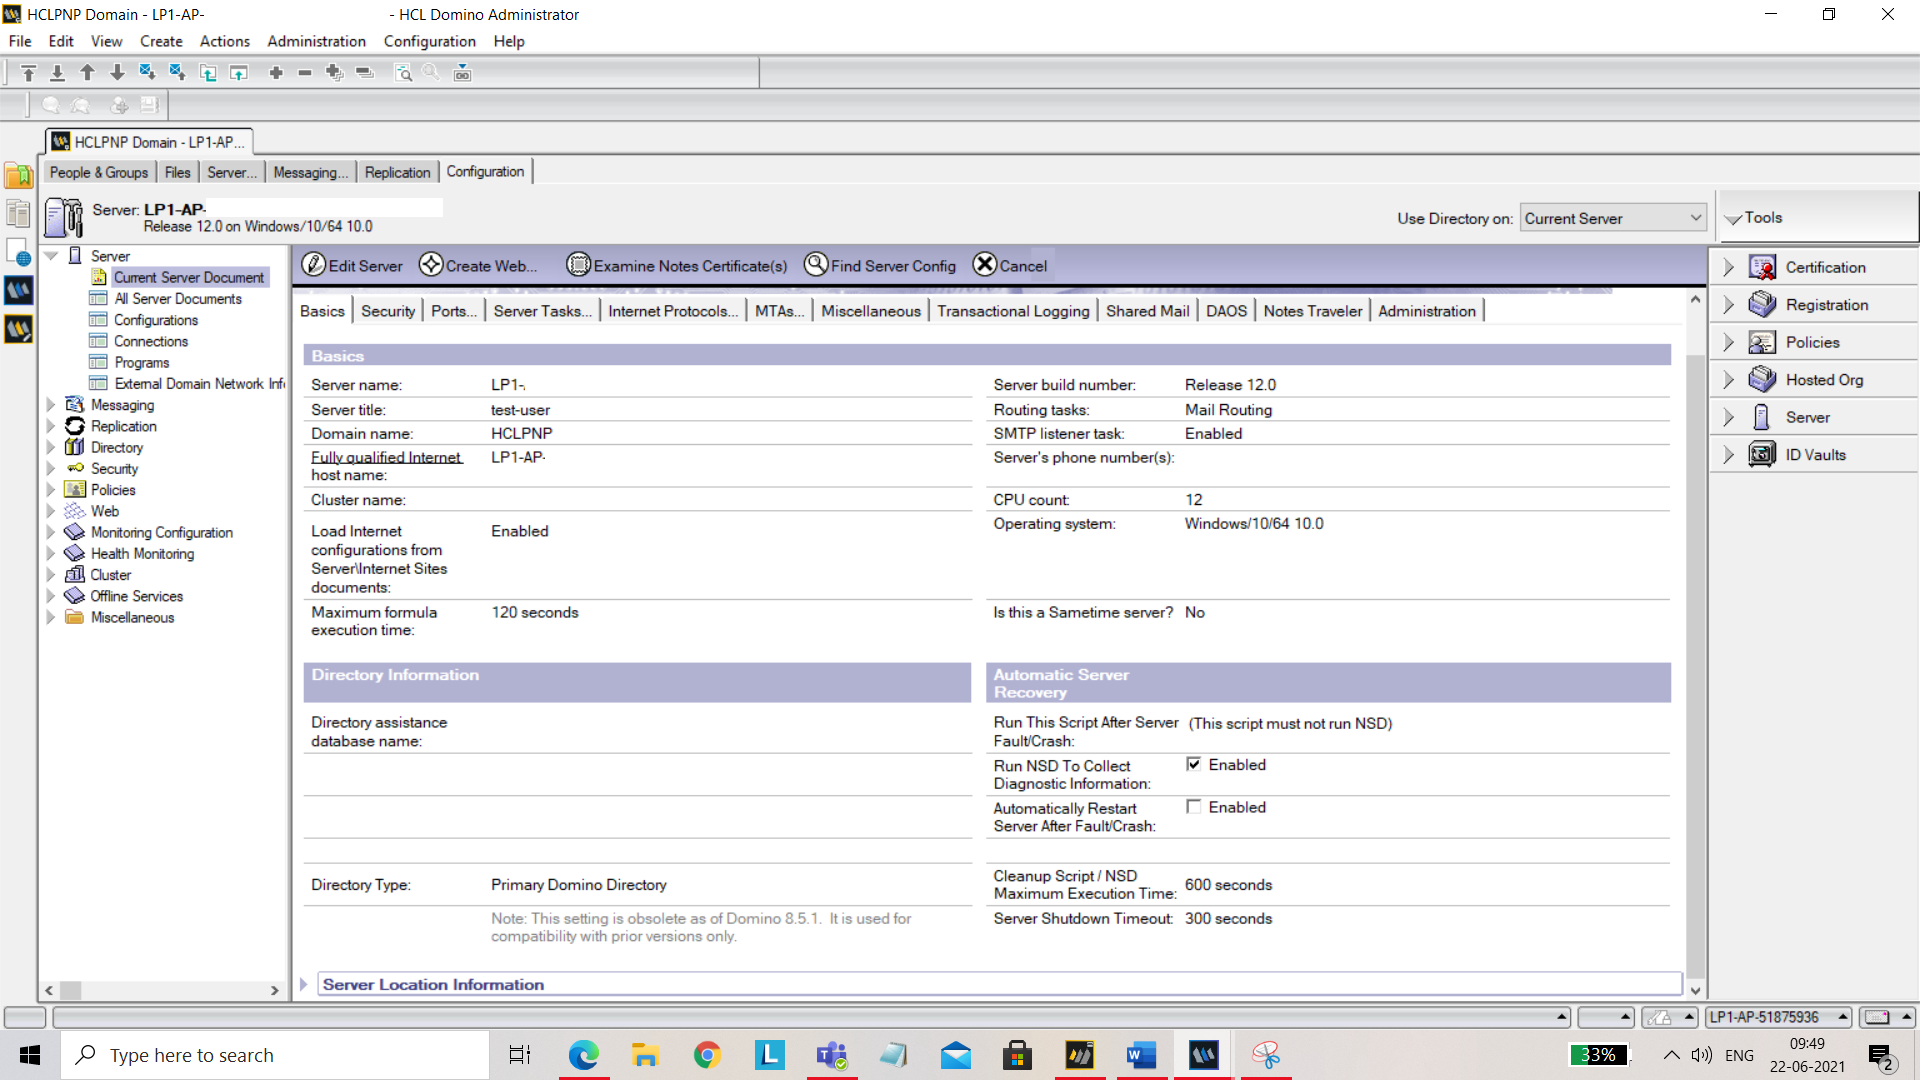
Open Domino Administrator. Go to Current Server Document and open Configuration tab. Make sure Load Internet configurations from Server\Internet Sites documents is enabled. Save and close.
-
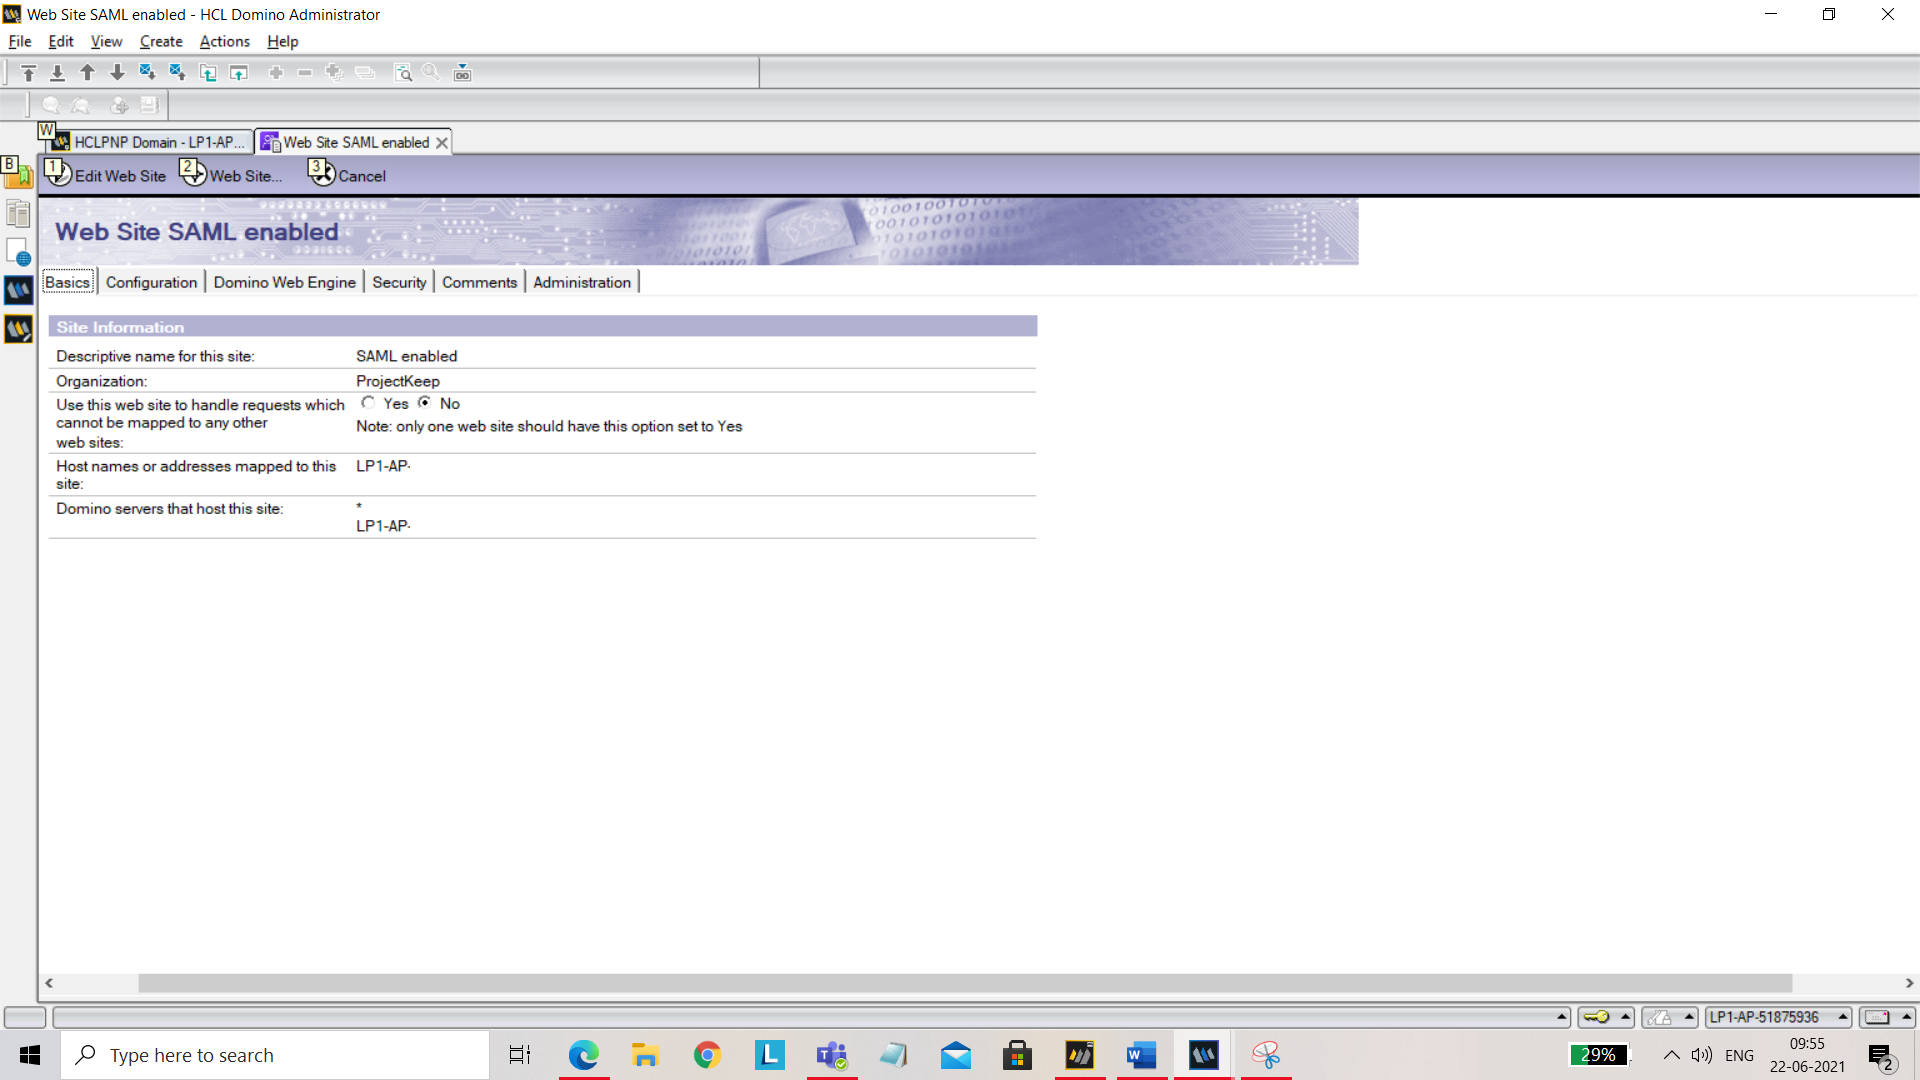
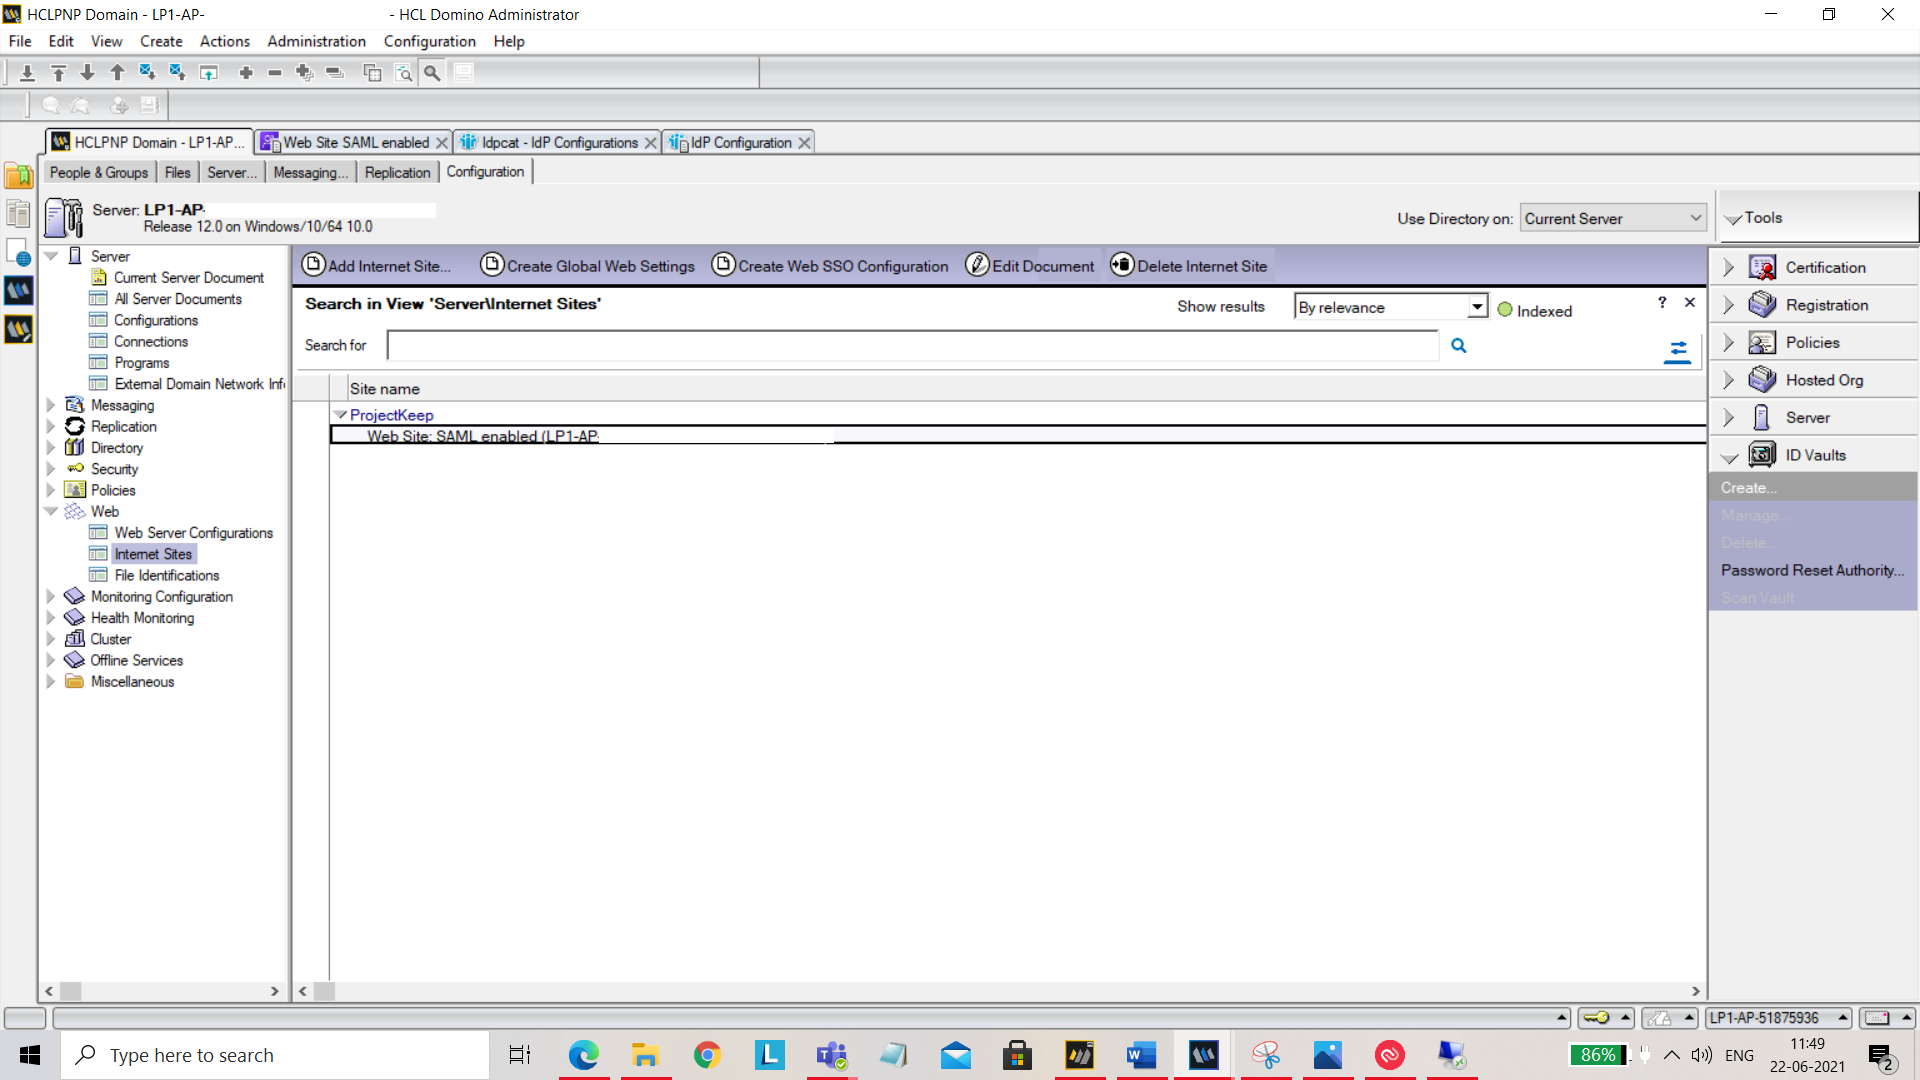
From the left panel, select Web and then select Internet Sites. Click on Add Internet Site tab and select Web from the menu.

Now enter the following under Basics:
- Organization Name (For example: Domino REST API)
- Host names or addresses: Add your hostname.
- Domino servers that host this site: Add your server name.
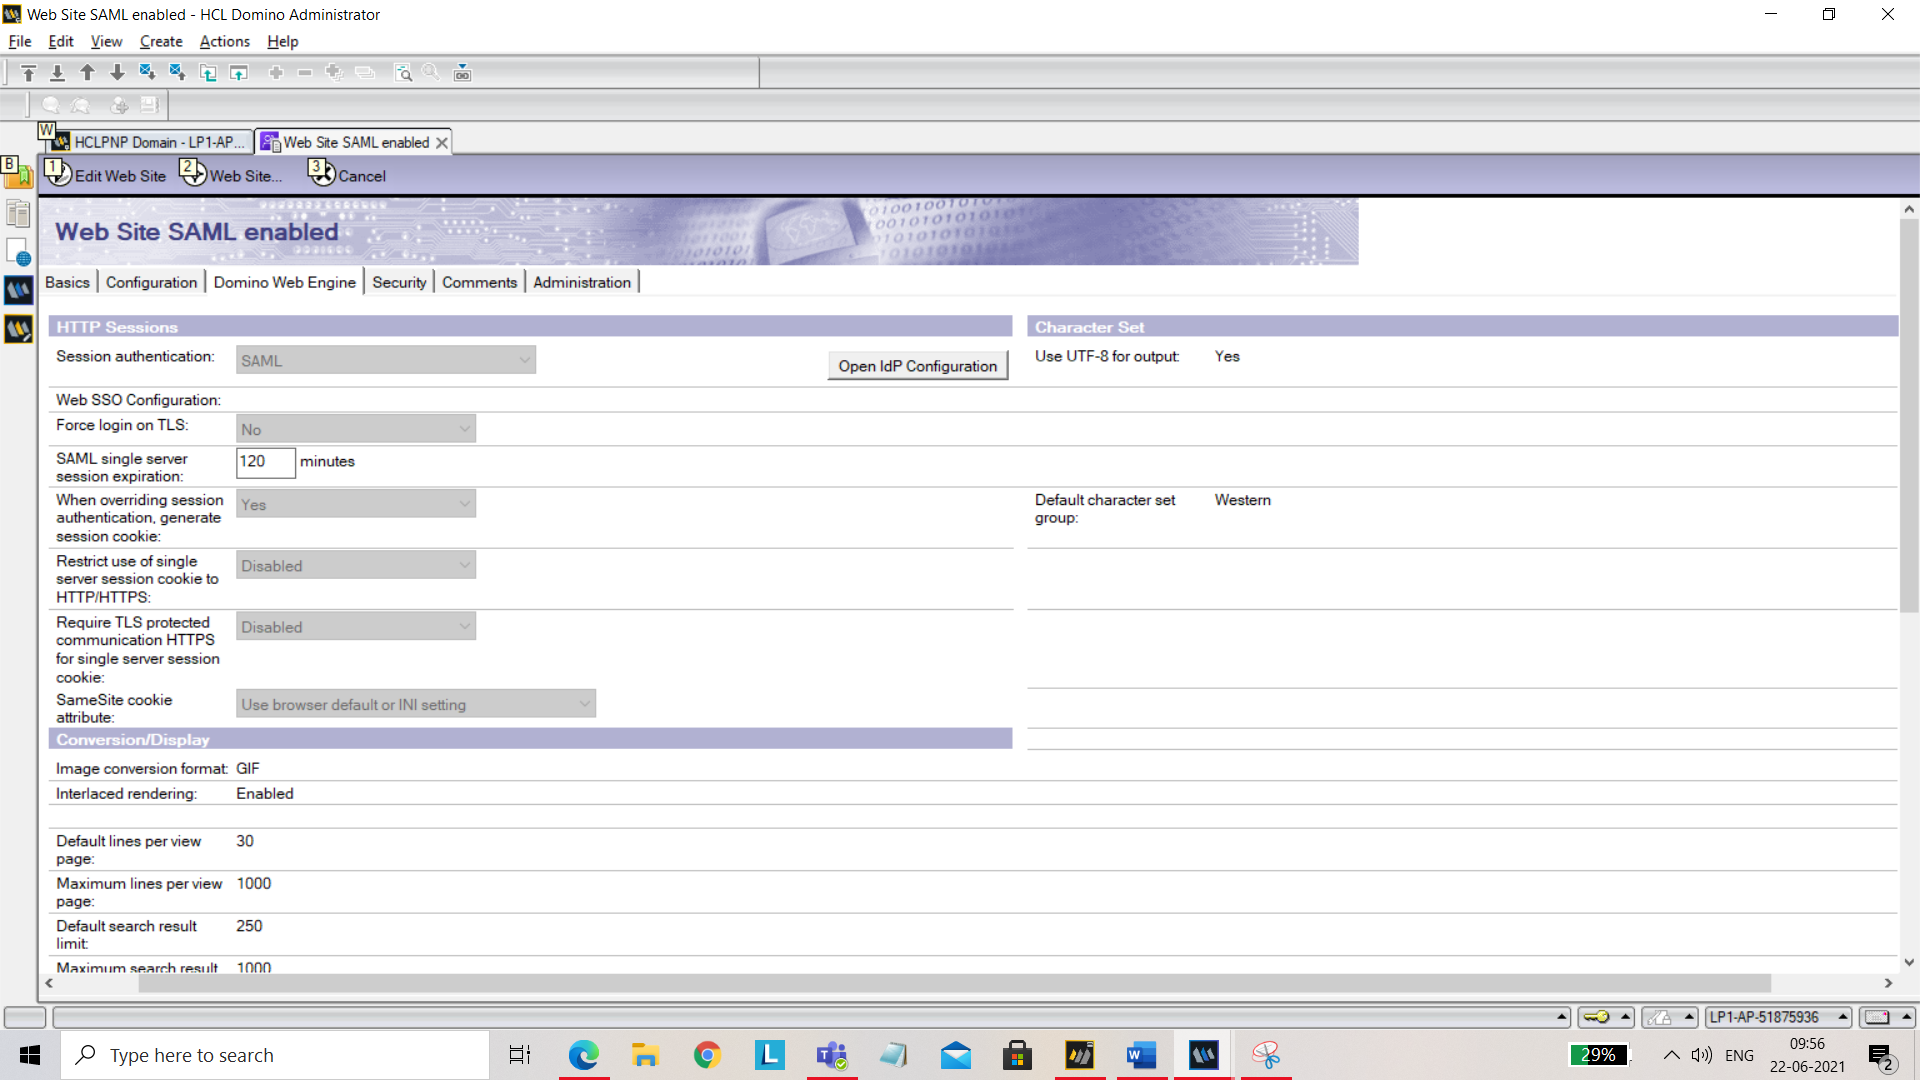
Under Domino Web Engine tab, set Session authentication to SAML.
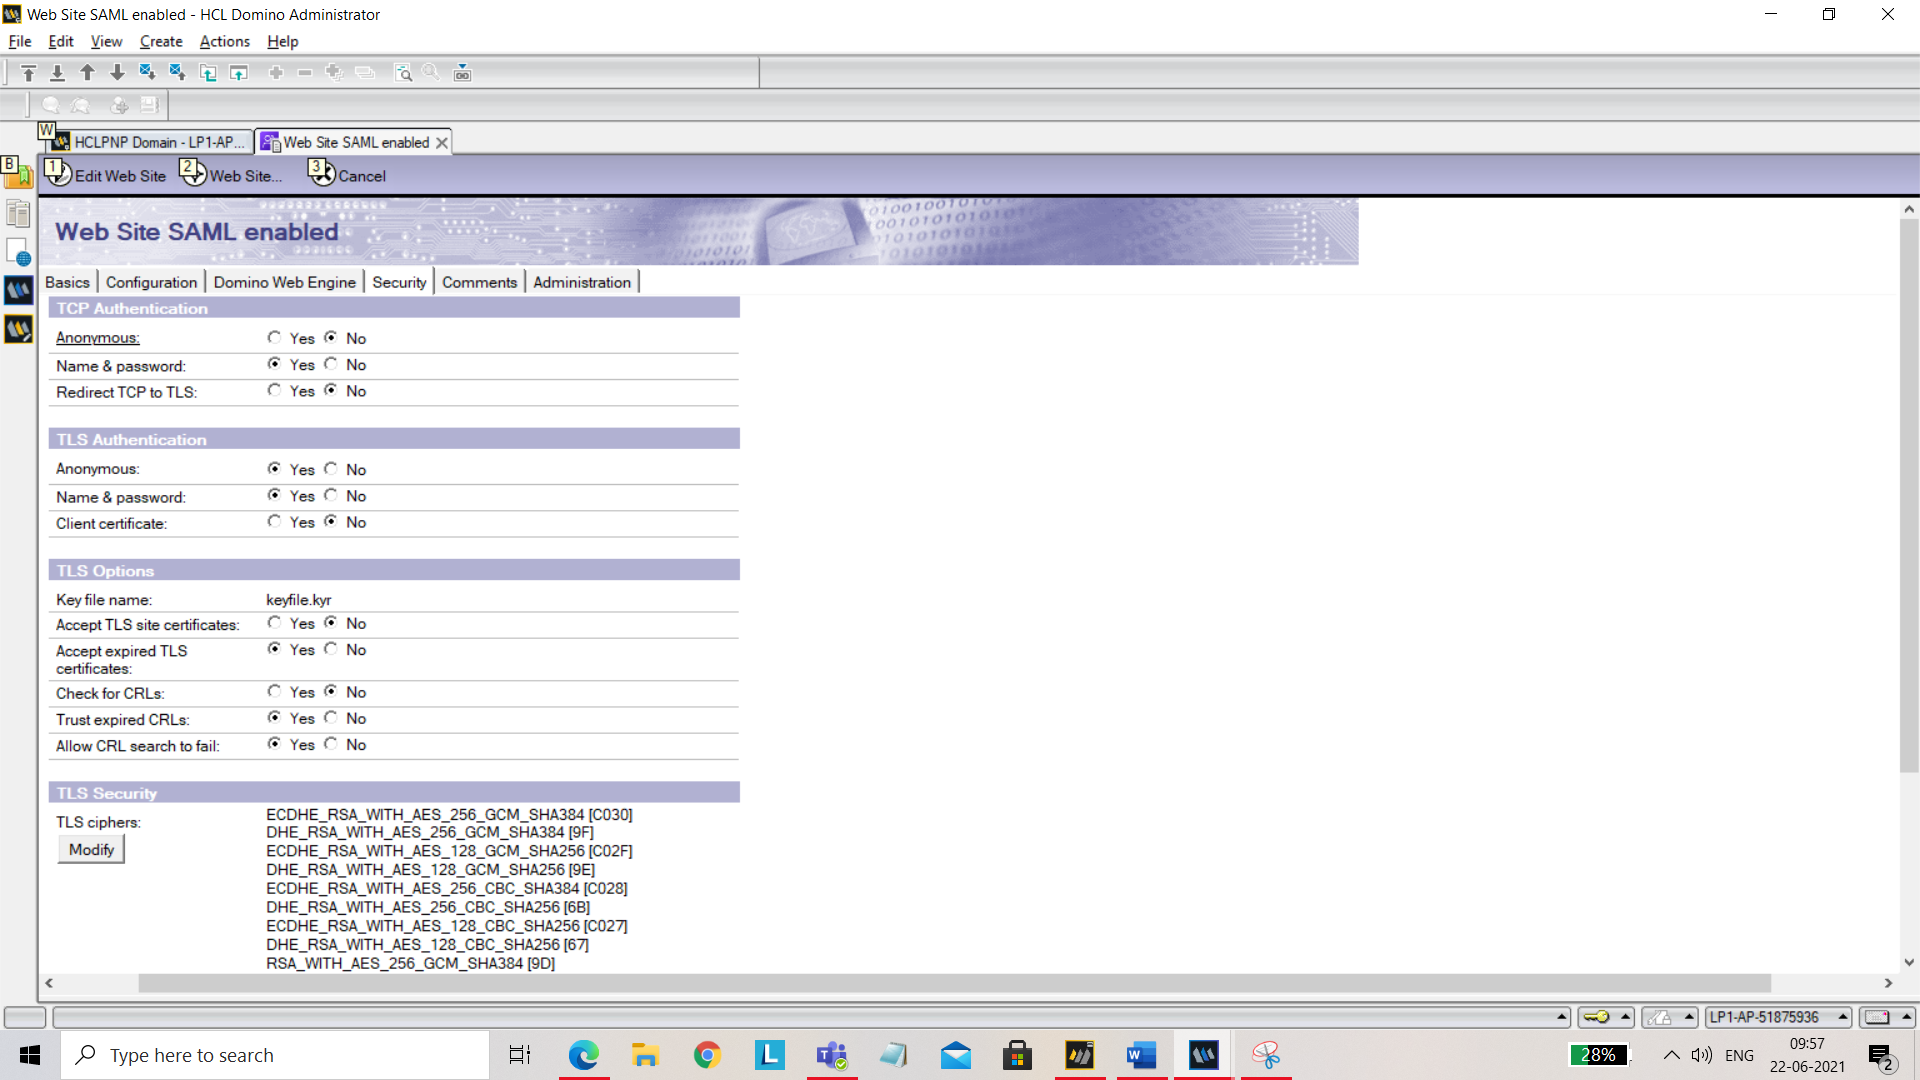
Under Security tab, for TCP Authentication, disable Anonymous.
Save and close.
-
Create an idpcat.nsf file using idpcat.ntf template. To do that, click File, go to Application and select New. In the New Application pop up, fill in the following details:
- Server: Select your server from the dropdown.
- Title: Give title as idpcat.
- Template: Click on advanced template and select IdP catalog template.
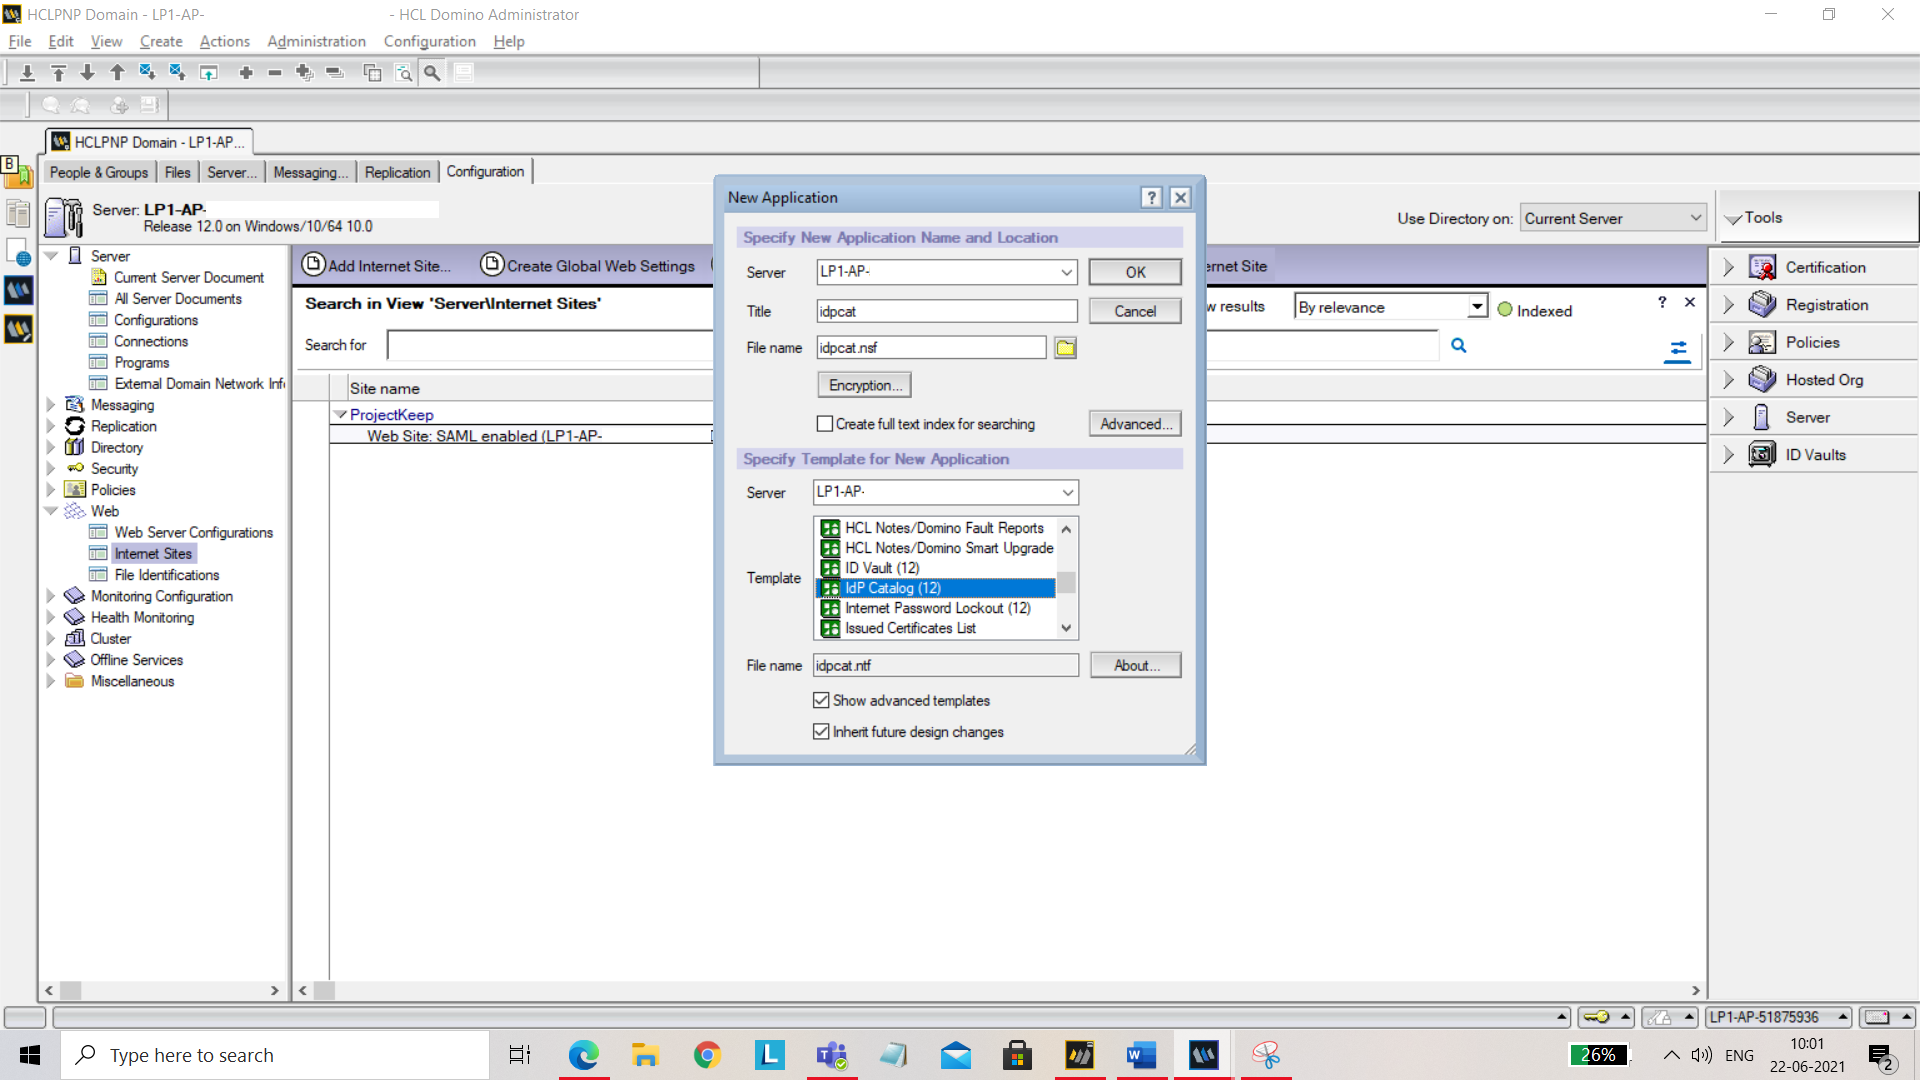
Click OK. Now try to open the Idpconfig. To do that press ctrl+o, enter the name of the current server and file name as “idpcat.nsf”. Click Open.
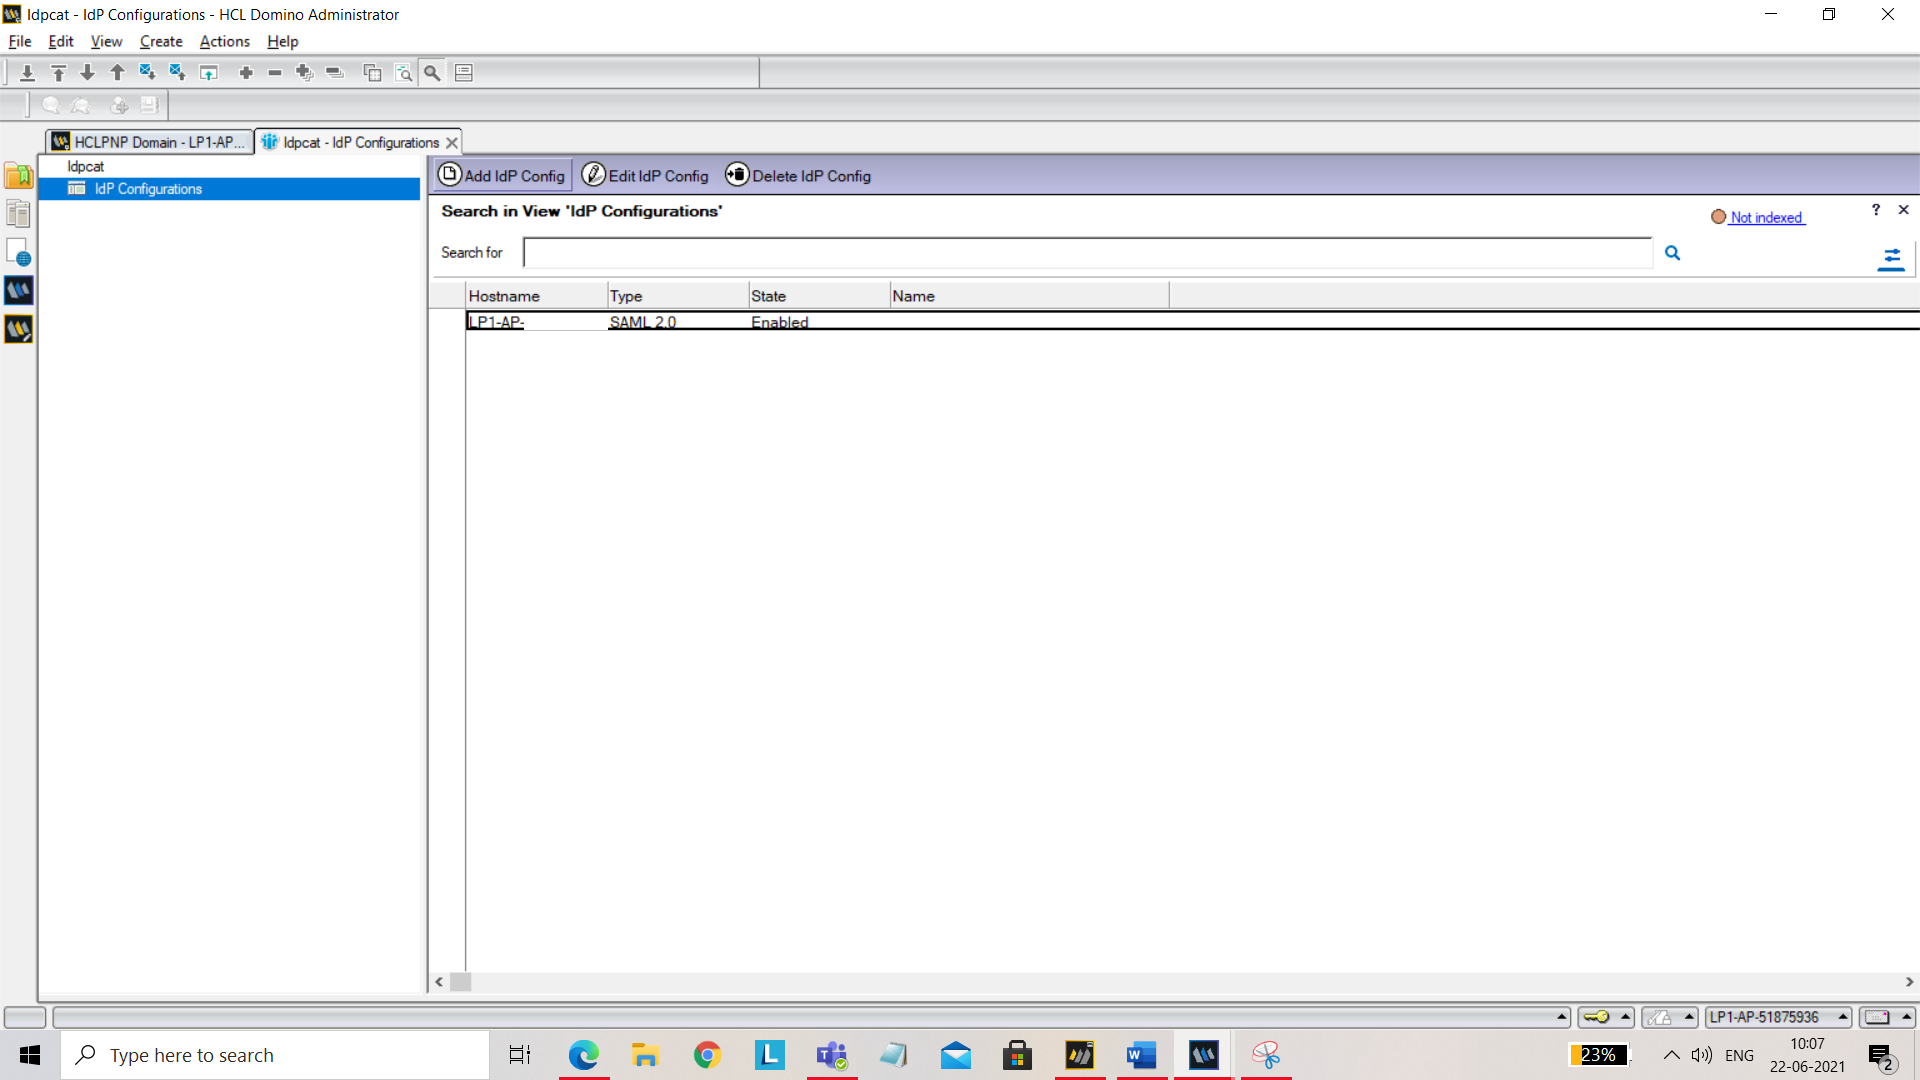
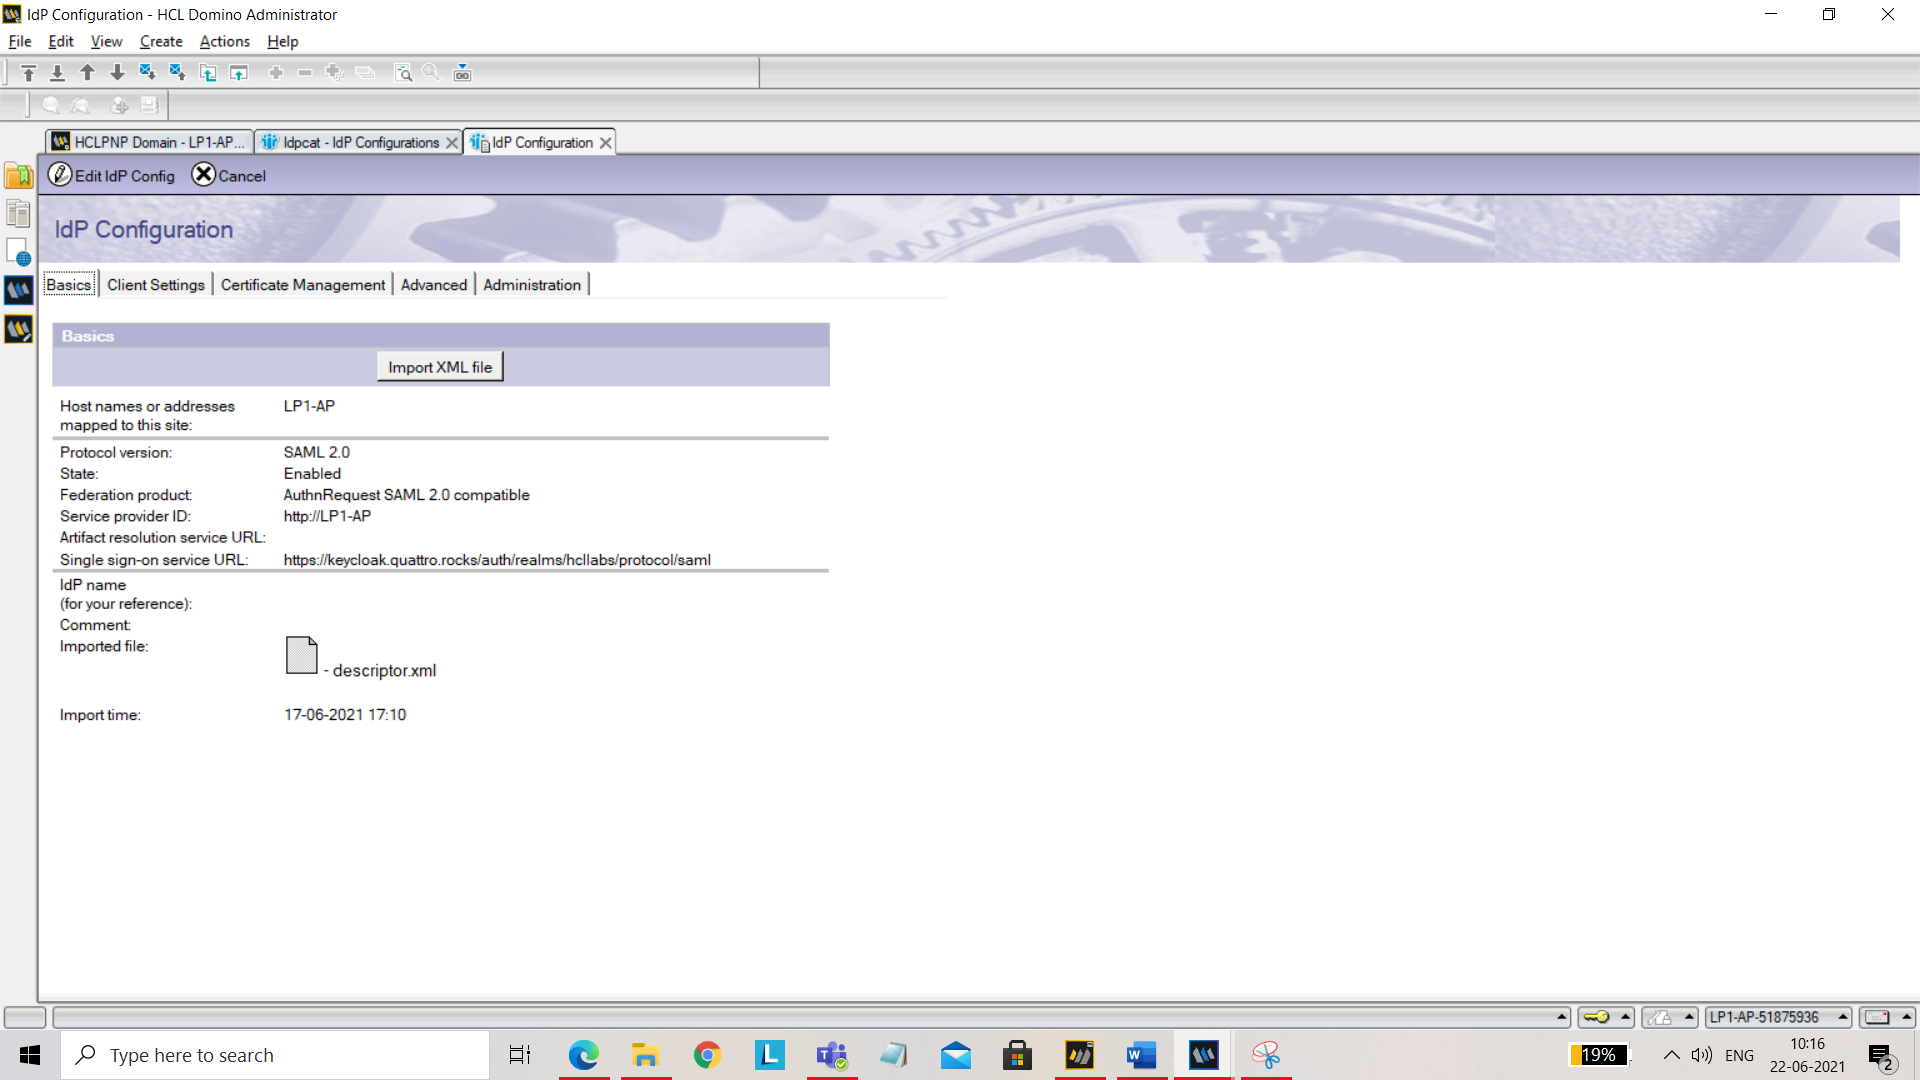
Click Add IdP Config. Under the Basics tab, add the following:
- Host names or addresses mapped to this site: Add your host name.
- Service provider ID: Add your server URL.
- Single sign-on service URL: https://keycloak.quattro.rocks/auth/realms/hcllabs/protocol/saml
You should have descriptor.xml file on your machine. Import it here using Import XML file.
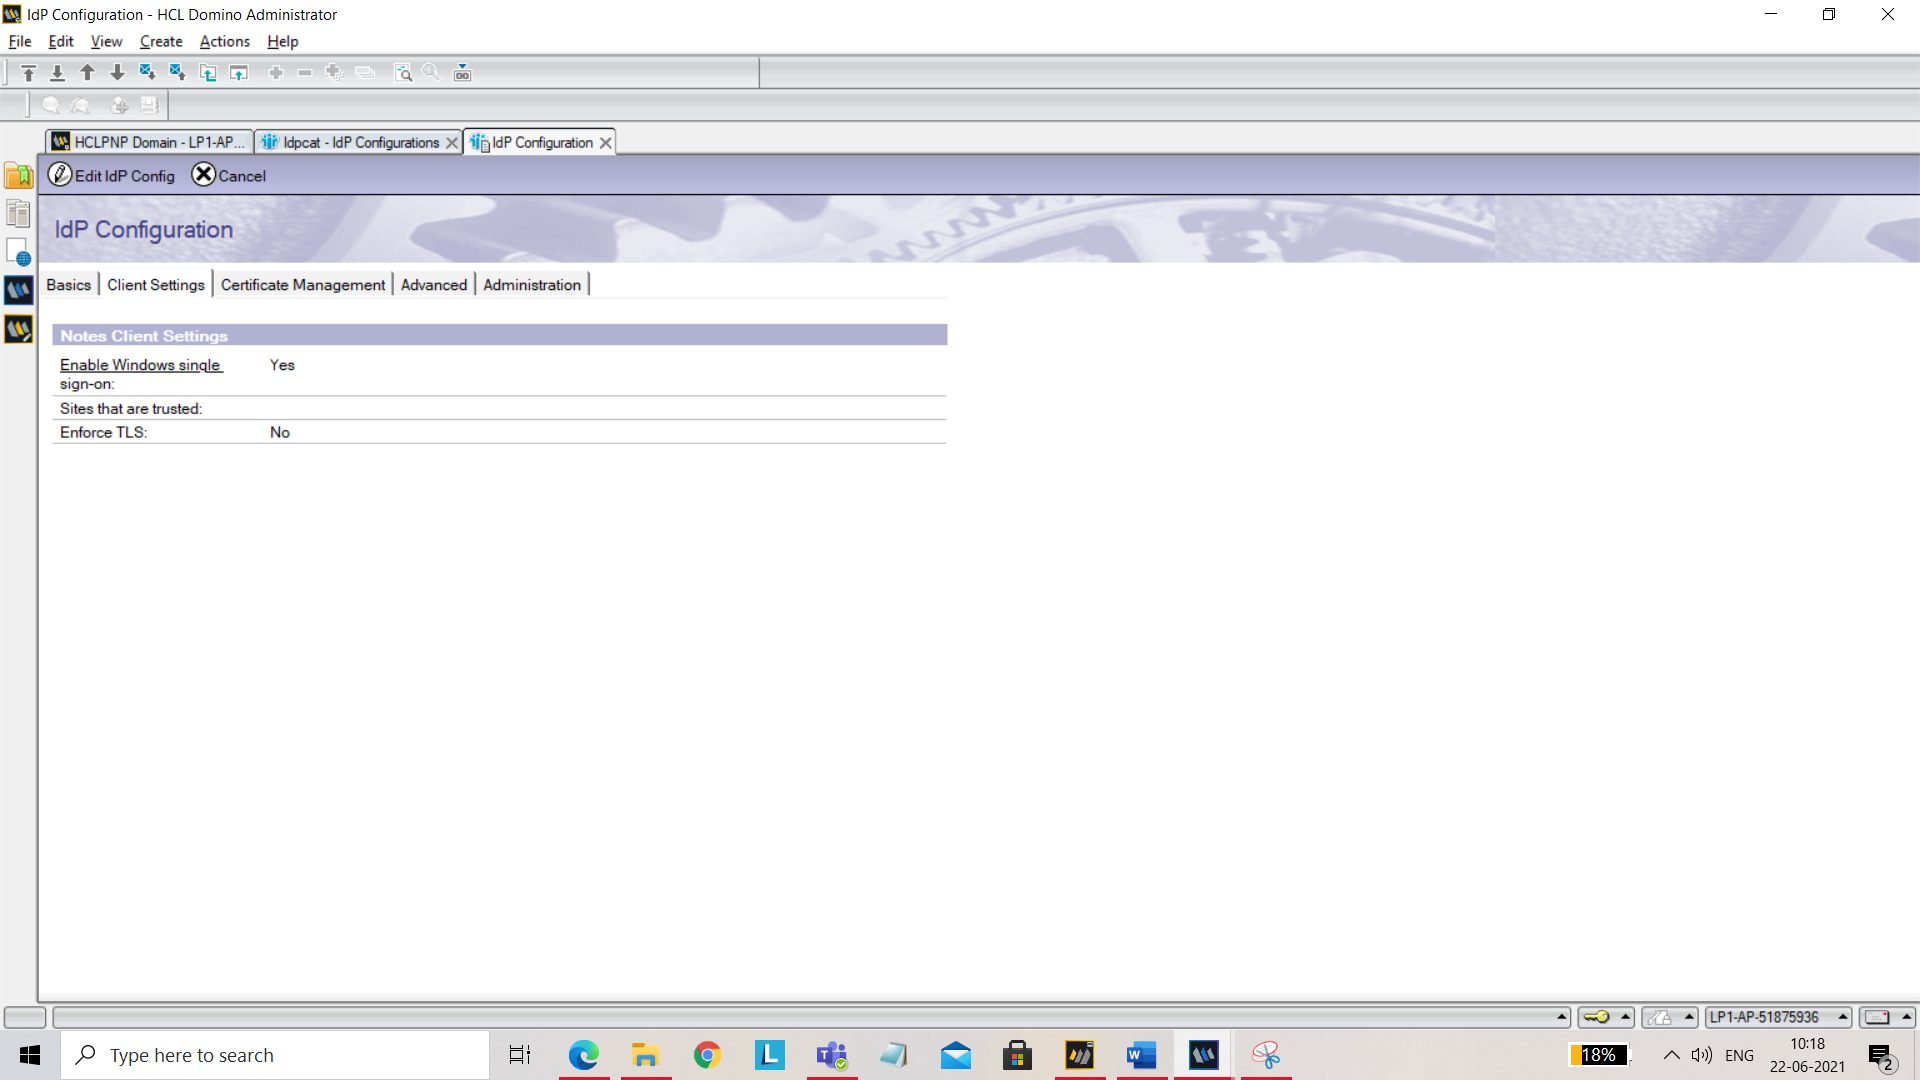
Under Client Settings tab, set the following:
- Enable Windows single sign-on: Yes
- Enforce TLS: No
Under Certificate Management tab, click Company name. You should see Create SP Certificate button.
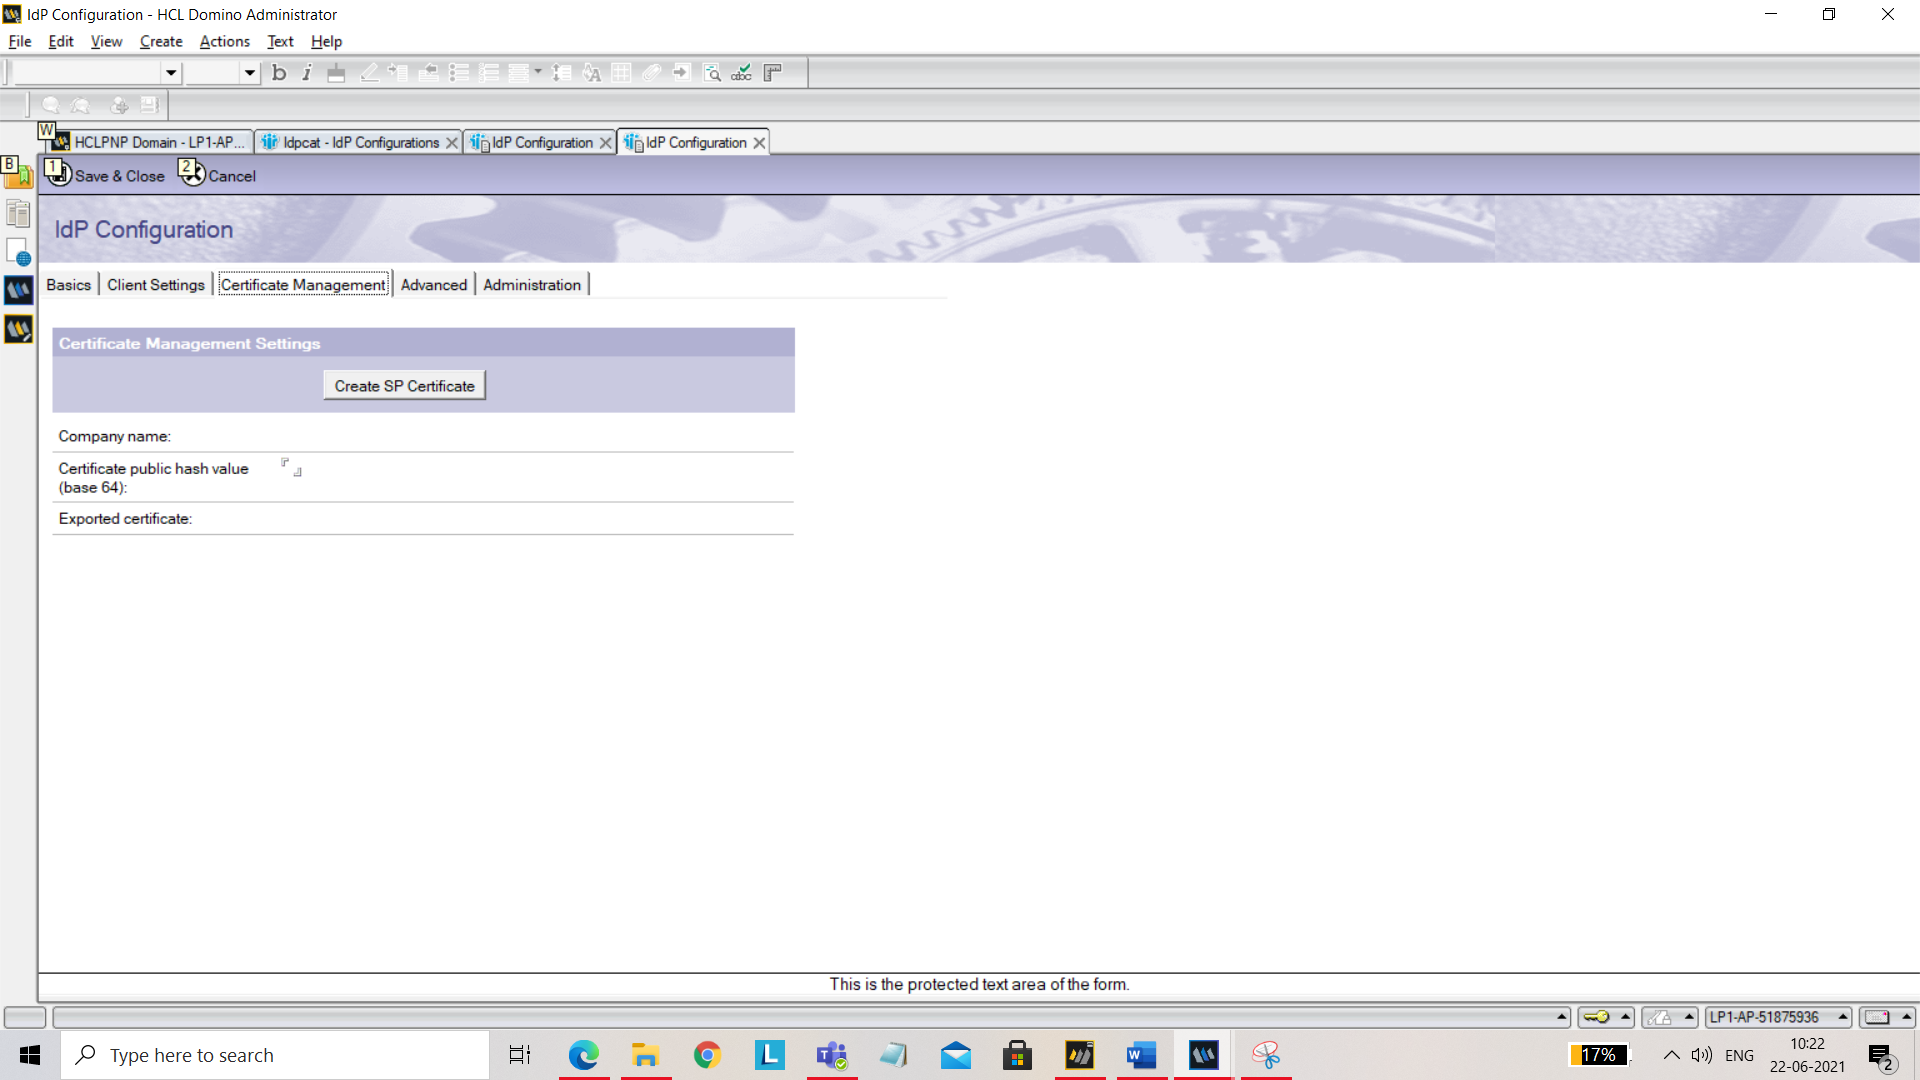
Click Create SP Certificate. You will be prompted for Company name. Give a unique name. Also set the below field: Domino URL: Add your service URL.
Click on Export SP XML and save
ServiceProvider.xmlfor further use.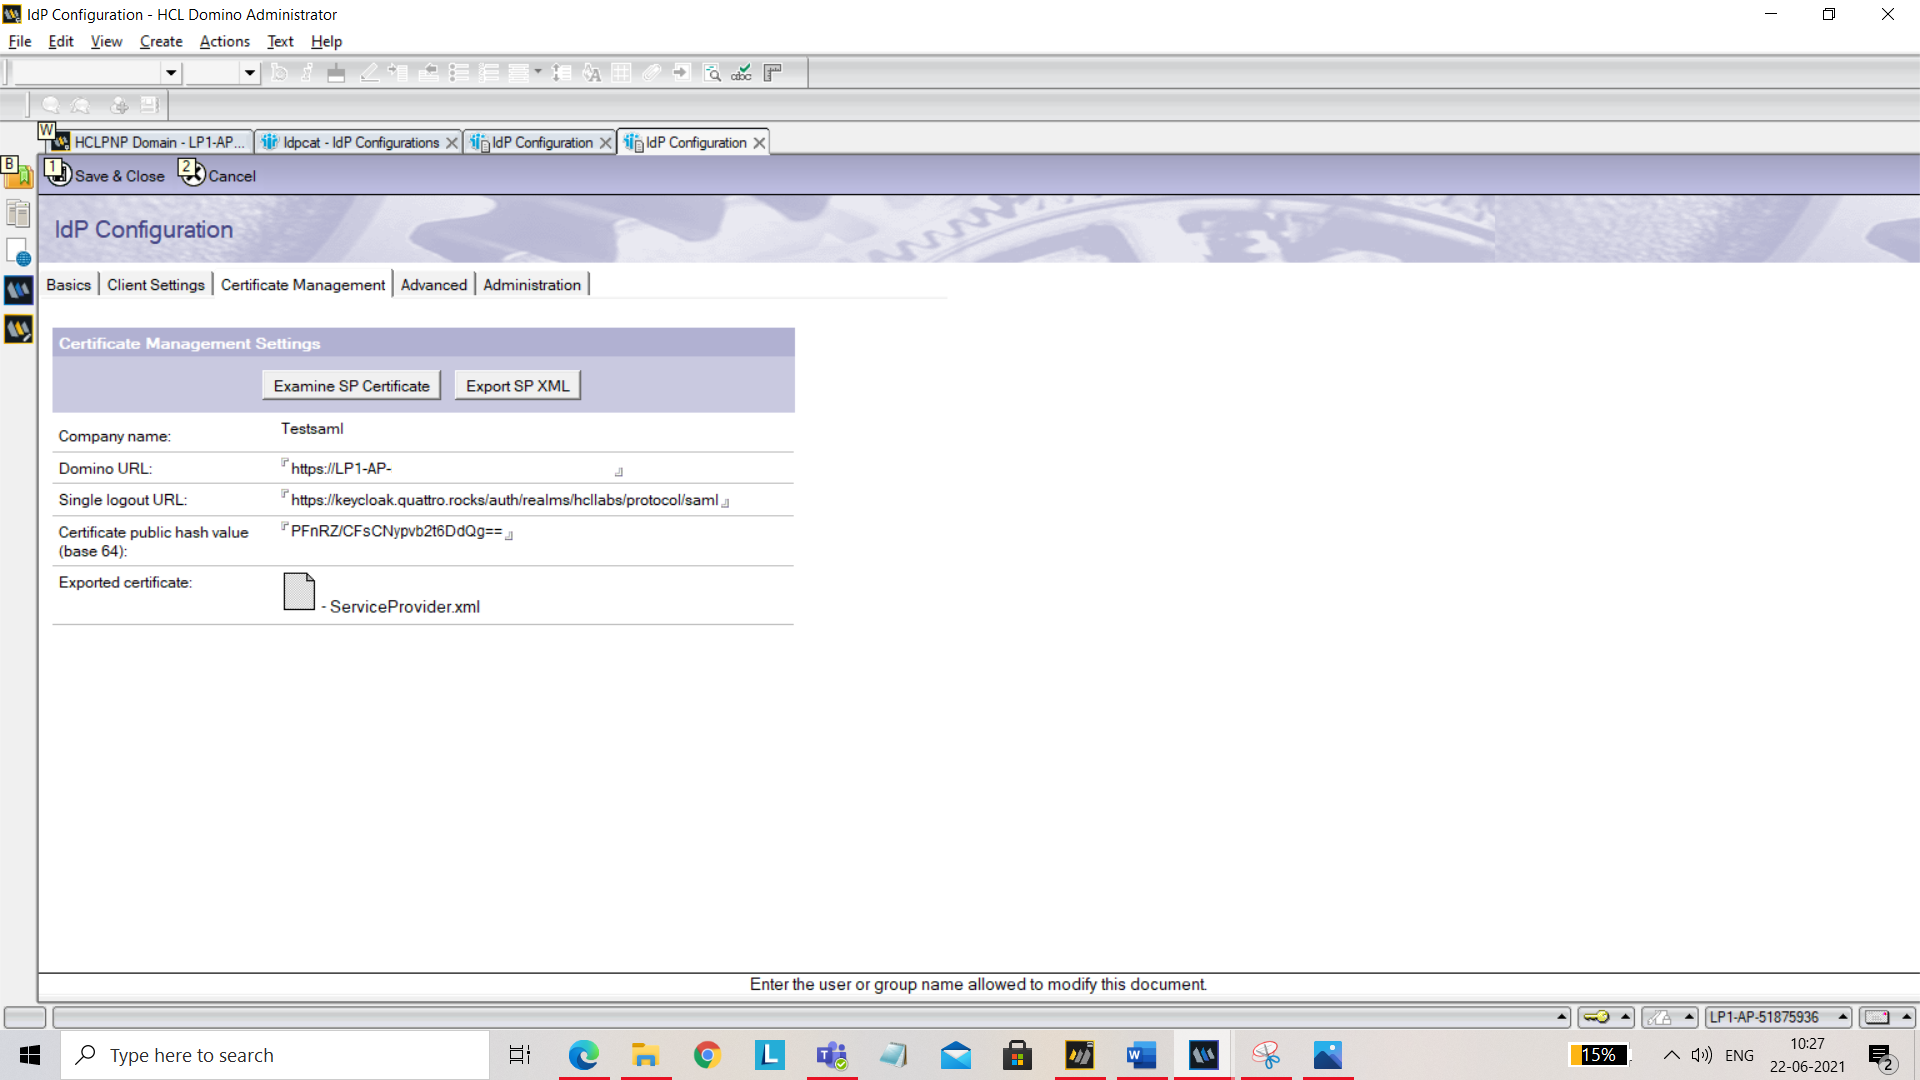
Save and close.
-
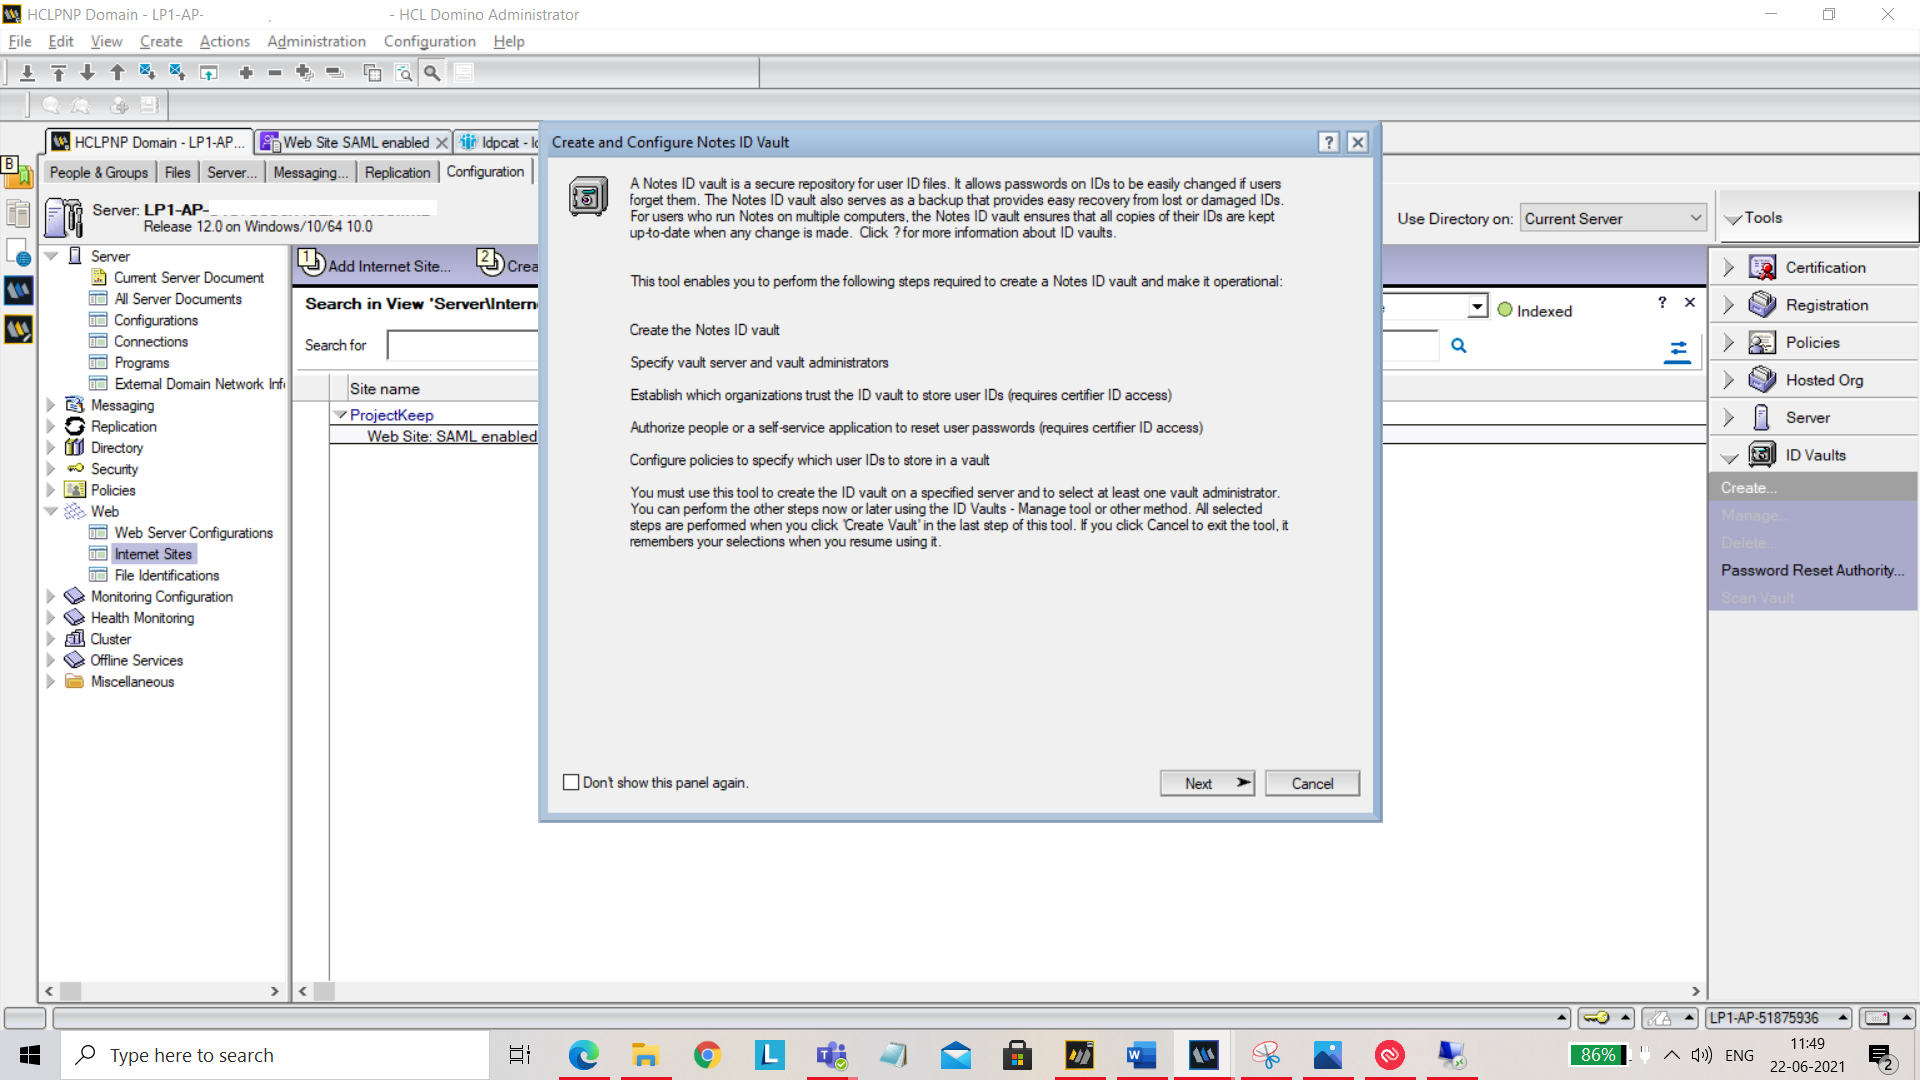
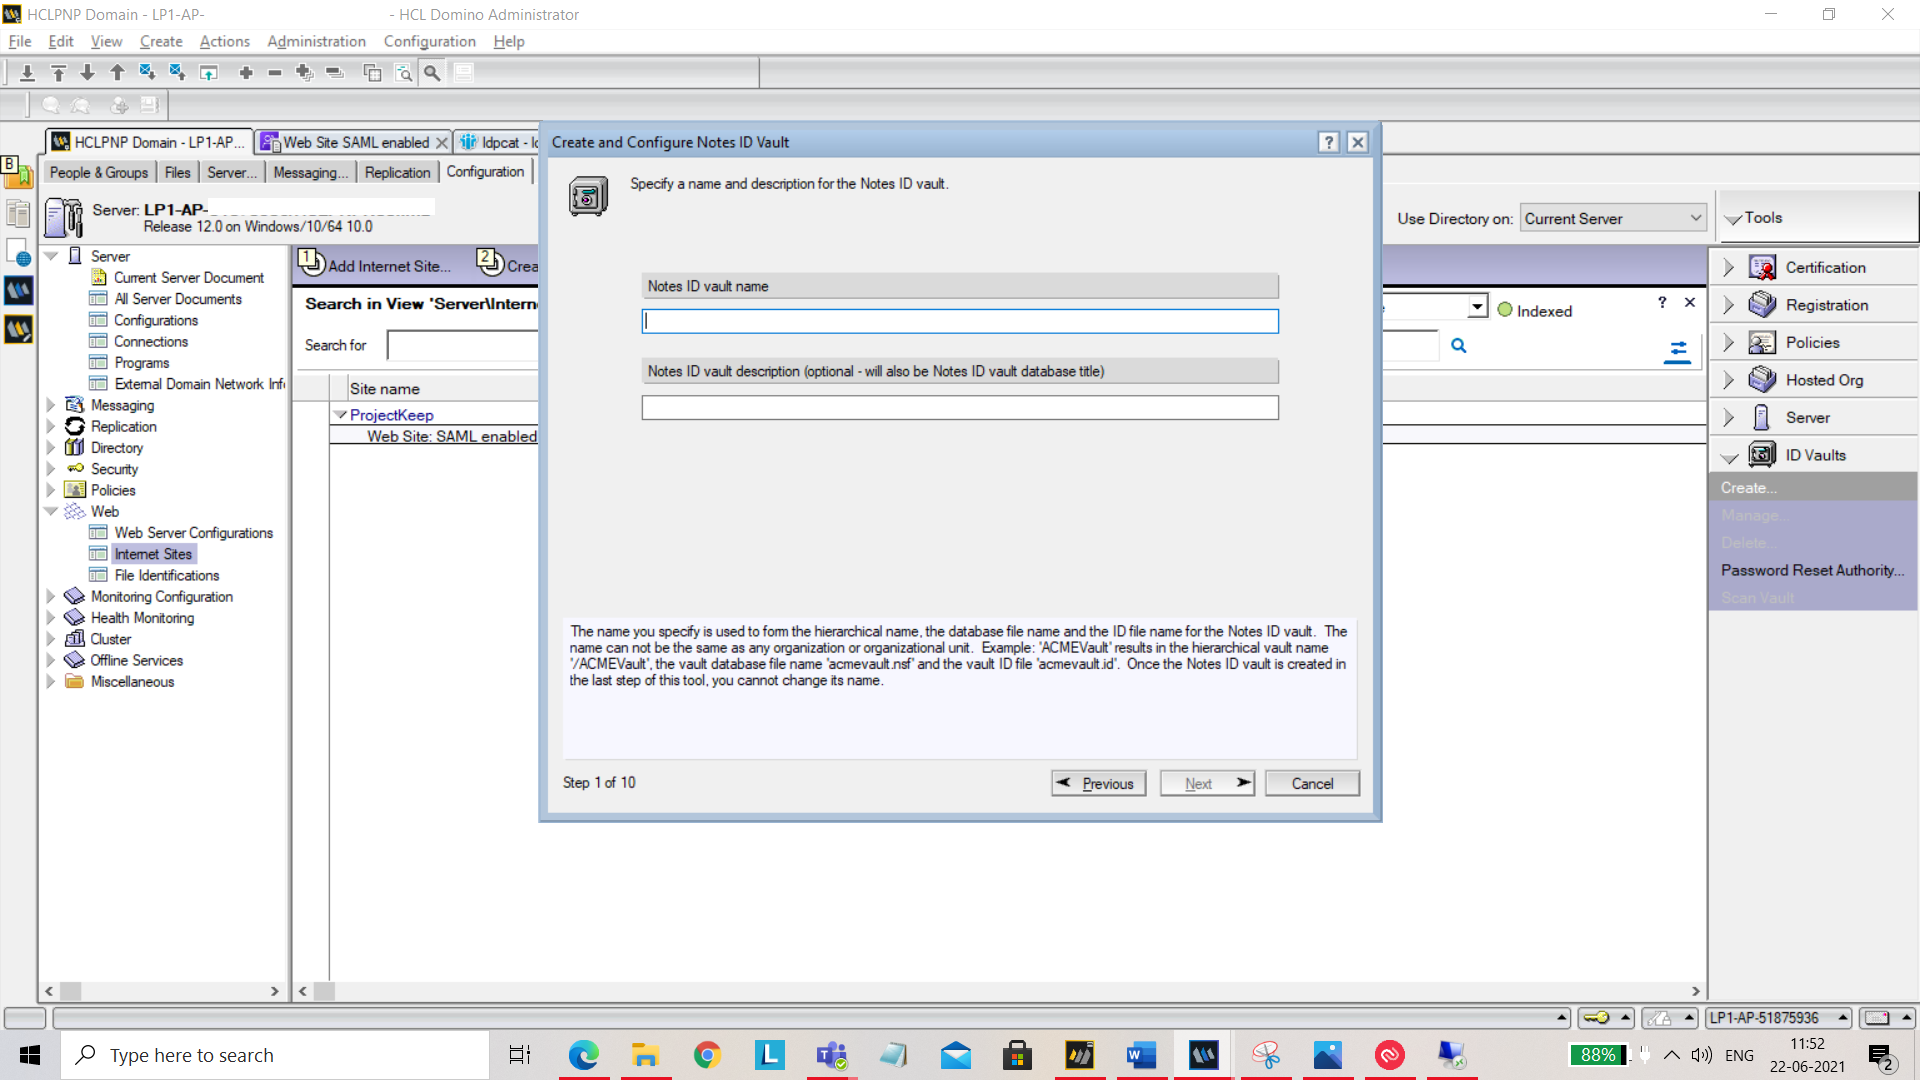
Create ID Vault. Open Domino Administrator and expand ID Vaults on right hand side navigator.
Click on Create.... On the dialog that comes up, click on Next.
On the next screen, add ID vault name and click Next.
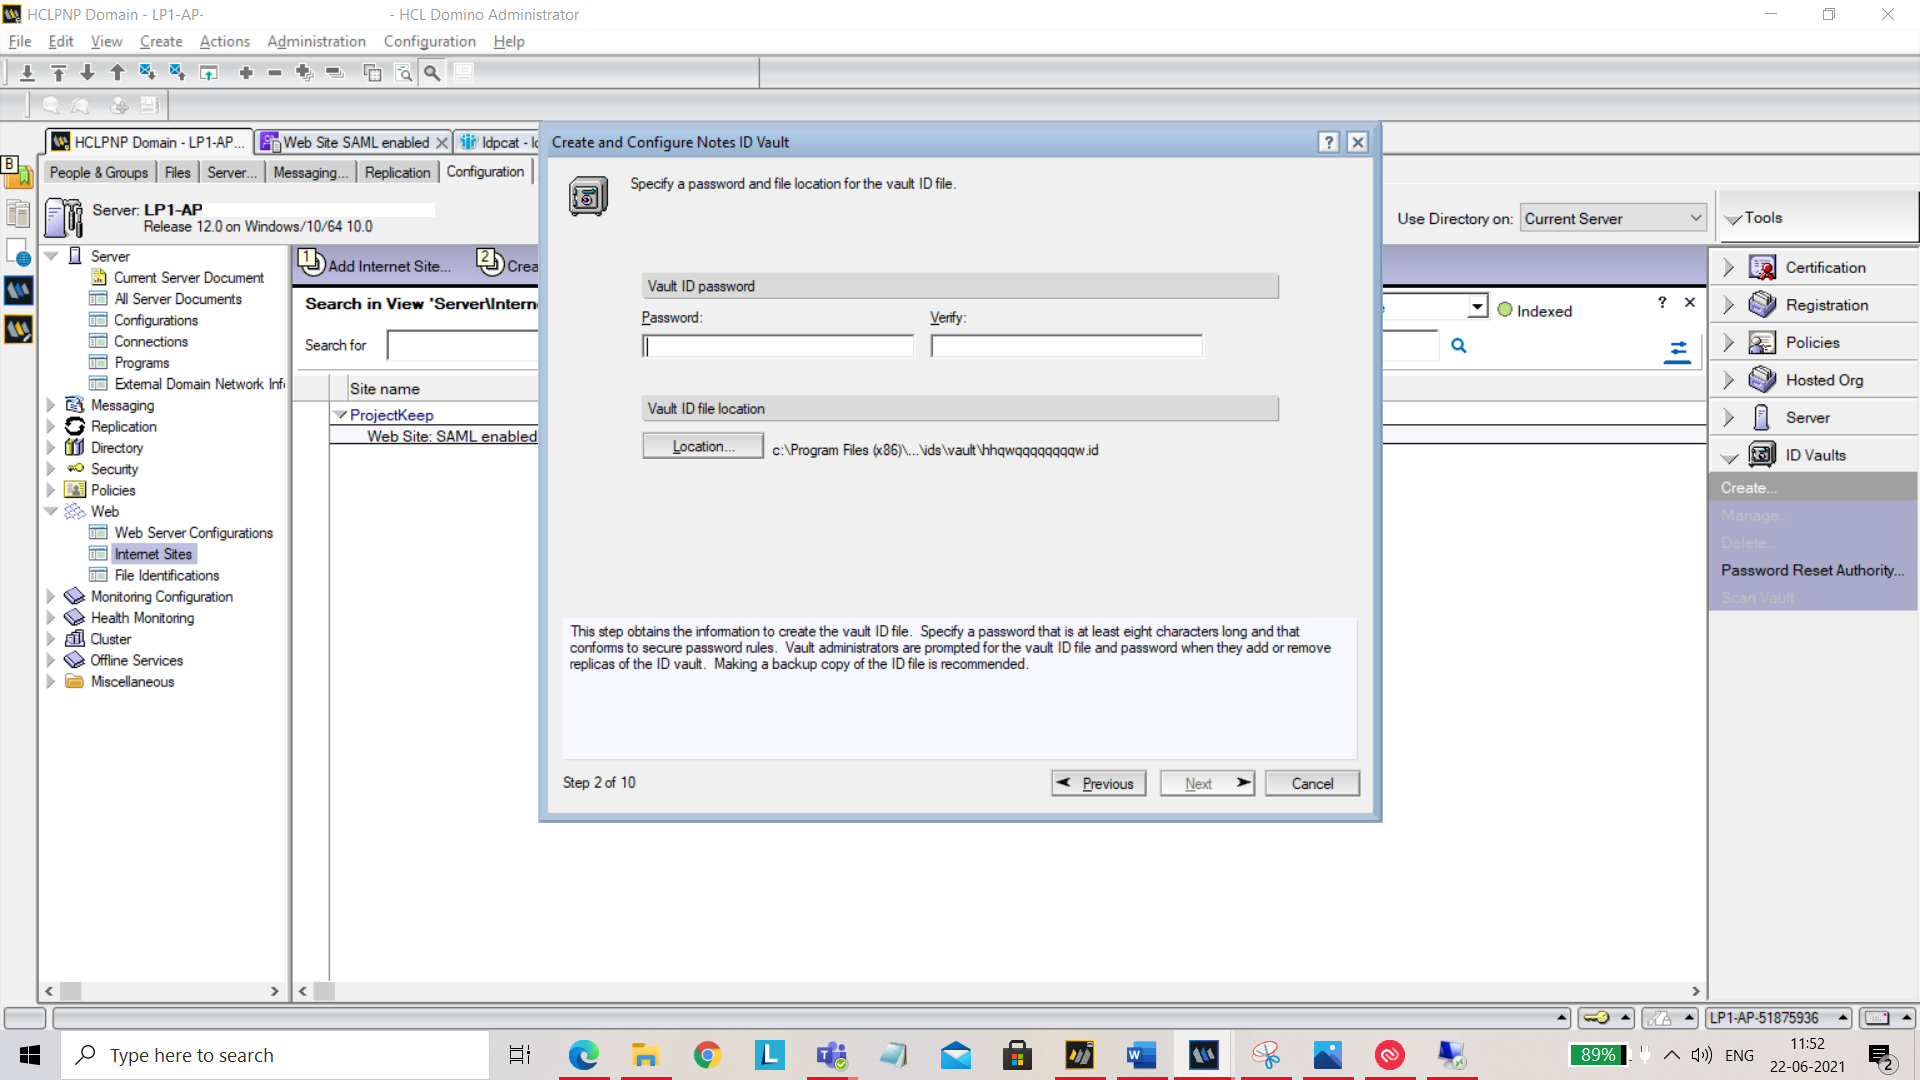
On the next screen, set your password and hit Next.
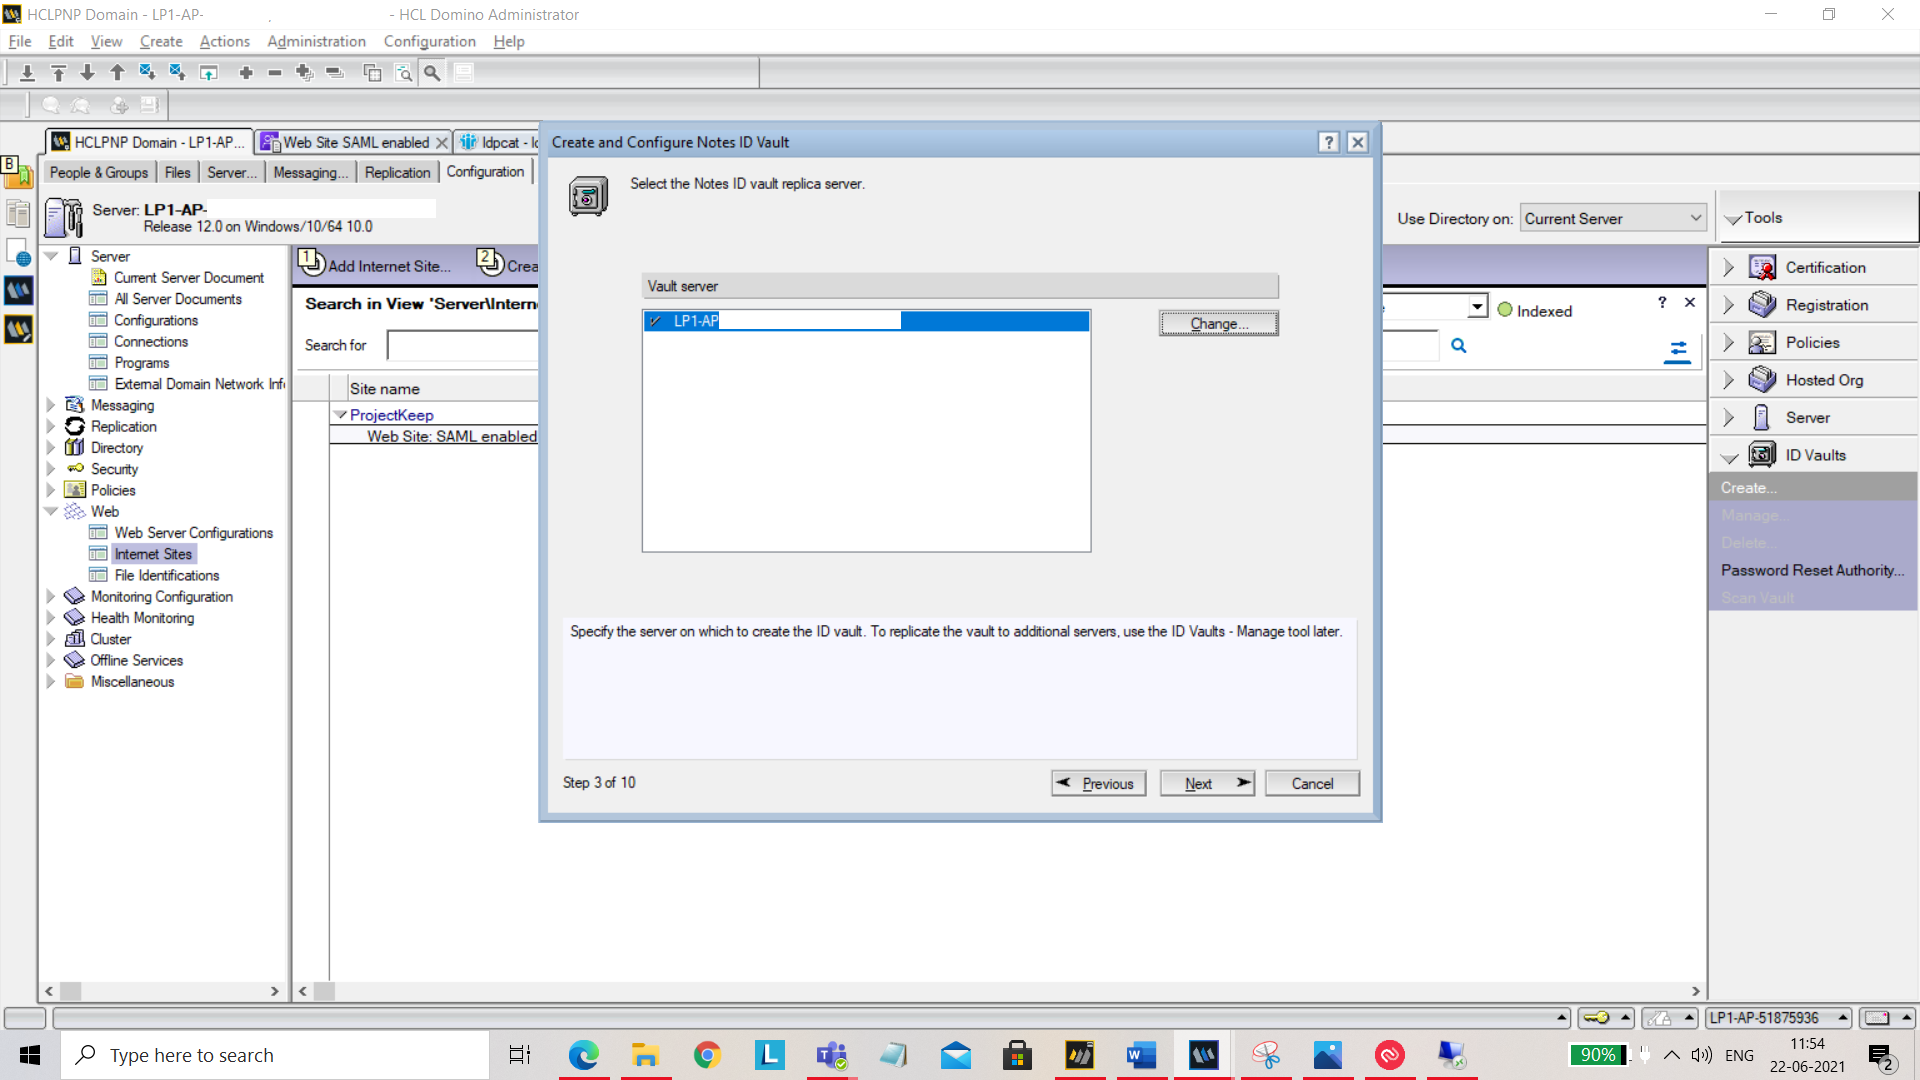
On the next screen, select the Vault server.
Add or remove administrators who can access vault.

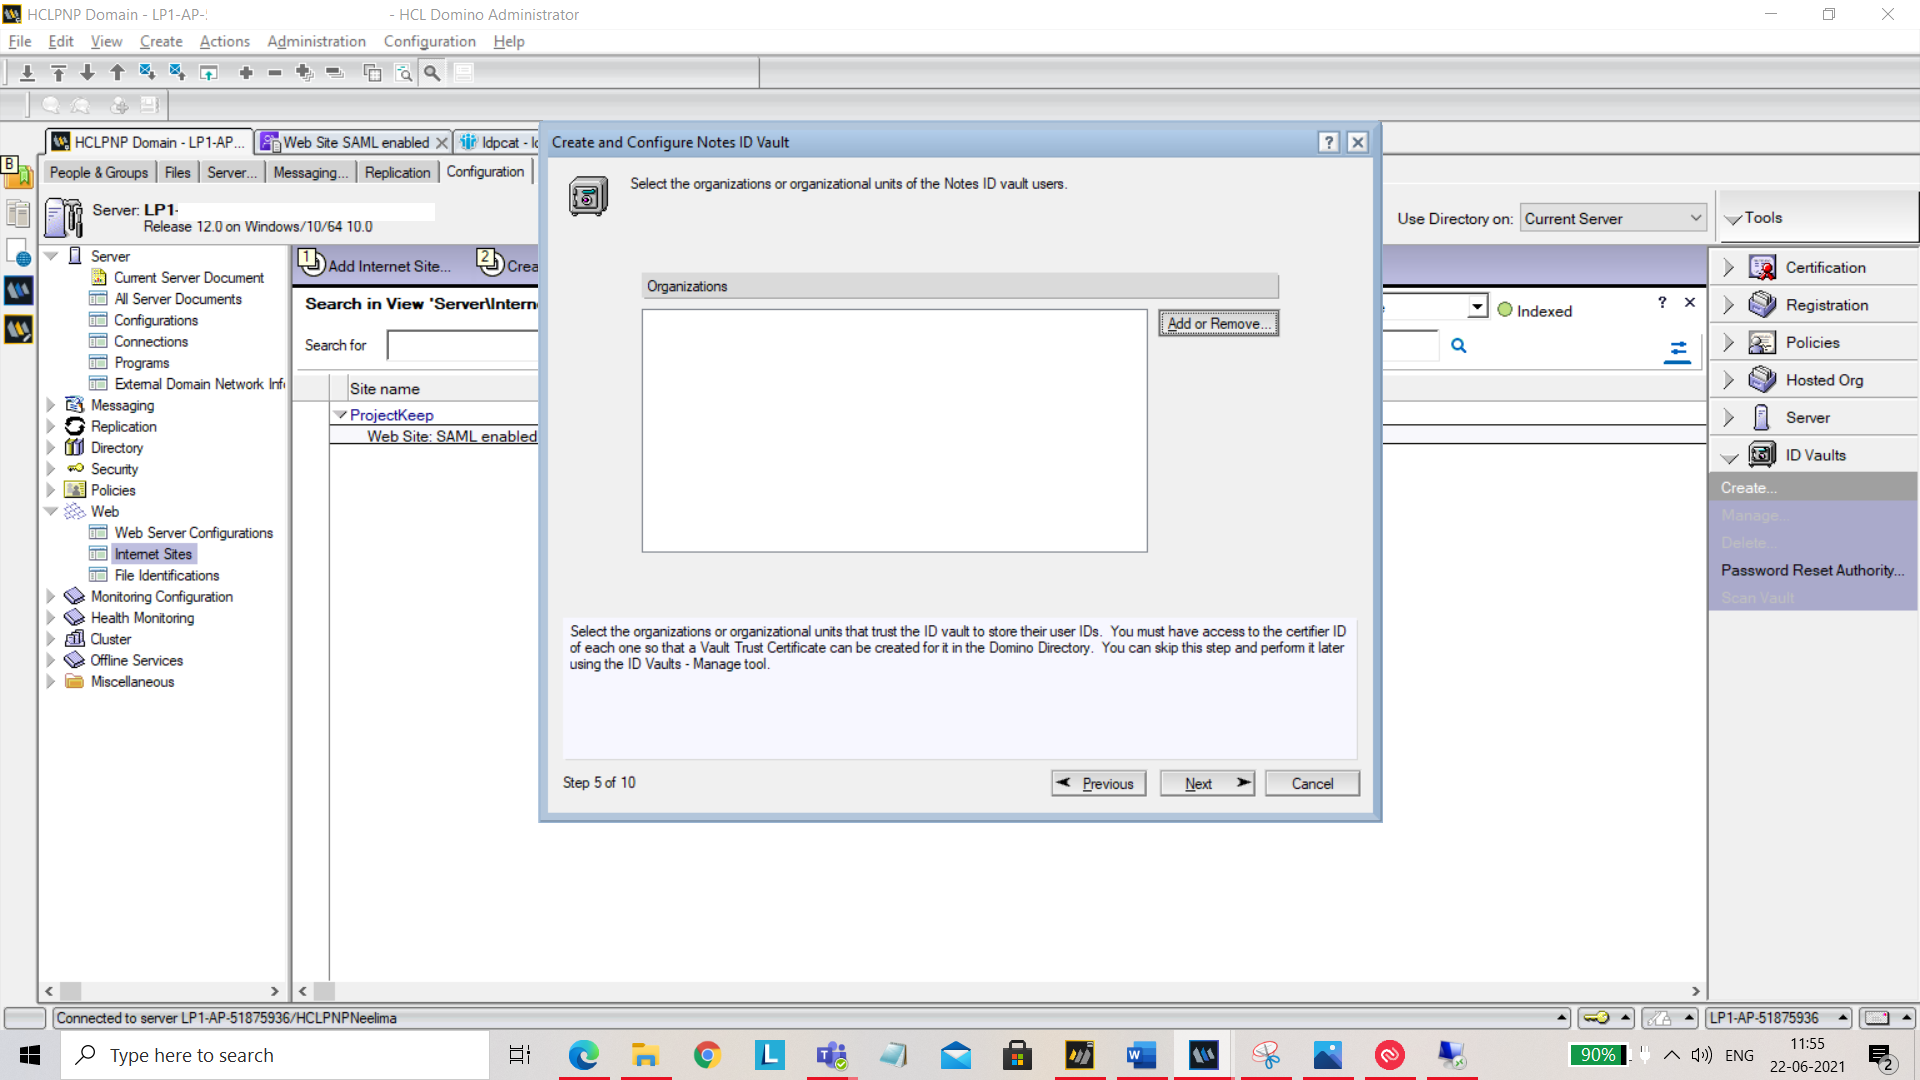
You can also add or remove organizations.
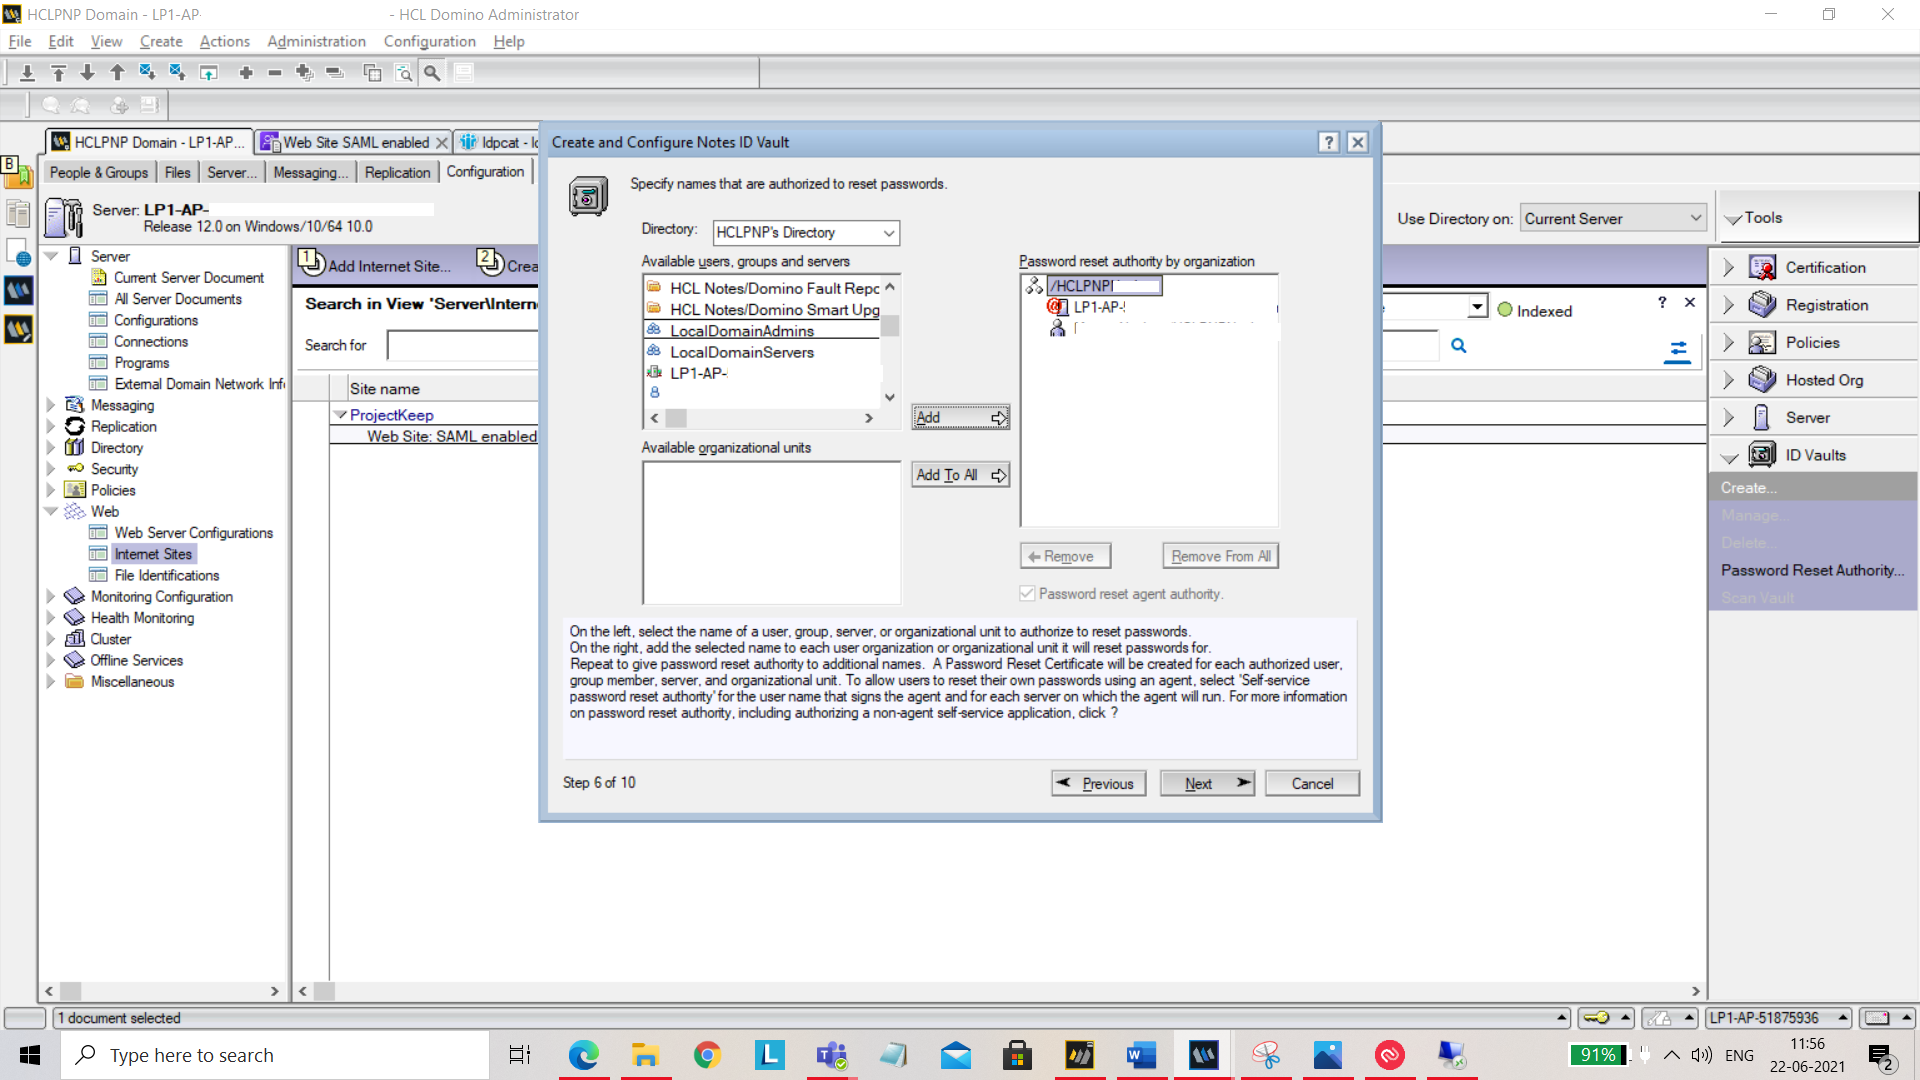
You can specify who is authorized to reset passwords.
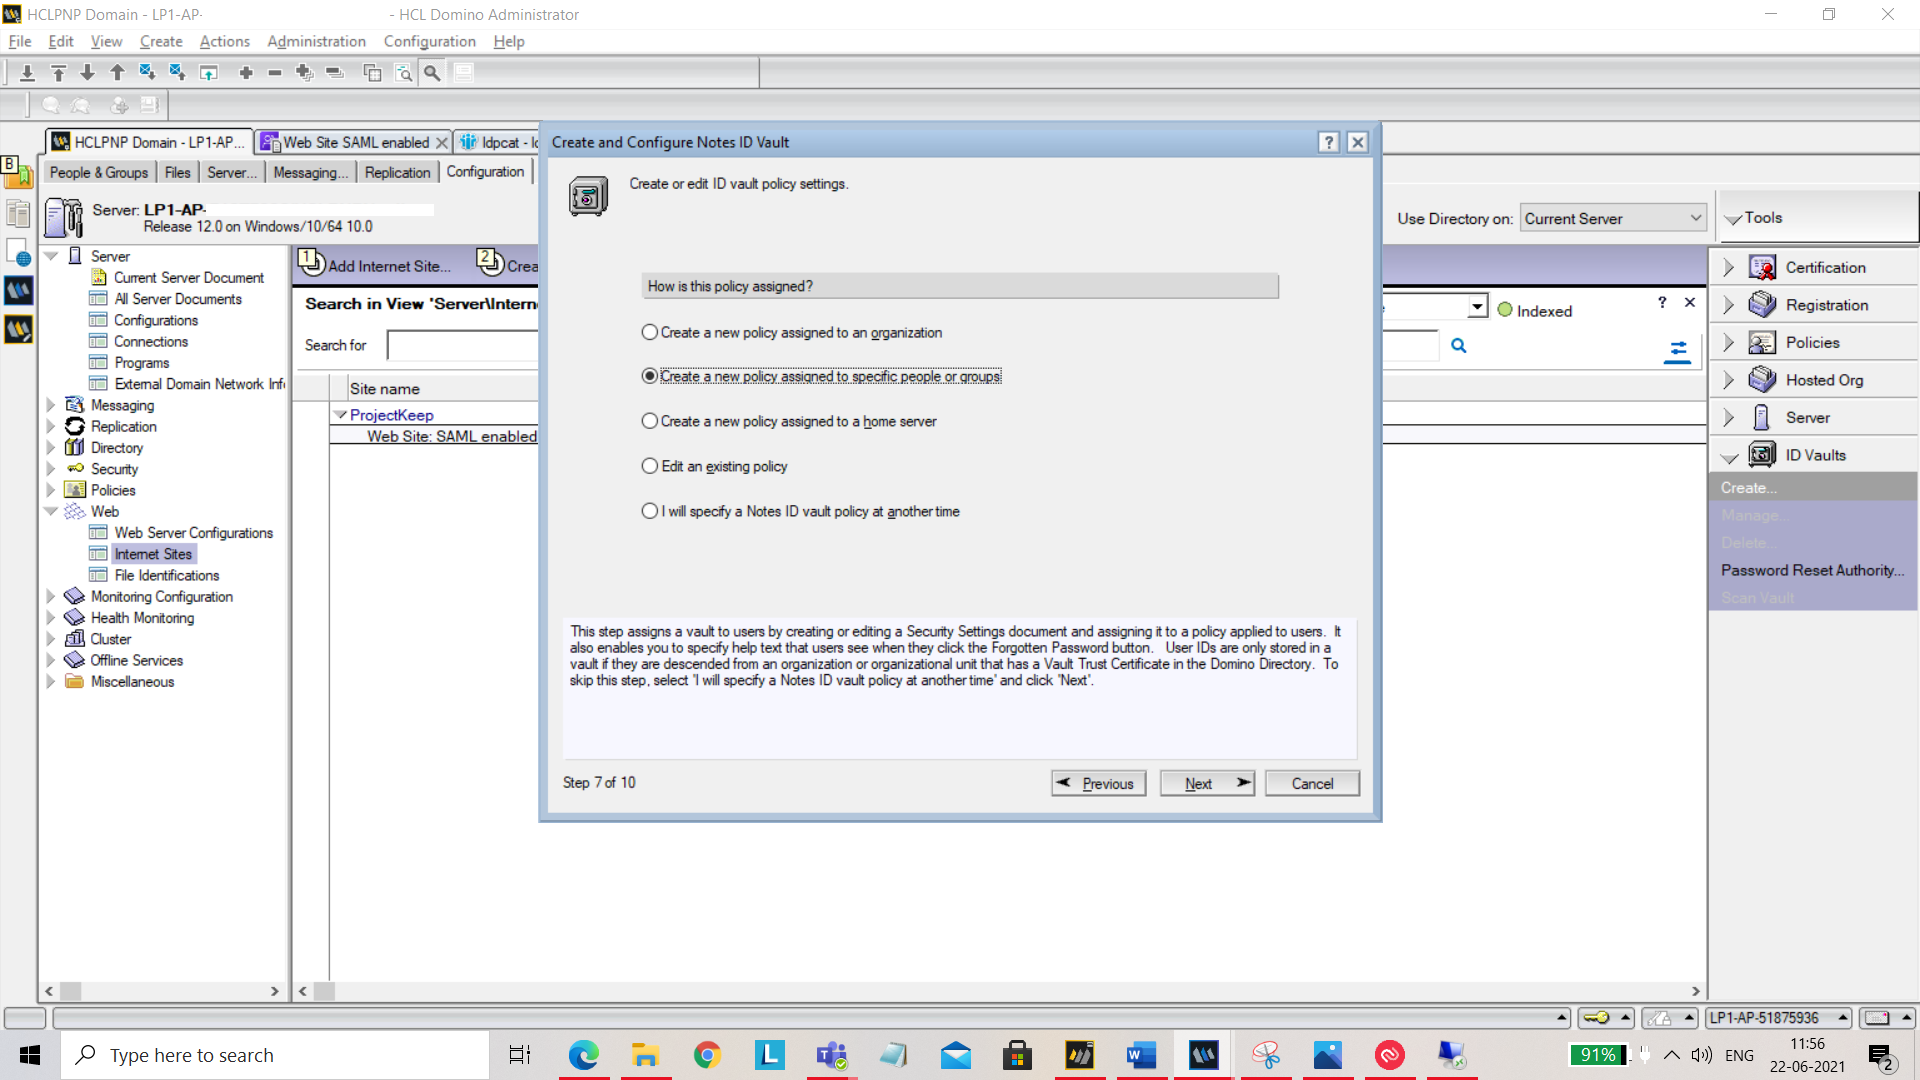
Click on Next and select Create a new policy assigned to specific people or groups.
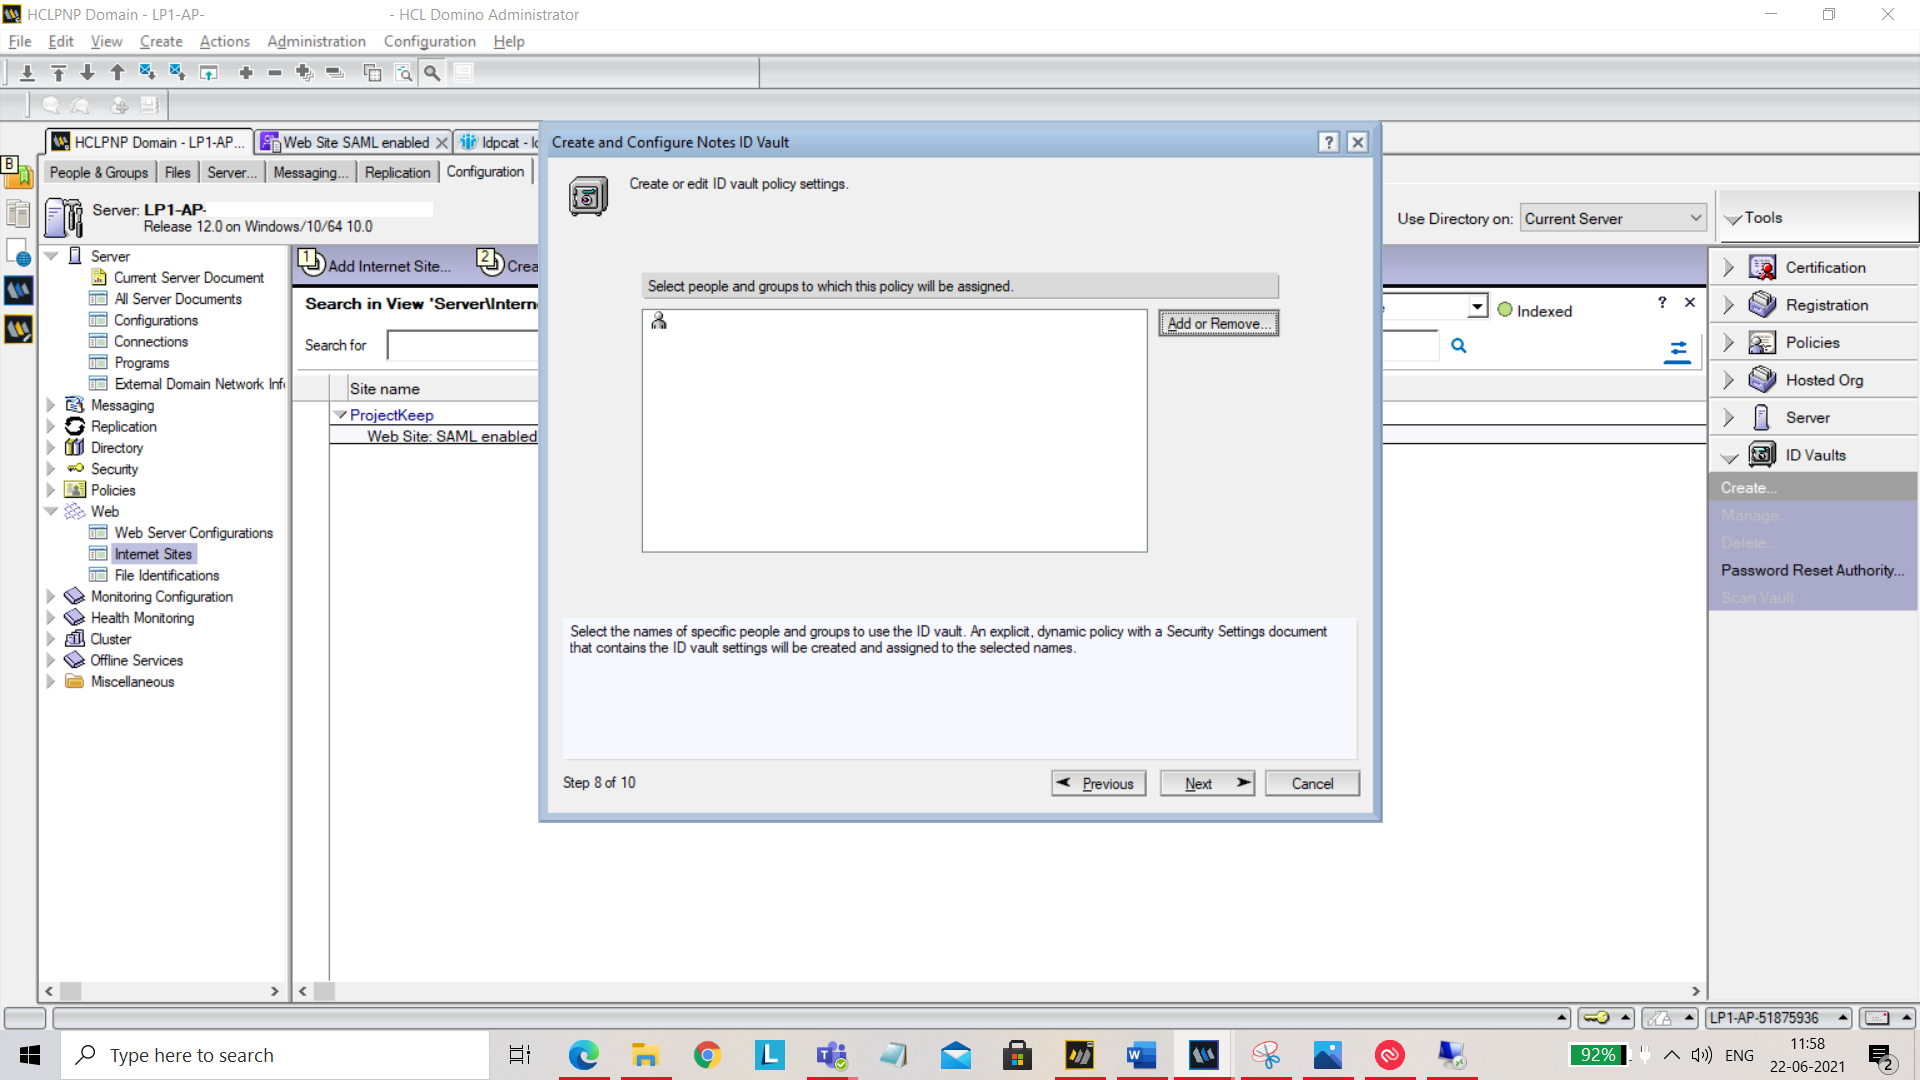
You can add or remove people who can add or edit ID vault policy settings.
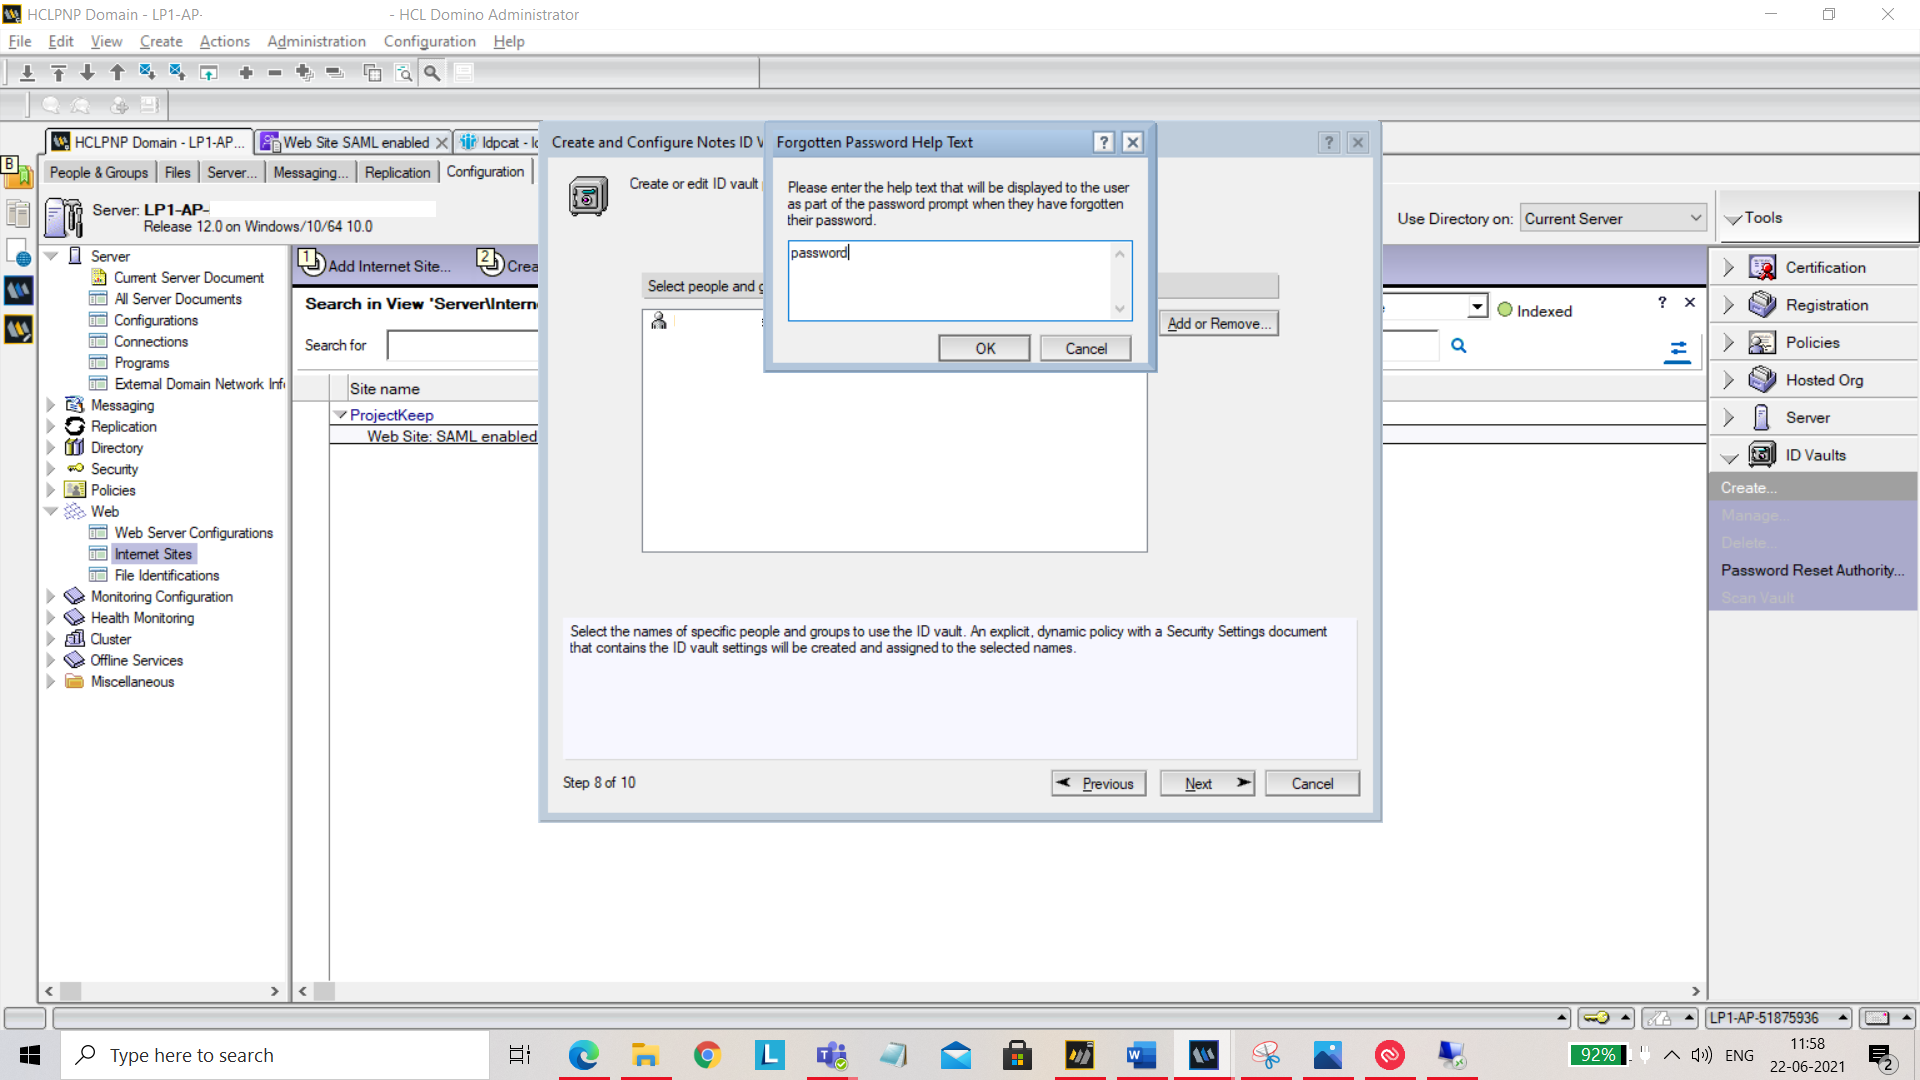
Set the hint for Forgotten Password Help.
Now by clicking on Create Vault, the vault will be created.
You now need to set up your ID Vault.
Open your vault NSF (for example: IBMID_VAULT\testsaml.nsf). Click Open by selecting the file.
Navigate to Configuration tab, edit document and add the host address in Web federated login approved IDP configurations.