Lab 02 - Quick config
What you will learn
- How to navigate the Admin UI.
- How to configure the "Approval Central" database using the Admin UI.
- Understand the difference between a Schema and a Scope.
Before you begin
- You have completed Lab 01 - Log in to the REST API.
- Your Domino server must be running.
- You have deployed the database
ApprovalCentral.nsfon your Domino server.
Procedure
The procedure guides you in creating a schema and a scope using Quick Config in the Admin UI.
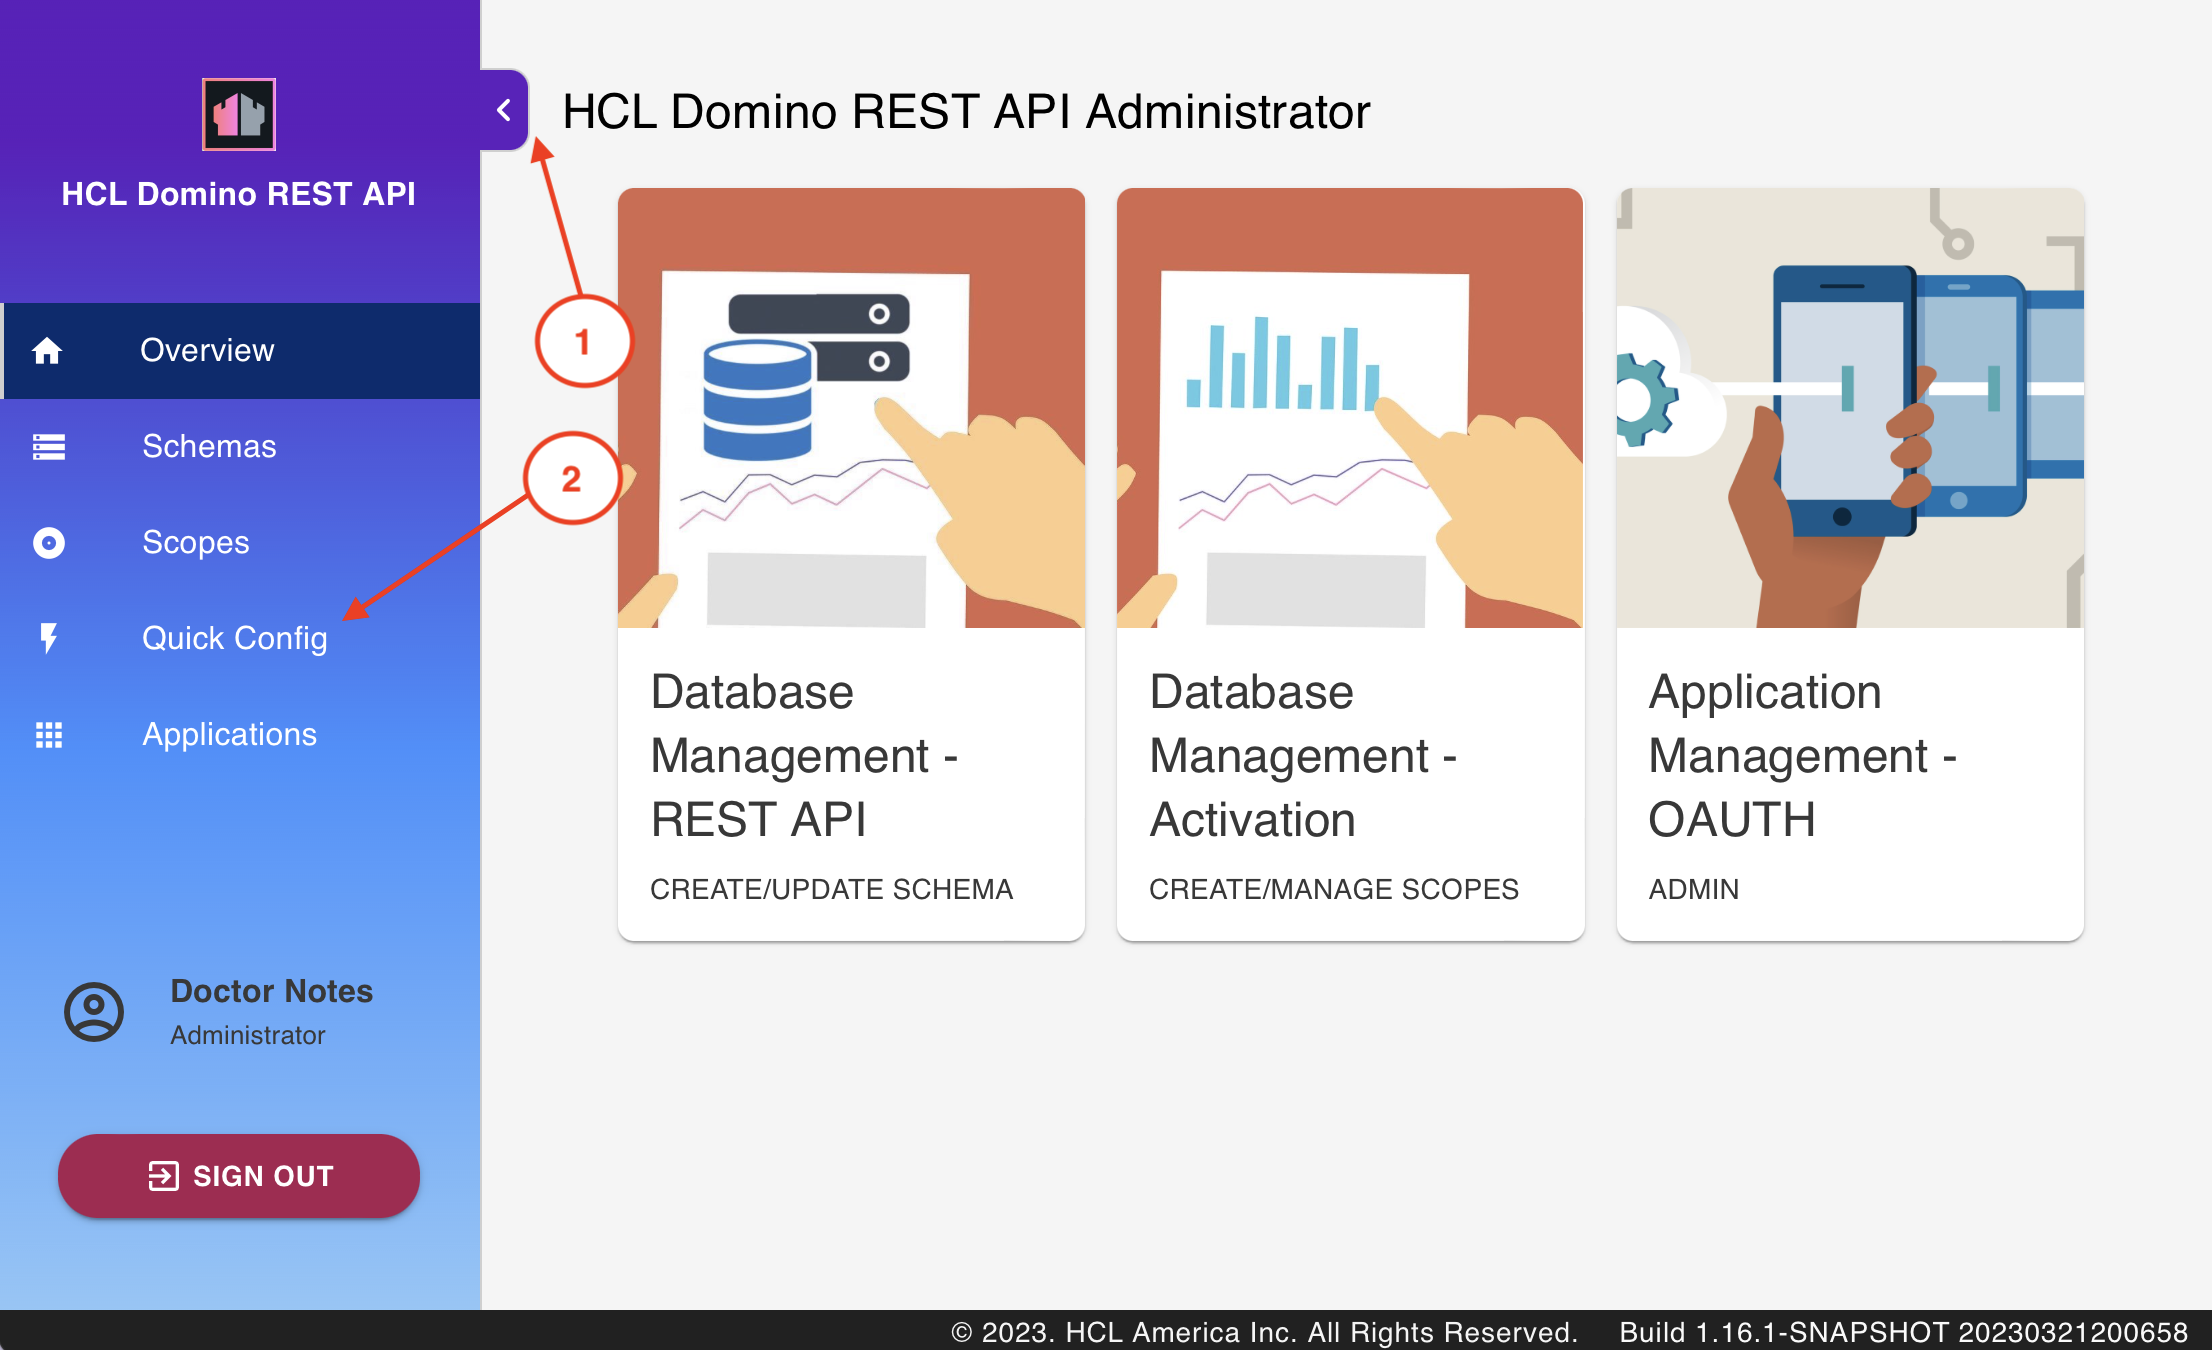
- Log in to Admin UI.
-
Expand the side panel and click Quick Config.
-
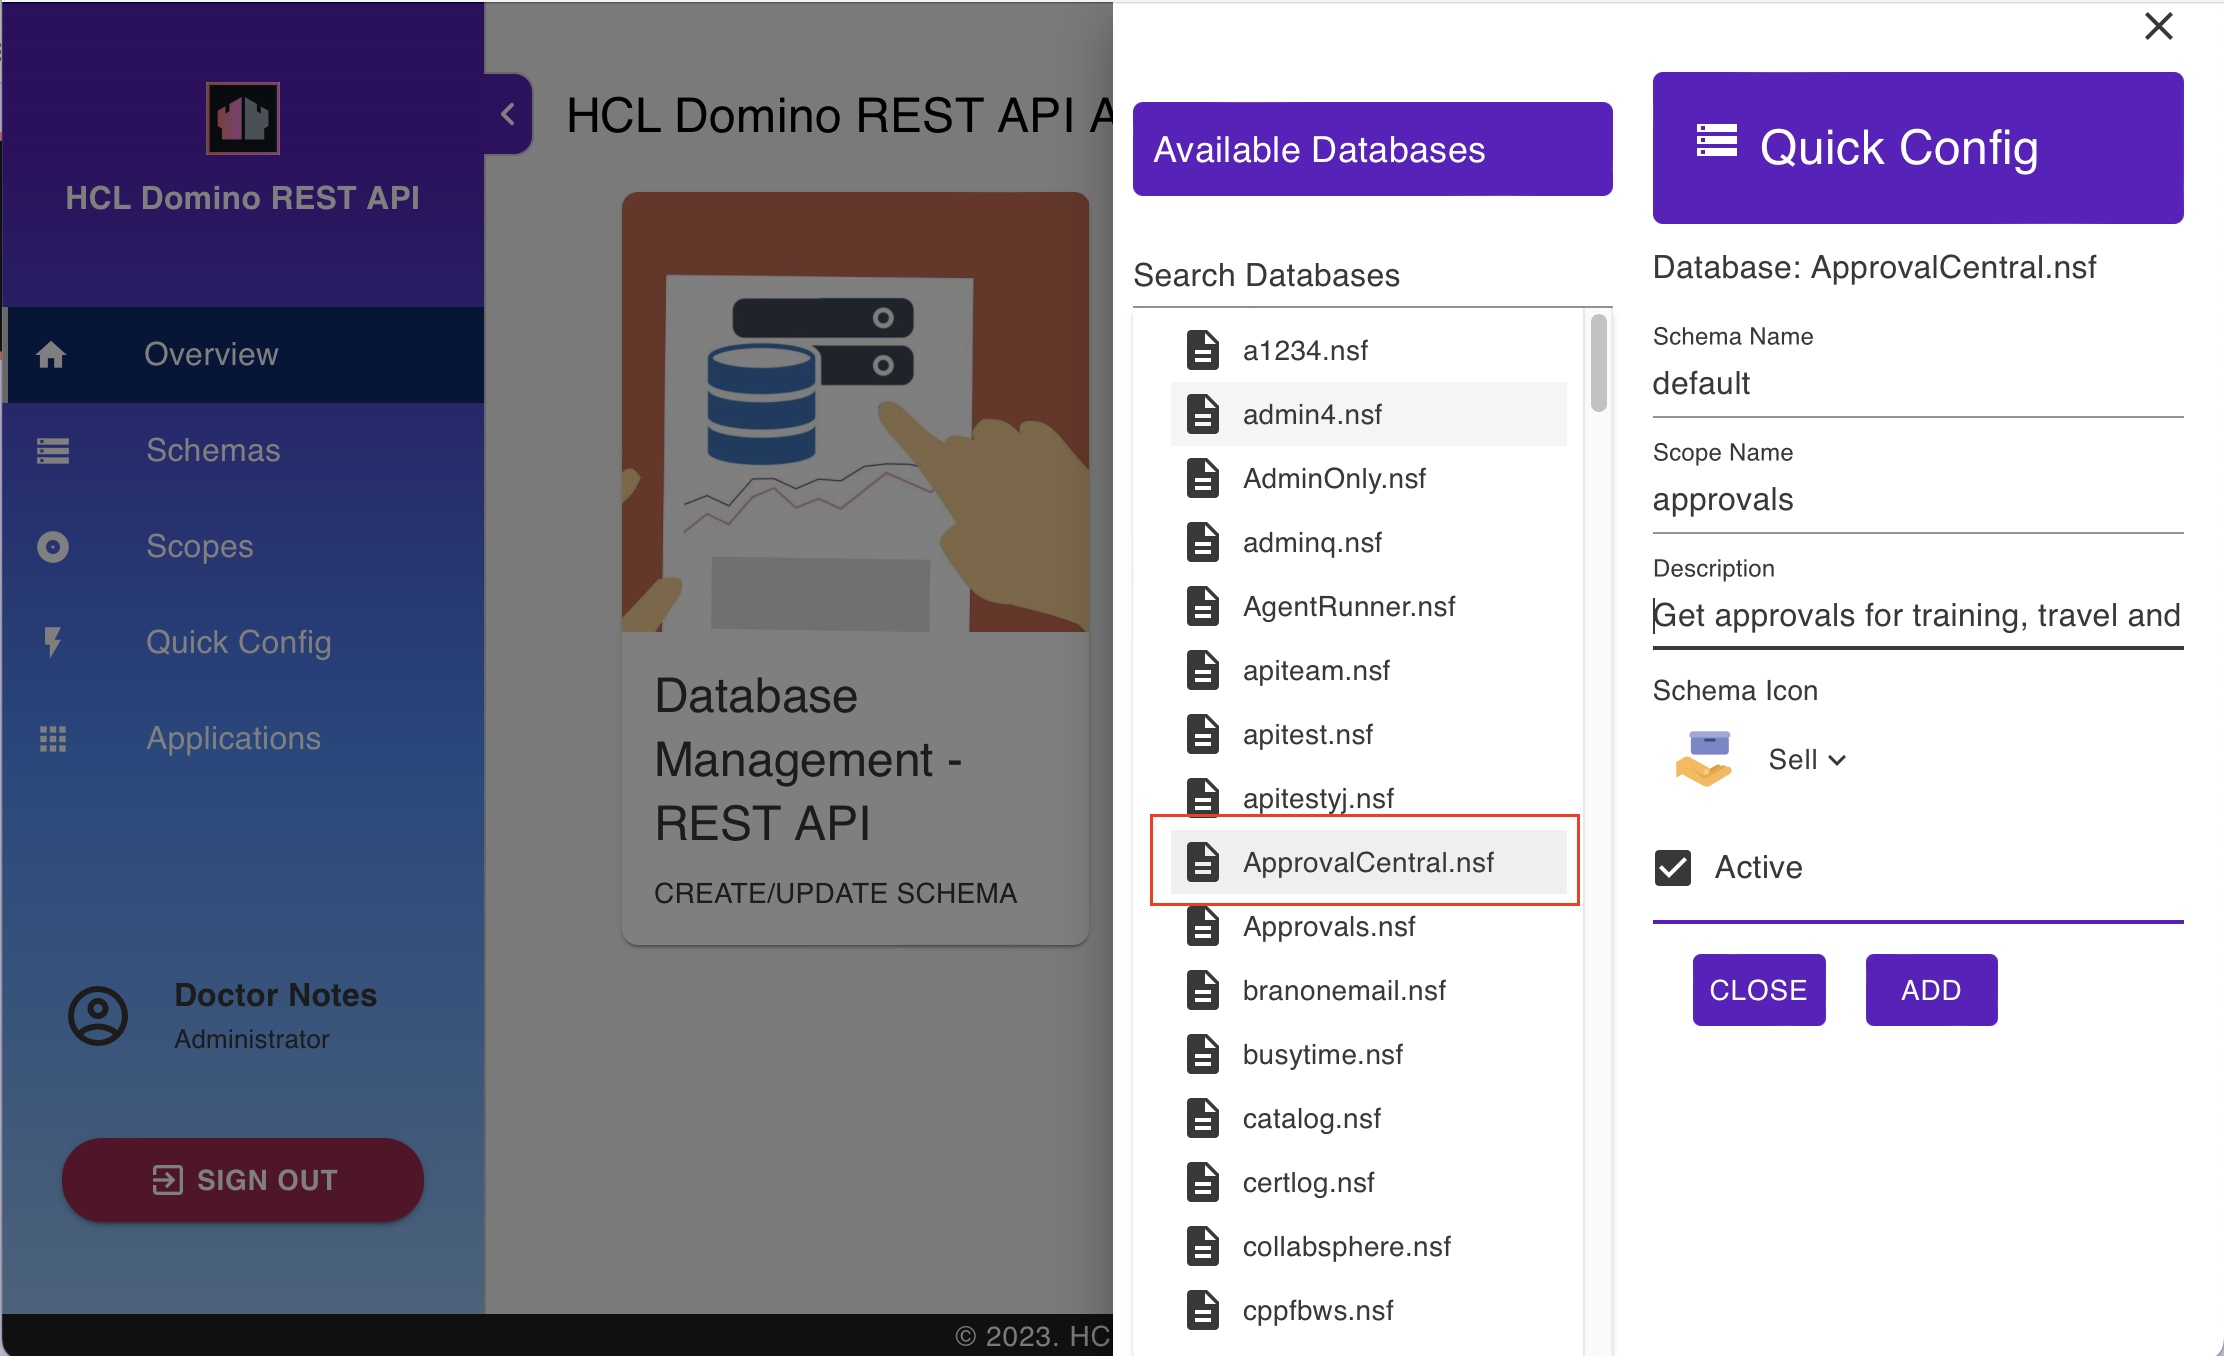
Select
ApprovalCentral.nsffrom Available Databases, and fill in the form.- Schema Name: default
- Scope Name: approvals
- Description & Schema Icon: at your discretion
-
Click Add.
Alternative procedure
The procedure guides you in creating a schema and a scope using curl, Postman, or KEEP CLI.
- Use the request in Postman's Lab 01 Create QuickConfig for ApprovalCentral.
- Use curl, Postman or the KEEP cli to post this JSON:
{
  "scopeName": "approvals",
  "nsfPath": "ApprovalCentral.nsf",
  "schemaName": "default",
  "create": true
}
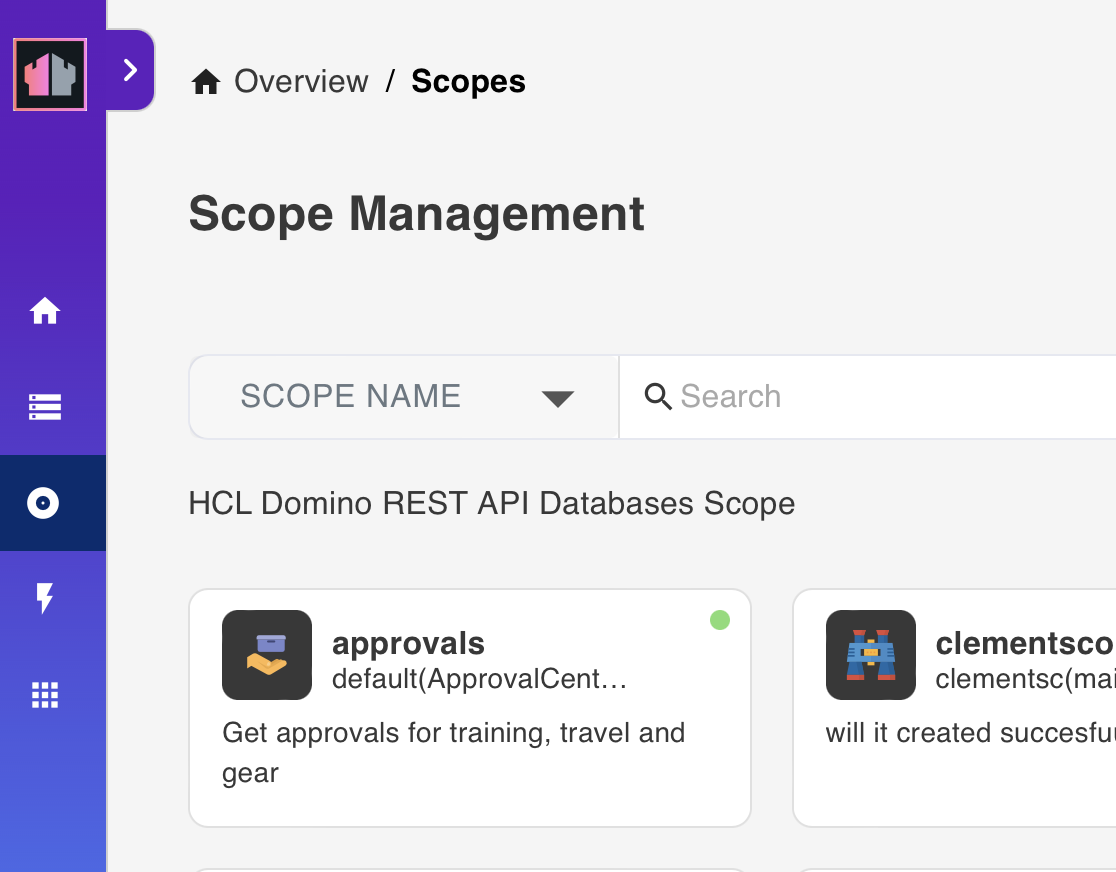
How to verify
In the Admin UI, you will find one entry each for schema and scope as shown:

You can also check the following URLs:
- {{ HOST }}/api/setup-v1/schemas?nsfPath=ApprovalCentral.nsf
- {{ HOST }}/api/setup-v1/schema?nsfPath=ApprovalCentral.nsf&configName=default
- {{ HOST }}/api/v1/scopes
Things to explore
-
Check the Swagger UI to see the newly created entries.
- Use Postman to create a second quick config using
recipe.nsf. -
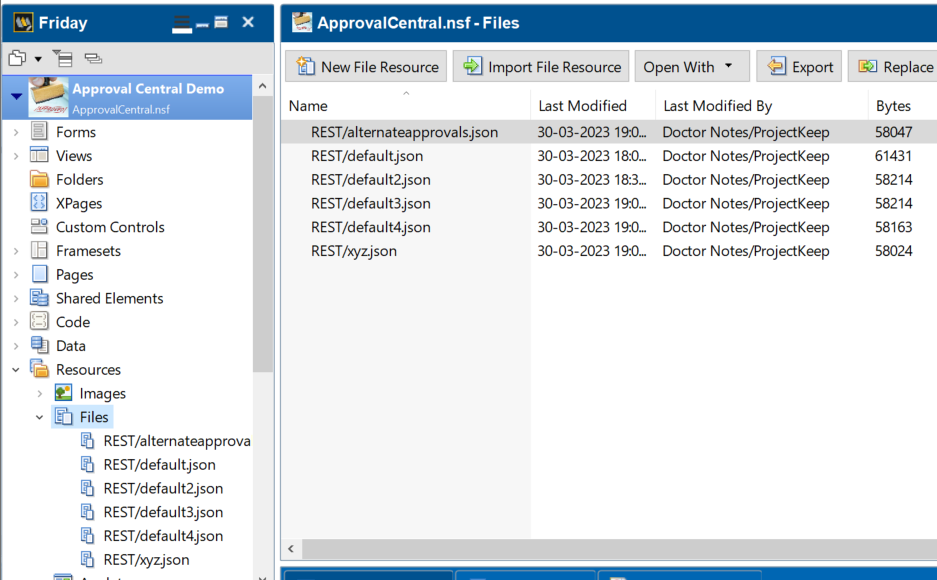
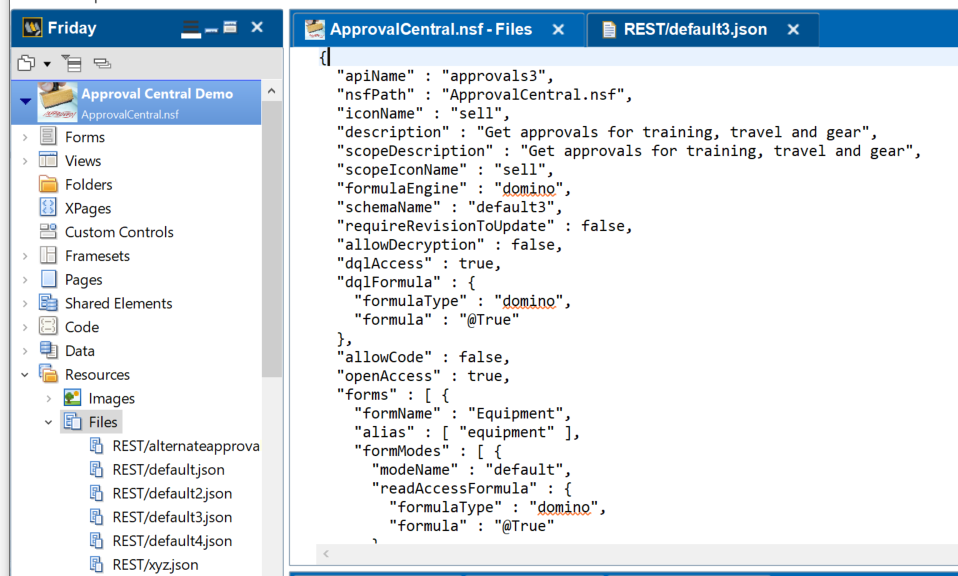
Open Domino Designer to check resources.
Next step
Proceed to Lab 03 - Schema exploration.