Edit database schema JSON
About this task
The procedures guide you in editing the database schema JSON in the Tree View mode and Text view mode in the Source tab under Schema Management so you can:
- add a new JSON object to the database schema
- add a JSON object to an existing JSON object
- edit the value and data type of JSON object
- delete a JSON object from the database schema
- duplicate a JSON object
Before you begin
- You have selected a schema on the Schema Management page.
- You have selected Source from the menu bar and is in the Tree View mode.
Tree View procedures
To add a JSON object to the database schema
-
Hover over any JSON object and then click the down arrow icon to open the context menu.
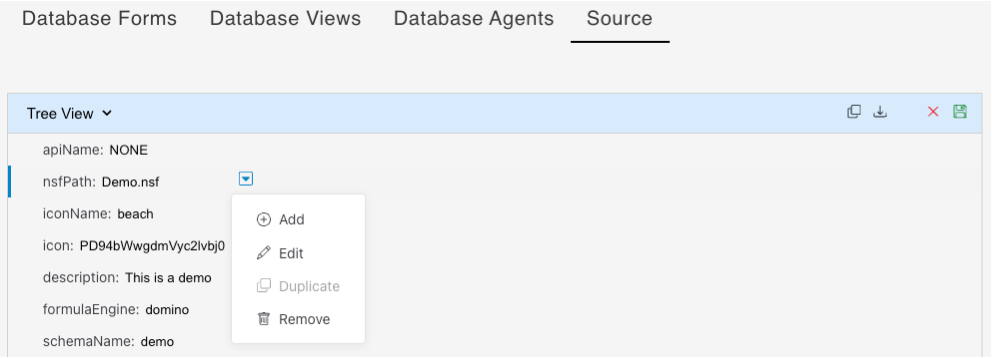
Tip
You can also right-click in the value of the JSON object to open the context menu. This option isn't applicable for JSON objects whose data type is Object or Array.
-
Select Add.
-
Enter a Key, select a Type, and then enter a Value.

Note
- The available value Types are String, Boolean, Number, Array, and Object.
- If you are adding an Array or an Object, you must enter a key-value pair in the Value text box.
-
The entered value is validated according to the selected type. If the value doesn't match the expected format for that type, the Value field is highlighted in red. An error message appears, guiding you to follow the correct format and providing an example for clarification.
The following images show examples of correct and incorrect entered values.


-
Click Insert. The added JSON object is placed at the end of the list.
-
Click the Save icon to save the changes.

To add a JSON object to an existing JSON object
Note
You can only add a new JSON object to existing JSON object whose data type is either an Object or an Array.
-
Hover over the object you want to add a new object to and then click the down arrow icon to open the context menu.
-
Select Add.
-
Enter a Key, select a Type, and then enter a Value.
Note
- If you are adding an Array or an Object, you must enter a key-value pair in the Value text box.
- The entered value is validated according to the selected type. If the value doesn't match the expected format for that type, the Value field is highlighted in red. An error message appears, guiding you to follow the correct format and providing an example for clarification.
-
Click Insert. The added JSON object is placed at the end of the list of JSON objects.
-
Click the Save icon to save the changes.
To update a JSON object
Note
You can only update JSON objects whose data type isn't Object or Array.
-
Hover over any JSON object and then click the down arrow icon to open the context menu.
Tip
You can also right-click in the value of the JSON object to open the context menu.
-
Select Edit.
-
Update the Key, Type, and Value as required.
-
Click Insert.
-
Click the Save icon to save the changes.
To delete a JSON object from the database schema
-
Hover over the JSON object that you want to delete and then click the down arrow icon to open the context menu.
-
Select Remove.
-
Click the Save icon to save the changes.
To duplicate a JSON object
Note
You can only duplicate JSON objects whose data type is either an Object or an Array.
-
Hover over any JSON object and then click the down arrow icon to open the context menu.
-
Select Duplicate. The duplicated JSON object is placed at the end of the list.
-
Click the Save icon to save the changes.
Text View procedure
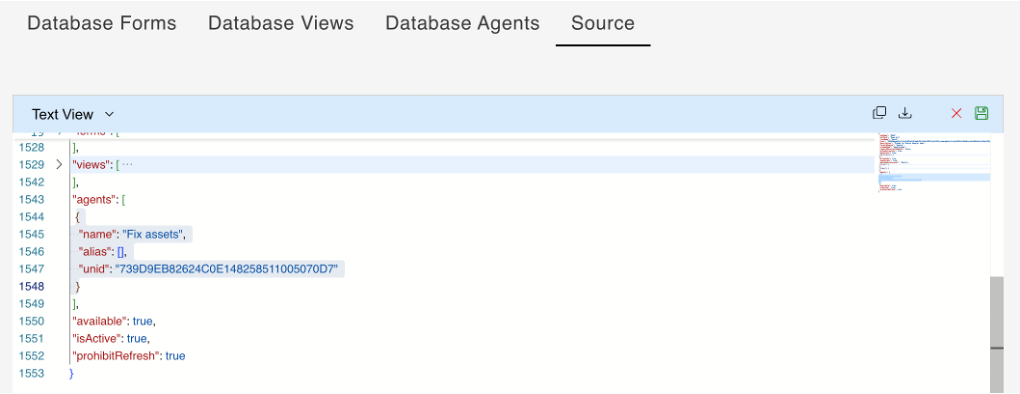
With the implementation of the Monaco Editor to the Text View mode on the Source tab, you can now edit the database schema JSON just like using a normal text editor.
As an example, you can edit a value of a key. As shown in the images, the name of a view is changed from Customers to Customer1.
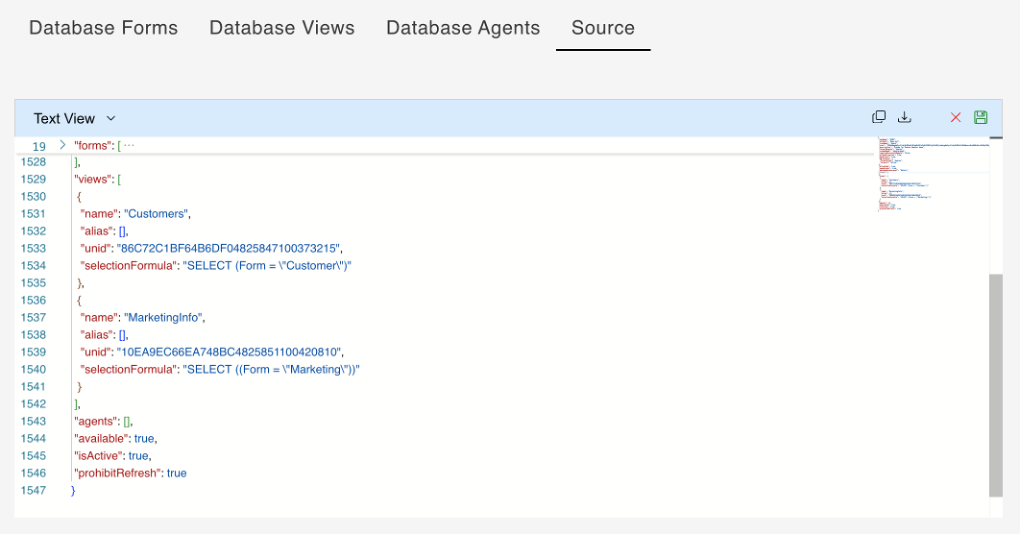
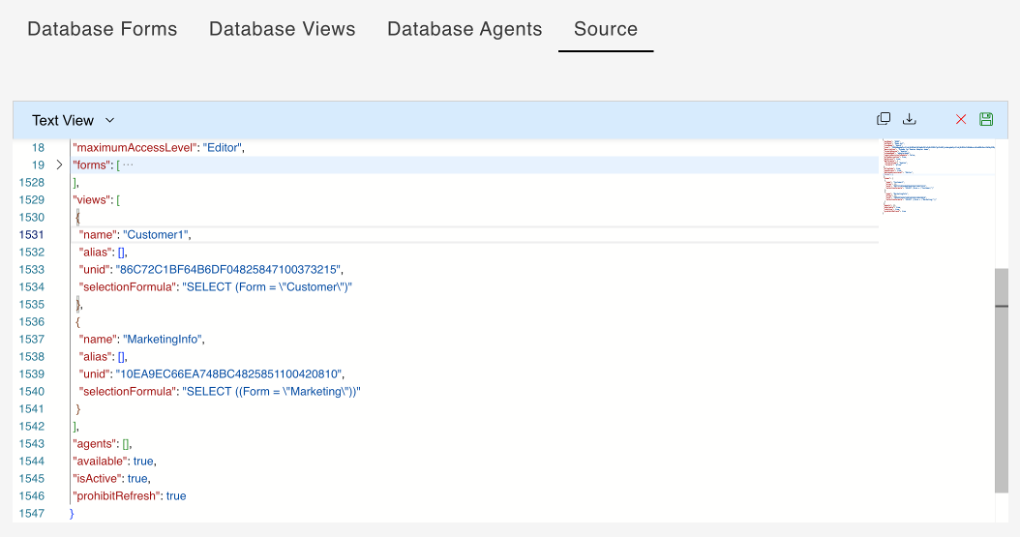
You can also enter additional data. As shown in the images, the following are added to agents:
{
   "name": "Fix Body",
   "alias": [],
   "unid": "3F8E64B529DA6CF848258435004A37CC"
  }
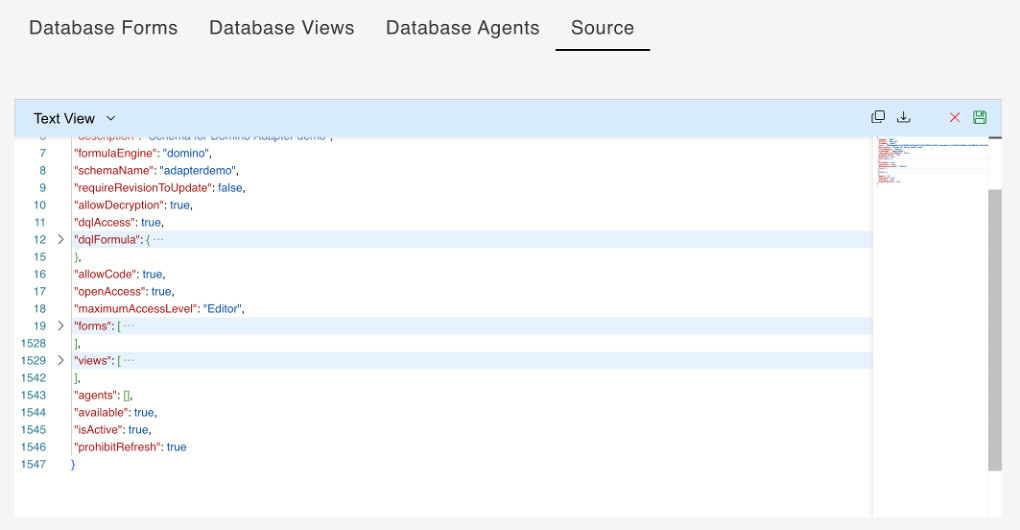
Tip
- Make sure to click the Save icon, and then select Yes in the Save changes dialog to save your changes.
- Make sure to follow the correct syntax when adding data.