Application Management
Overview
The Application Management page in the Admin UI allows you to create an application, which is the configuration you need when you want to use Domino's built-in Identity Provider (IdP) functionality.
Access Application Management
- Log in to the Admin UI.
-
On the home page, select Application Management - OAUTH to open the Application Management page.
You can also access the Application Management page by clicking Applications in the side navigation pane.
View applications
On the Application Management page, you are able to see all available applications.
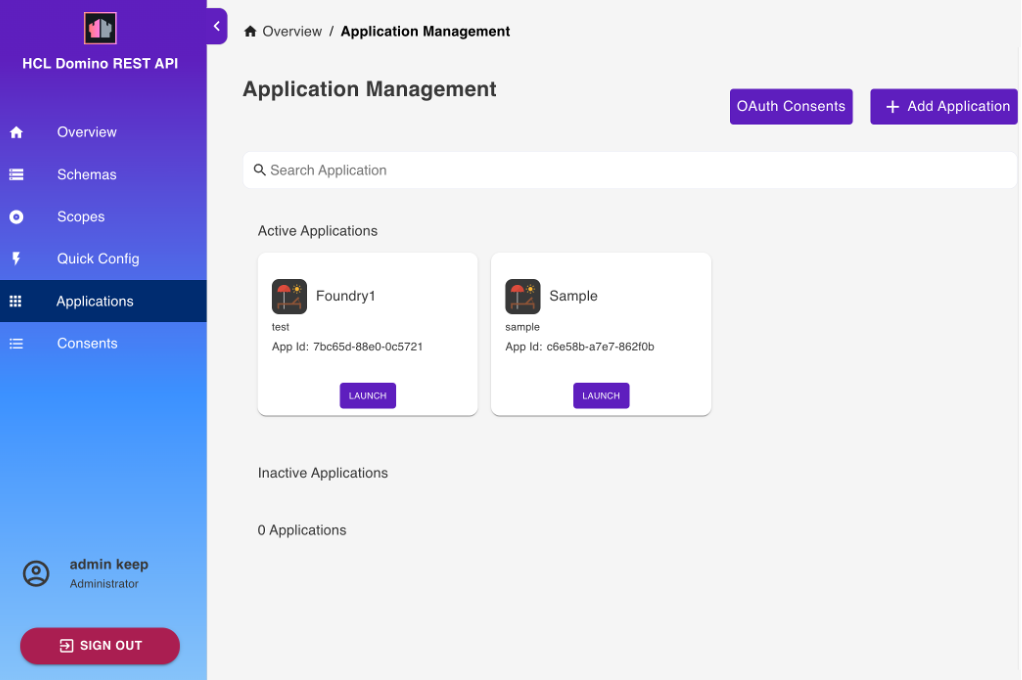
On the page, you can:
- Launch an application by clicking the play button.
- Edit application details by clicking the Edit Application icon.
- Delete an application by clicking the Delete Application icon.
- Search by application name by using the Search App Name field.
- Adjust the number of rows shown per page and navigate using pagination arrows.
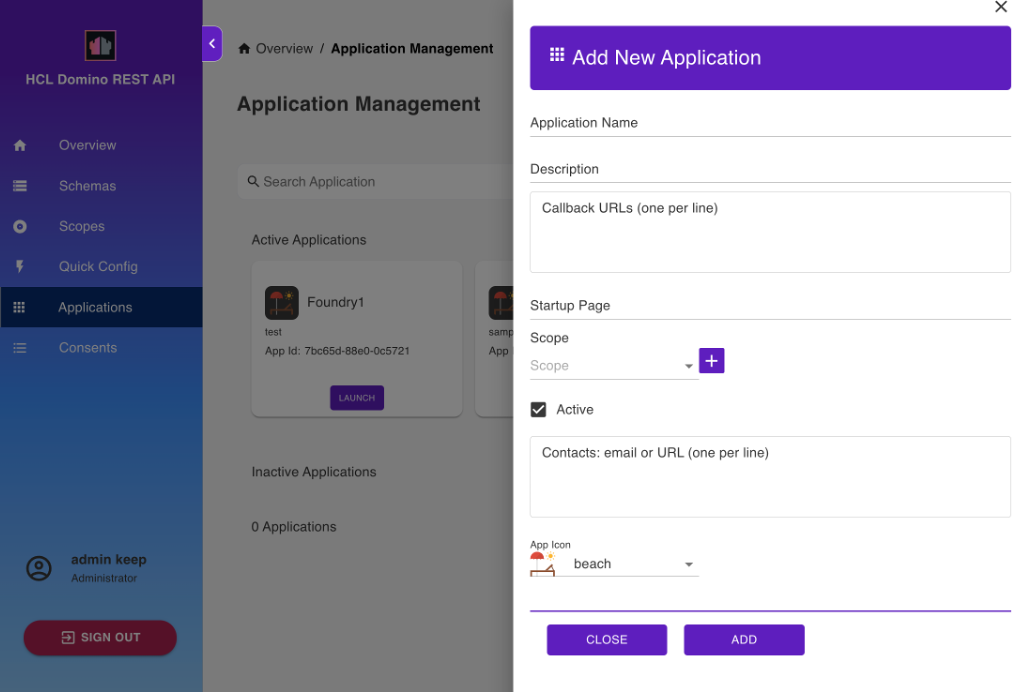
Add an application
- On the Application Management page, click Add Application.
-
In the Add New Application pane that appears:
- Enter a name for your application in the Application Name field.
- Provide details to describe its use in the Description field.
- Provide the callback URLs.
- Enter the application startup page in the Startup Page application.
- Choose the Scope.
- Enter contact details.
- Choose an App Icon to help visually identify the application.
- Click Add.
The new application appears in the Application Management page.
Tip
- The callback URLs must be provided by the developer or the admin and must match.
- You can add scopes as required. You can specify scopes that do not yet exist, just ensure they are created and properly configured before using the application.
- When adding a scope, select the scope from the Scope drop-down list and click the Add Scope icon.
- When your app accesses endpoints that run write operations in the
/setup-v1/URL path, make sure to add the$SETUPscope aside from the$DATAscope to enhance access control in relation to the app inheriting a user's access rights when the user grants app access. - Select the use PKCE checkbox if you want to use PKCE or Proof Key for Code Exchange, an extension to the authorization code flow to prevent cross-site request forgery and authorization code injection attacks. For more information about how PKCE works and how to implement PKCE, see Authorization Code Flow with Proof Key for Code Exchange (PKCE)
 .
.
Generate or regenerate an app secret
Note
This only applies to applications that use app secret as authentication method. This is not needed if you use PKCE as the authentication method.
- If you want to generate an app secret for an application without a configured app secret, click the Click to Generate Secret text.
- If you want to regenerate the app secret of an application, click the icon
 and then click Yes in the confirmation dialog.
Filter applications
Use the Filter (funnel icon) to narrow the displayed list of applications based on the following key attributes:
| Filter | What it controls |
|---|---|
| Status | Shows active, inactive, or all applications |
| Authentication Method | Shows all applications, those that use app secret, those that use app secret with app secret generated, those that use app secret without a generated app secret, or those that use PKCE. |
Click Reset to clear all filters.
Access OAuth Consents
On the Application Management page, click OAuth Consents. The OAuth Consents dialog opens.
All the information and features in the OAuth Consents dialog are the same to the information and features in the OAuth Consents page. For more information, see OAuth Consents.