Using Swagger UI
Overview
This tutorial guides you through using the Swagger UI to visualize and interact with the Domino REST API endpoints.
The Swagger UI is an open source component supported and maintained by SmartBear and packaged into a WebJar to render the collection of definitions that constitute the Domino REST API. It enables you to visualize and interact with APIs without having any of the actual implementation logic in place. The APIs are automatically generated from the OpenAPI Specification with the visual documentation making it easier to implement the back end code at a later stage.
Before you begin
- You have created a schema using the
Demo.nsfdatabase. - You have activated the database forms and views of your created schema.
- You have created a scope.
For more information, see Using Admin UI.
Video tutorial
You can watch the video for a visual walkthrough of using the Swagger UI. The steps in the video closely follow the instructions in this topic and intend to serve as a visual reference to enhance your understanding. The video shows you the instructions for creating a JWT token for authorization, creating a document, listing views, and working with specific Domino REST API databases.
Authorize with JWT token
You need to create a JWT token and use it to get proper authorization to try out the endpoints. Without proper authorization, you can try executing the endpoints, but you will get an access error.
-
Open Swagger UI by navigating to
http://localhost:8880/openapi/index.htmlin your browser.The URL points to a local instance of the Domino REST API. To access it from your own remote server, replace
http://localhostwith your server address. -
Select your server from the Servers drop-down list.

-
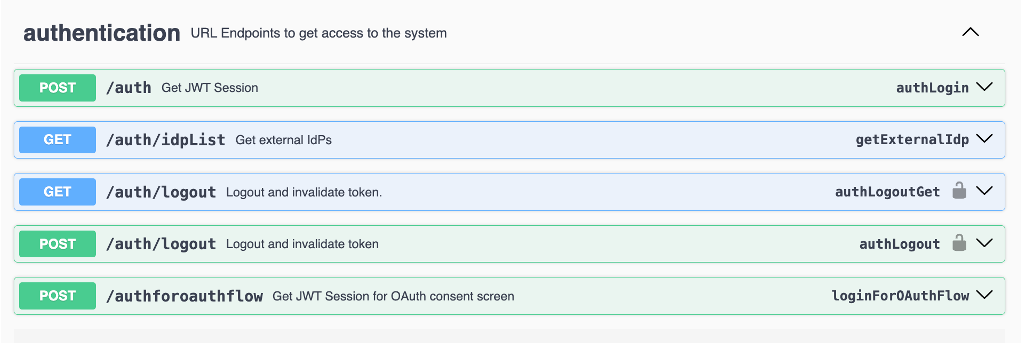
Go to and expand authentication, and then expand the POST /auth endpoint.
-
In the Request body, replace the
usernameandpasswordvalues with your Domino REST API username and password, and then click Execute.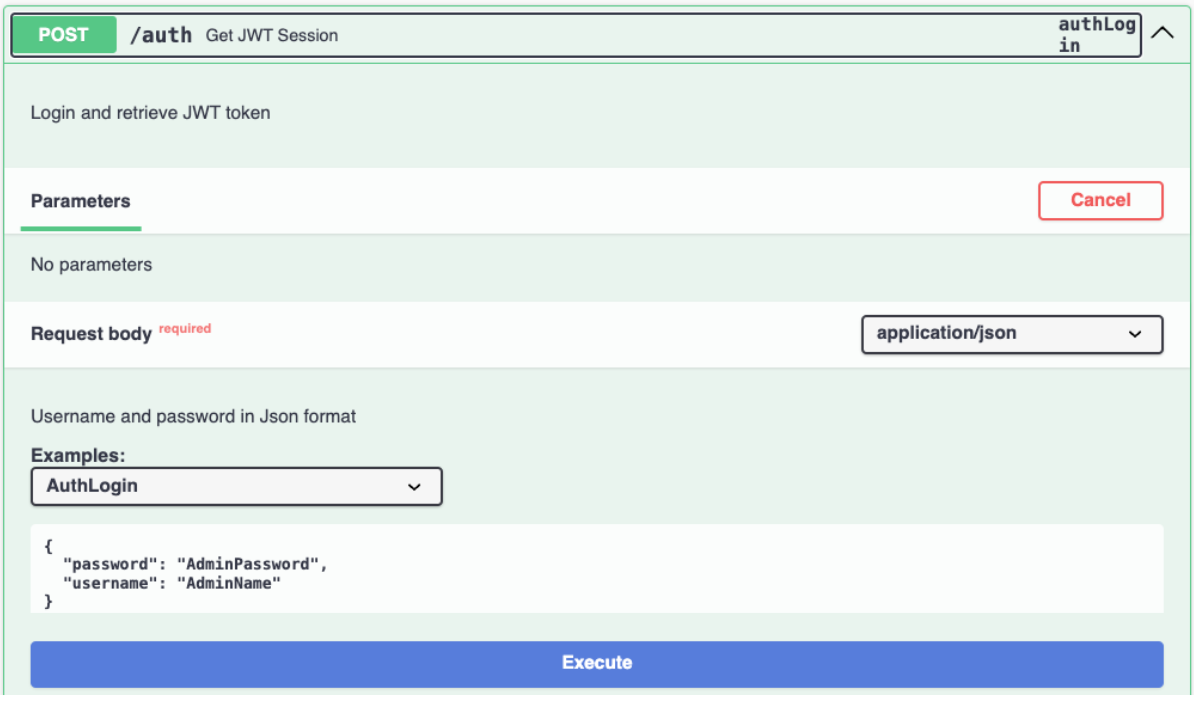
If your credentials are valid, the response will include a JSON object containing the JWT token in the
bearerkey.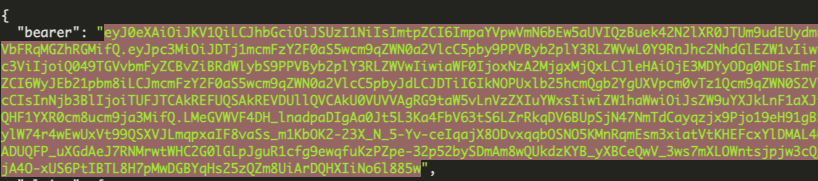
-
Copy the JWT token string in the
bearerkey. -
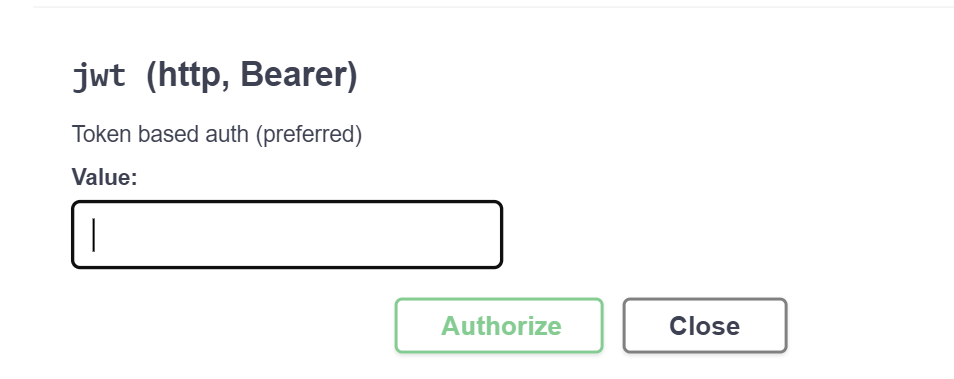
Go to the top of the page and click Authorize.
-
In the Available authorizations dialog, paste the copied JWT token in the Value field under jwt (http, Bearer), and then click Authorize.
-
Close the Available authorizations dialog.
Create a document
-
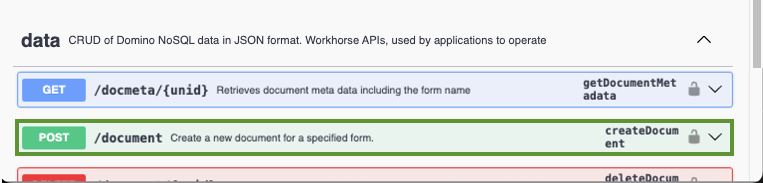
Go to and expand data, and then go to and expand the POST /document endpoint.
-
Make sure that the scope name provided for the dataSource parameter is the same as the scope name you created for your schema.
-
In the Request body, enter all the mandatory field values as shown below, and then click Execute.
{
 "Form": "Customer",
 "Color": "Red",
 "Pet": "Hamster",
 "email": "me@donotreply.com",
 "first_name": "John",
 "last_name": "Doe"
}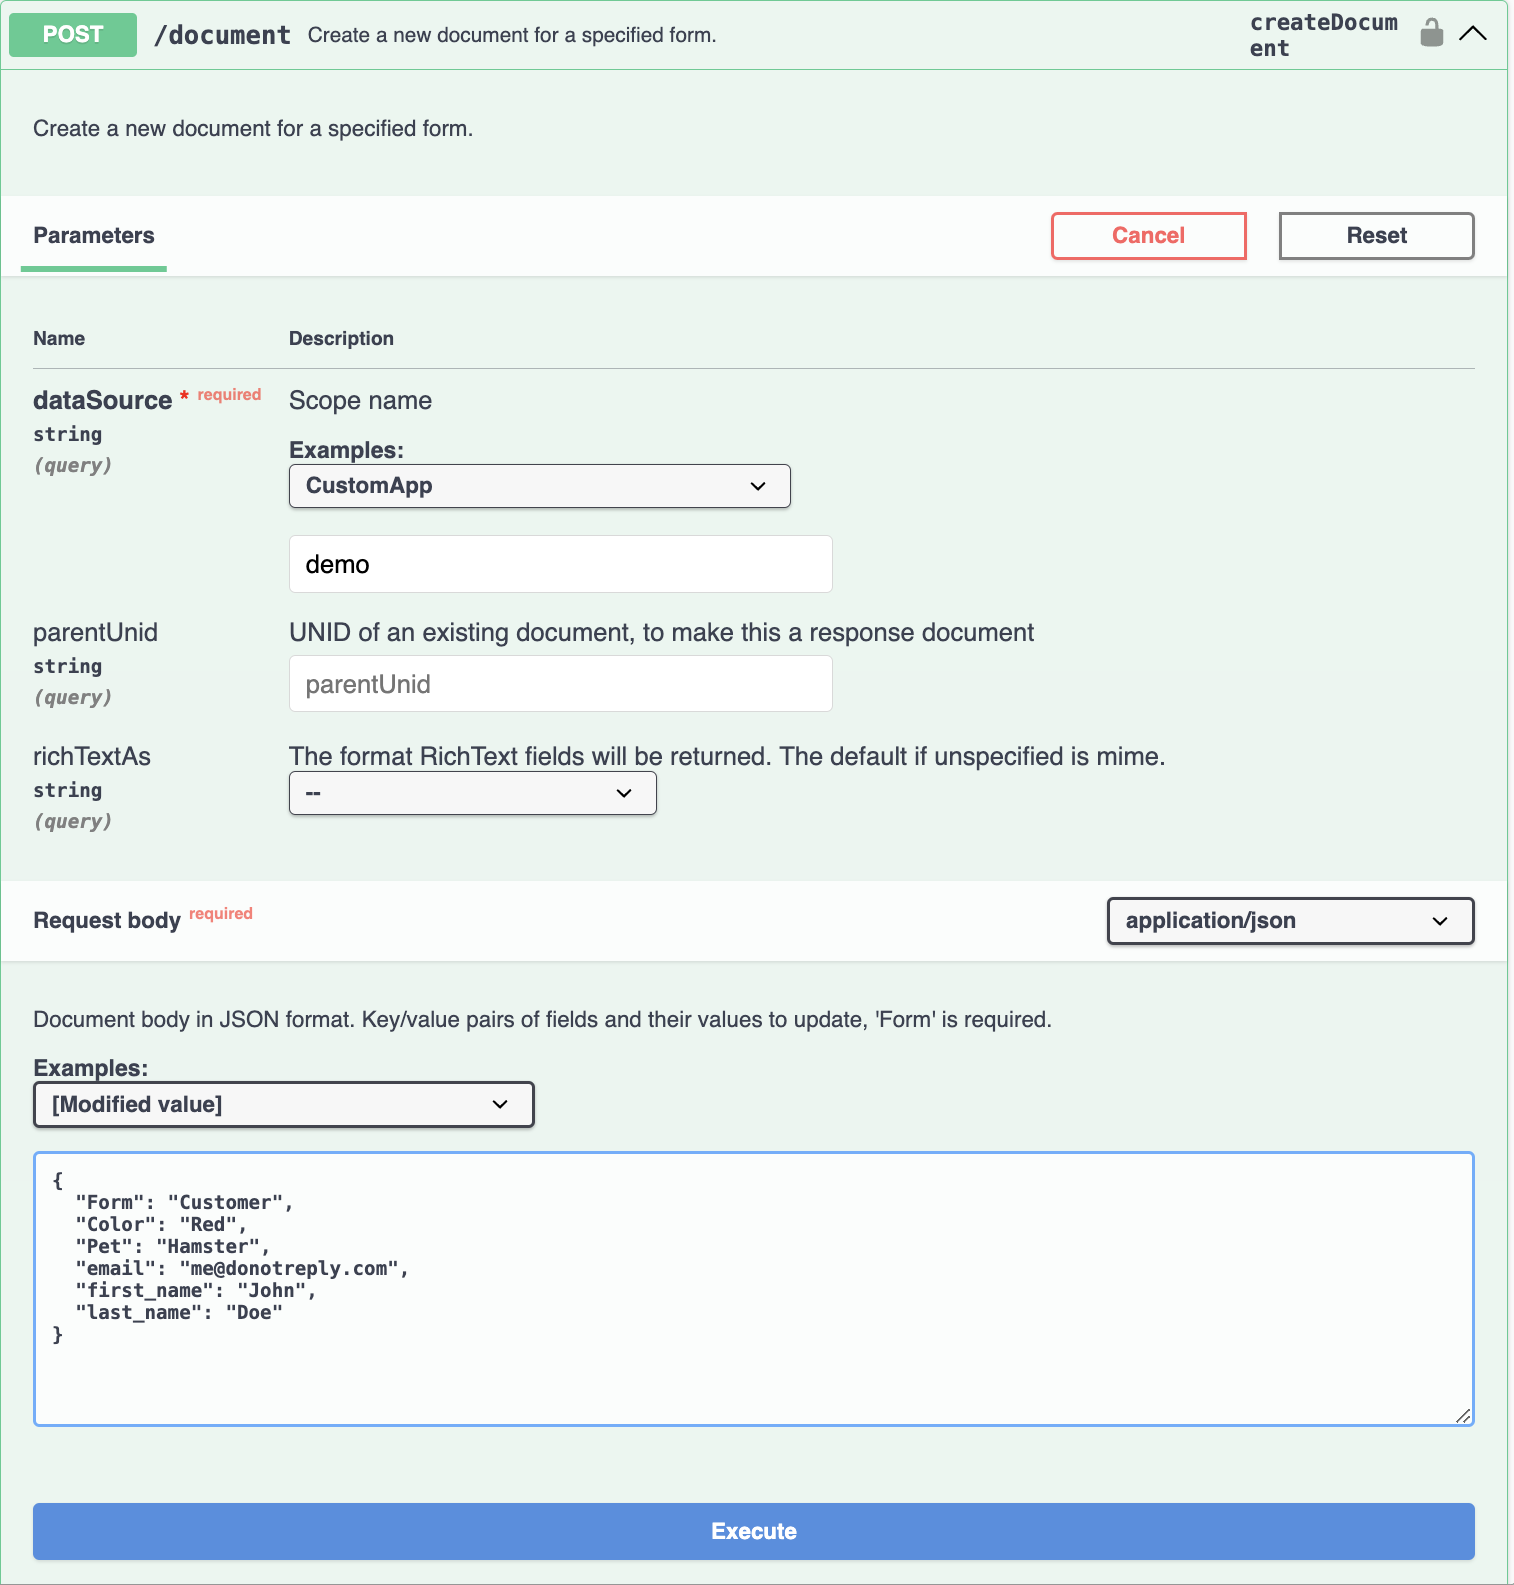
-
Observe what happens when you supply less fields.
List views
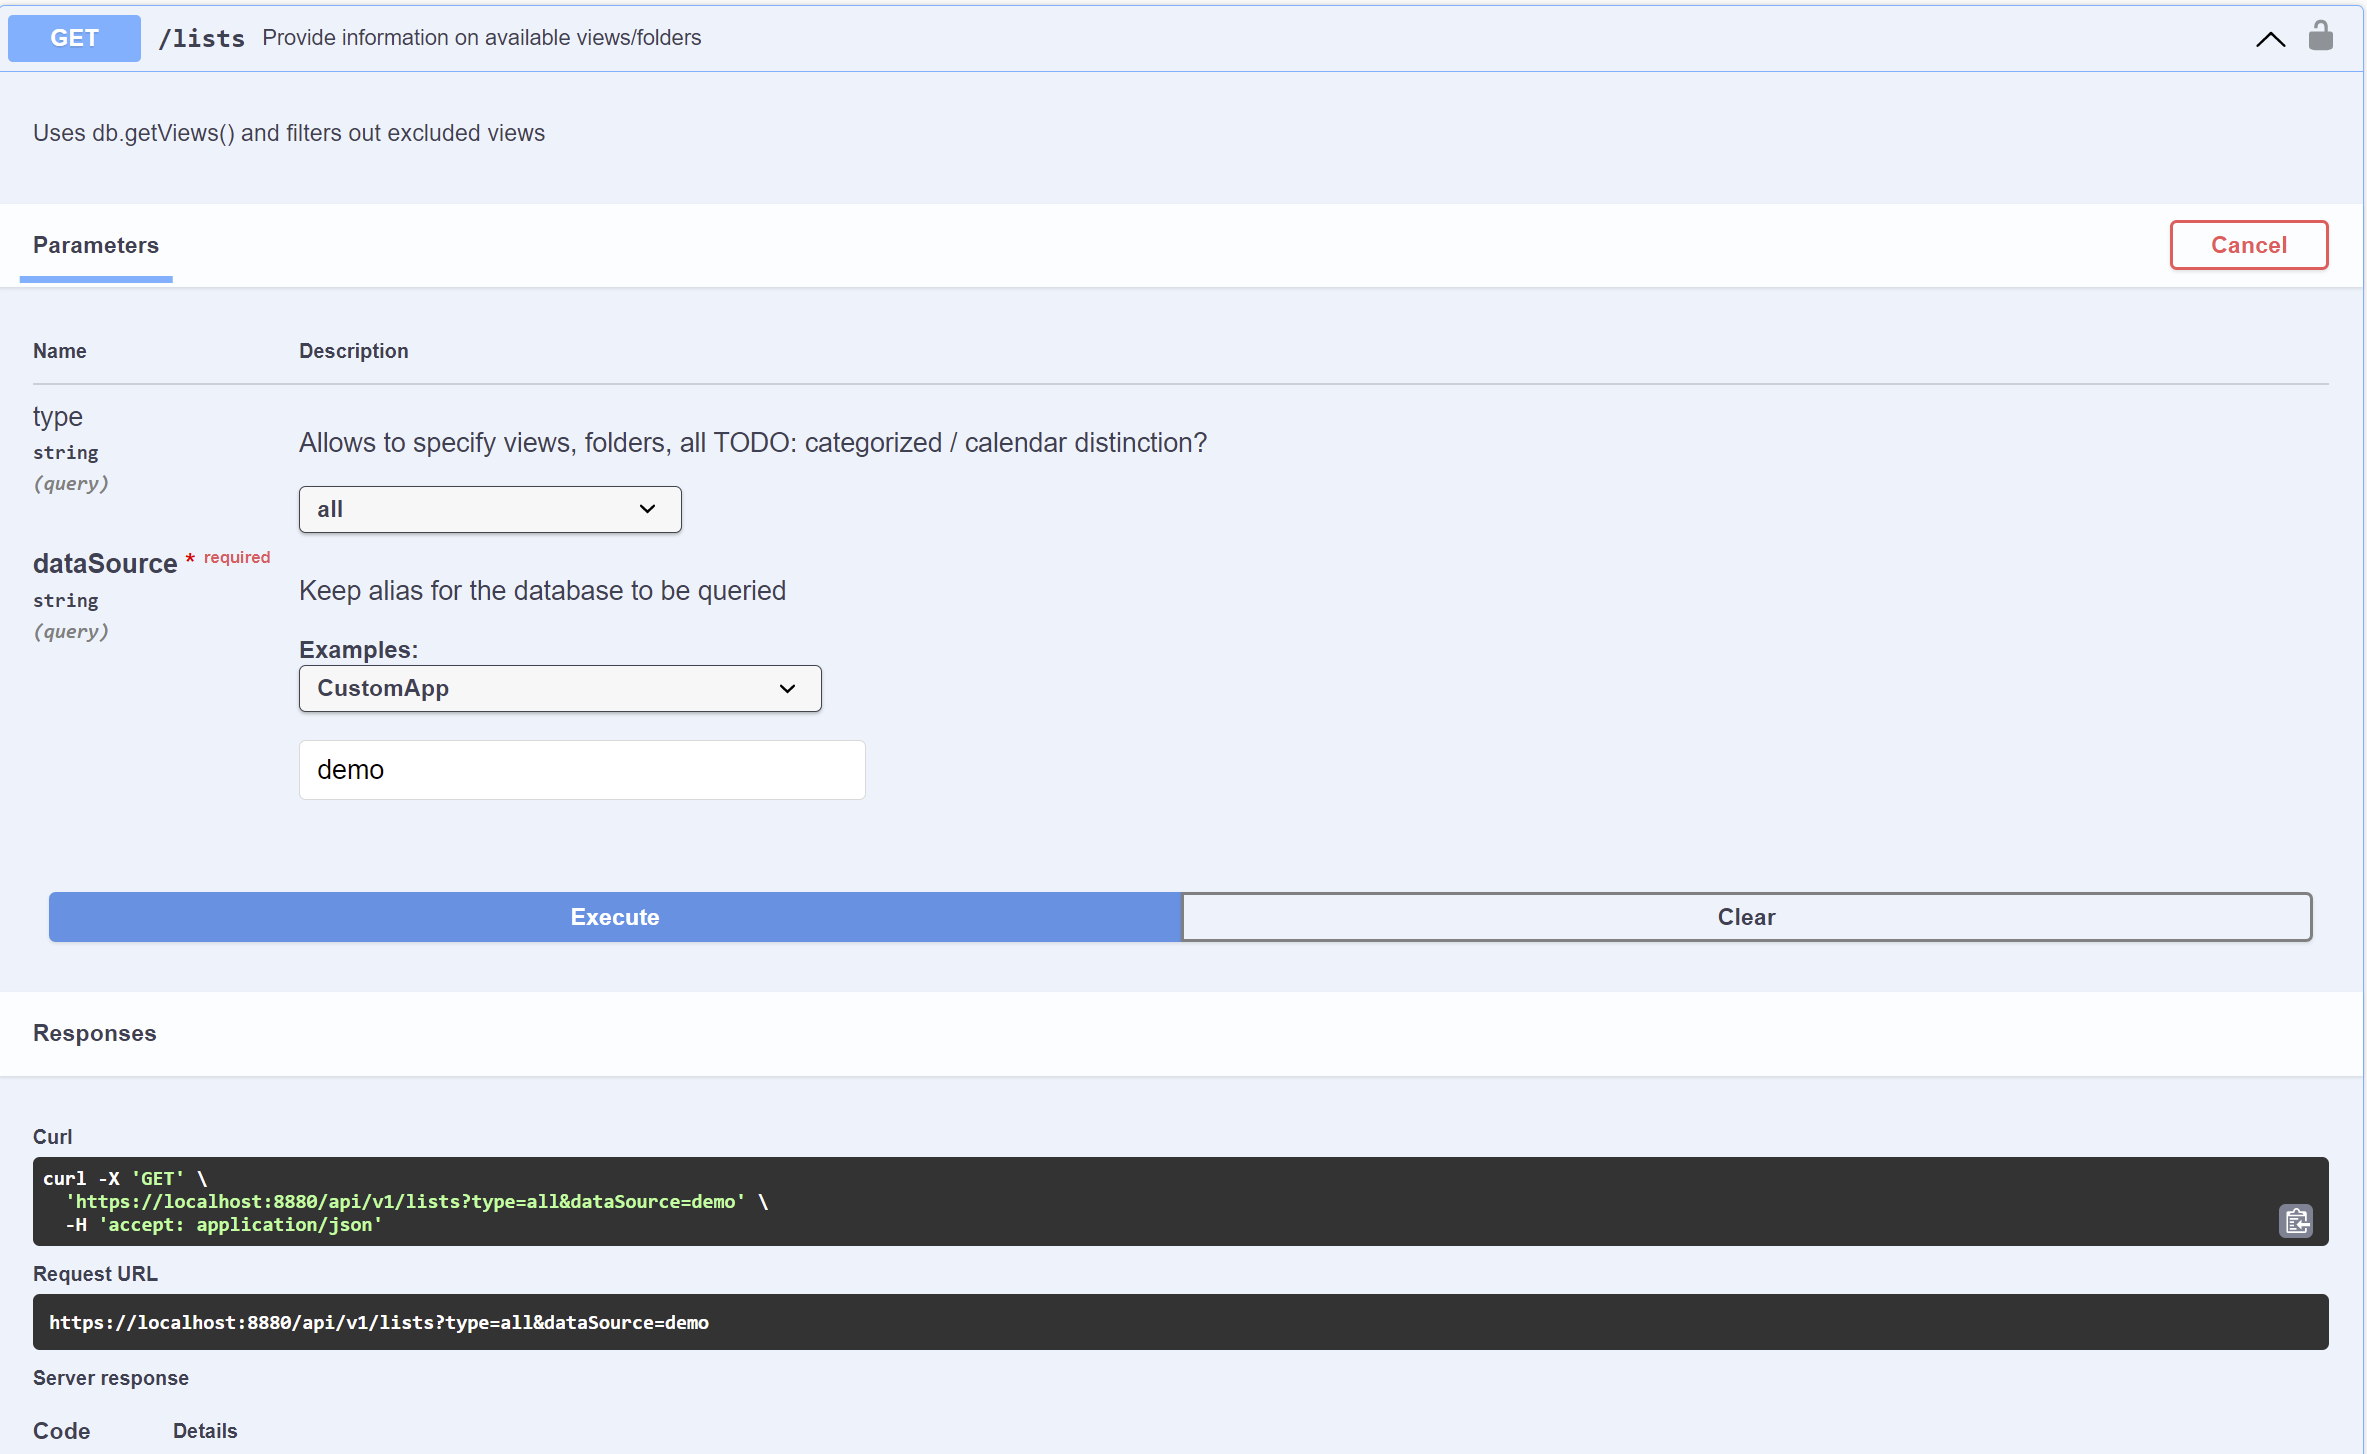
- Go to and expand data, and then go to and expand the GET /lists endpoint.
-
In the dataSource, enter the scope name, and then click Execute.
Make sure that the scope name you entered is the same as the scope name you created for your schema.
-
Check the Server Response to see the information on available views or folders.

Explore specific Domino REST API databases
-
Select a specific Domino REST API database from the Select a definition drop-down list.
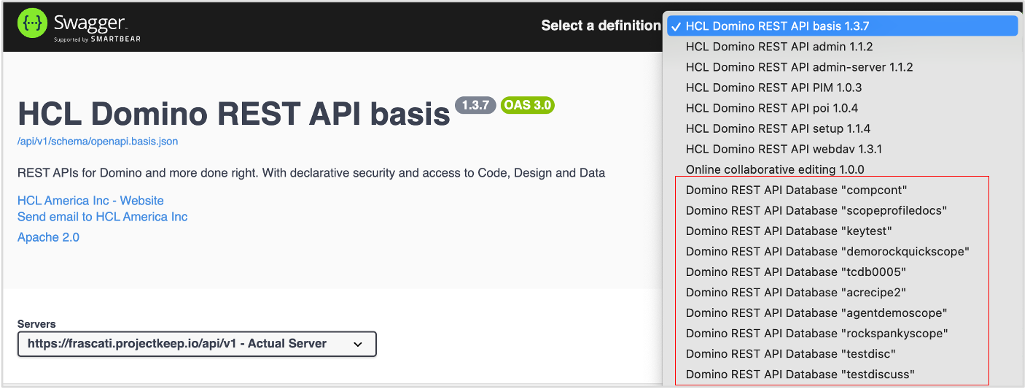
For example purposes, the Domino REST API database
demois going to be selected from the list. -
Review the endpoints.
-
Expand the endpoint categories, such as data, authentication.

-
Review the endpoints.
The admin and design APIs aren't included since they're not appropriate for accessing the database's data. The value of the
dataSourceparameter always corresponds to the name of the selected Domino REST API database. Based on the example image, the value of thedataSourceparameter is "demo" because the OpenAPI specification is for that Domino REST API database.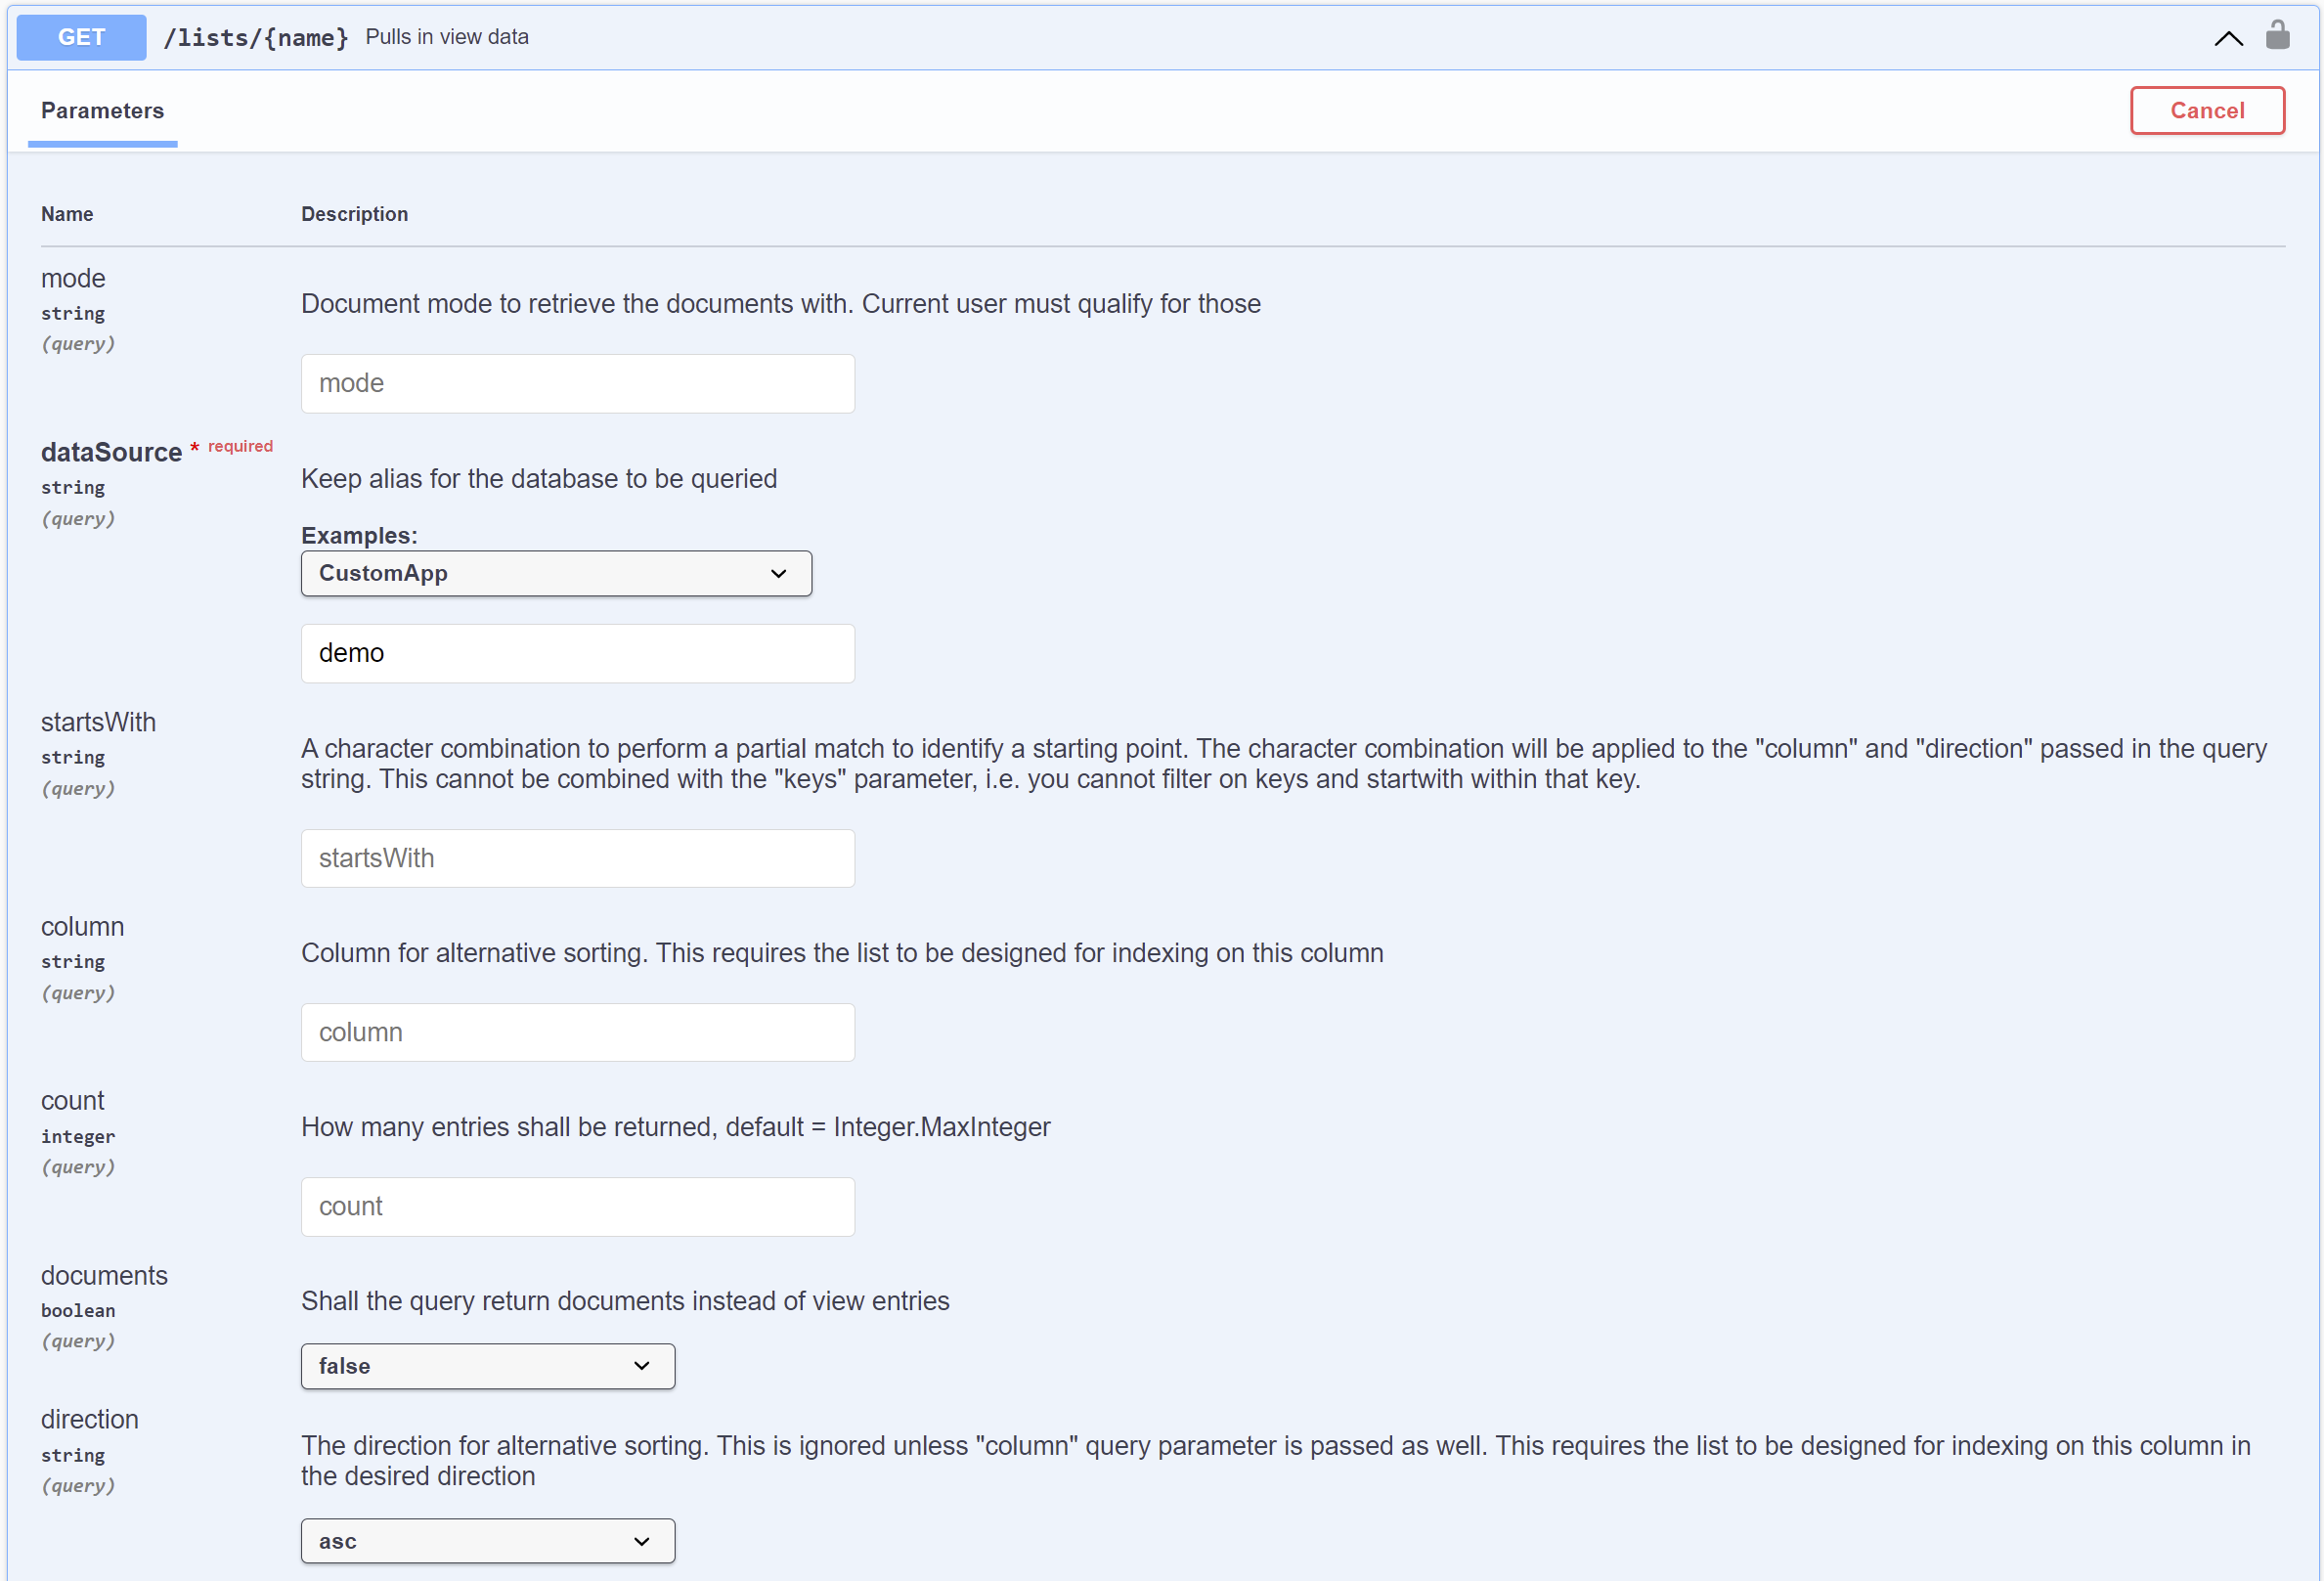
-
-
Review the schemas at the bottom. If you haven't specified read/write fields on a form, you'll see the genericFormResponse/genericFormRequest. If you have specified read or write fields, you'll see a schema for
formName-modeName Responses/formName-modeName Requests.In the following example image, the read or write fields have been specified so you can see the schema for
formName-modeName Responses/formName-modeName Requests. Wherein, theformNameis Customer and themodeNameis default and odata.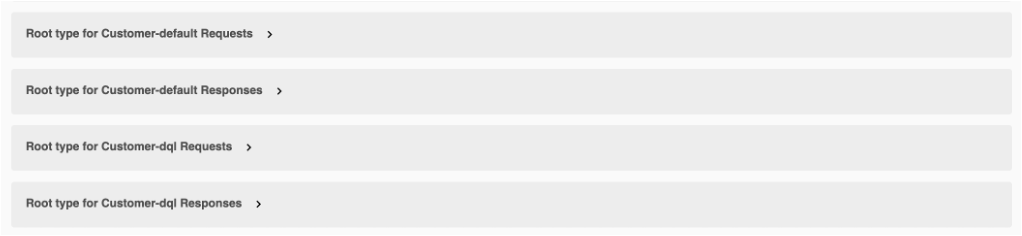
You can share the specific Domino REST API database to other developers who also consume the Domino REST API for that database by copying the URL and then sending it to those developers.
Additional information
- Swagger UI homepage: https://swagger.io/tools/swagger-ui/
- Swagger UI GitHub page: https://github.com/swagger-api/swagger-ui