Configure Domino REST API IdP with Volt MX Foundry Identity Service
About this task
Domino REST API implements what essentially amounts to an OAuth2 Provider DominoIDP and Volt MX Foundry implements an Integration Service adapter for OAuth2 providers. The following is a guide for creating a Foundry Identity Service using Domino REST API's OAuth provider.
Before you begin
You must first set up the Domino Rest API IdP.
Create Foundry Identity Service
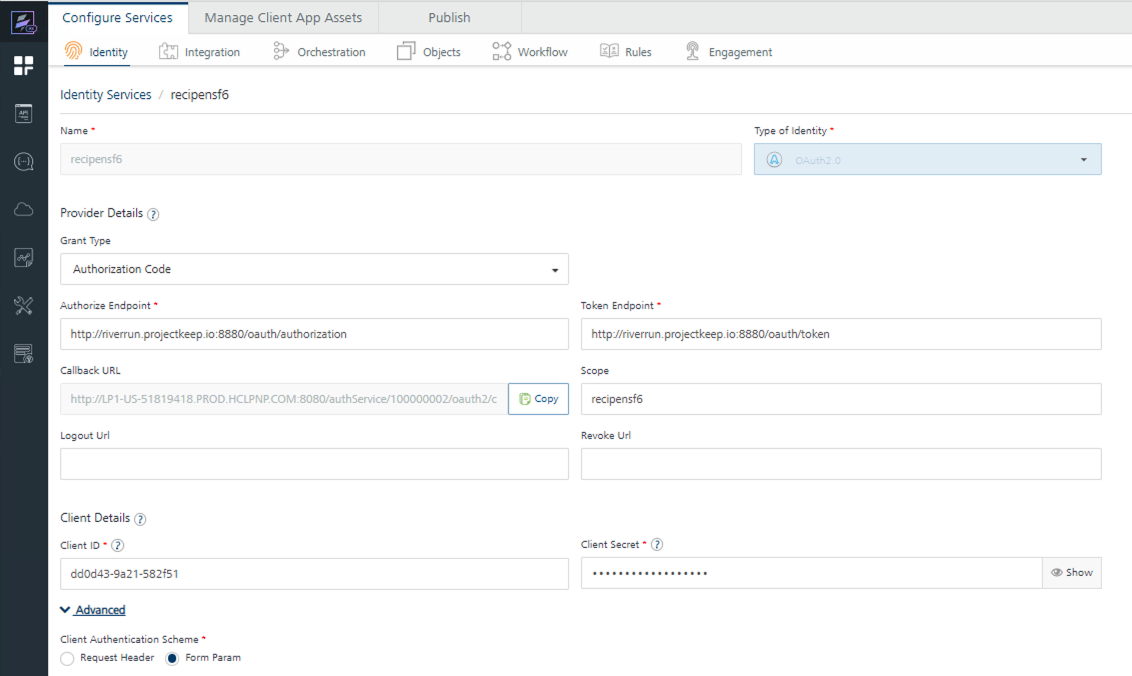
Some things to note when creating an identity service in Volt MX Foundry using Domino REST API IdP (also refer to the screenshot below):
-
Create a new Identity Service in the Foundry browser console by filling in the fields:
- Type of identity = OAuth 2.0
- Grant Type = Authorization Code
- Authorize Endpoint =
[your Domino REST API API server]/oauth/authorization - Token Endpoint =
[your Domino REST API API server]/oauth/token - IMPORTANT - make sure to select Form Param under Advanced.
- Take note of the Callback URL.
Pause here for a moment (don't save yet), and complete the steps for setting up Domino REST API application and database.
- Scope = database
name(API Name) for the database added in the next step; if more than one database, you should be able to enter a list of database names; check Domino REST API documentation to see how the names are delimited (perhaps a comma or space, but to Domino REST API it simple, just enter one db name if uncertain about how to specify multiple). - Client ID =
App idfrom the application created in the next section below. - Client Secret = Obtained when you first create the application (next section).
-
Now you can Save.
Set up Domino REST API application and database
From the Domino REST API Admin browser client:
- Add a database, and note its name (API name, when you create the DB in Domino REST API).
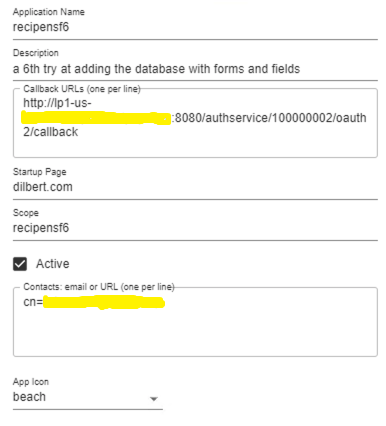
- Create an application, and note its client id, and client secret.
Note
When you create the application, you'll need the callback URL defined earlier.
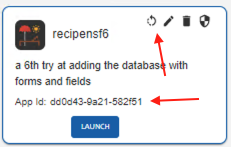
The App ID (Client ID) is available any time you view a created application. The secret is shown only when the secret is created the first time. If you forget the secret, generate a new one by clicking the circular arrow as indicated in the following image: